The last apple crisp I made disappeared before the ice cream even hit the table. My neighbor texted me at 9 PM asking if I had any leftovers. I didn’t. That’s when I knew this brown butter thing was real.
Honestly, I stumbled into this recipe by accident. I was testing a standard apple crisp for a fall gathering, and I got distracted. The butter in my saucepan went from melted to golden to that deep, nutty brown in what felt like seconds. Instead of tossing it, I just went with it. I poured that liquid gold right into the oat topping, threw in some chopped pecans because they were sitting on the counter, and crossed my fingers.
The result was one of those happy kitchen mistakes you never forget. The brown butter gave the whole thing this almost toffee-like depth that regular butter just can’t touch. And the pecans? They toasted right up in the oven, adding this crunch that made every bite interesting. I brought it to that gathering and got asked for the recipe four times. Four.
So here it is. The Ultimate Brown Butter Apple Crisp with Oat Pecan Topping that I now make on repeat from September through Thanksgiving. It’s not fancy. It’s not complicated. But it’s the kind of dessert that makes people close their eyes after the first bite. And that’s really all I’m after.
Why You’ll Love This Recipe
This isn’t your average apple crisp. The brown butter changes everything. It adds a warm, nutty richness that makes the oats and pecans taste almost like caramel. I’ve tested this recipe six times to get the topping-to-apple ratio just right. No dry spots. No soggy topping. Just pure, golden-brown comfort.
- Quick & Easy : You can have this in the oven in about 20 minutes. No pie crust rolling, no fancy equipment, no stress.
- Simple Ingredients : Apples, oats, butter, sugar, pecans, and a few pantry staples. That’s it.
- Perfect for Fall : This is the dessert you bring to Friendsgiving, Thanksgiving, or a cozy Sunday dinner. It screams autumn.
- Crowd-Pleaser : I’ve served this to kids, grandparents, and picky eaters. The dish comes back empty every single time.
- Unbelievably Delicious : The brown butter adds a layer of flavor that makes people think you spent hours in the kitchen. You didn’t. But they don’t need to know that.
What makes this different from other apple crisp recipes is the technique. Browning the butter before mixing it into the topping changes the flavor profile completely. It’s not just sweet and fruity anymore. It’s rich, toasty, and deeply satisfying. This is the version I reach for when I want something that feels special but takes almost no effort. If you love warm, cozy desserts, you’ll also enjoy my best salted caramel apple crisp for another twist on a classic.
What Ingredients You Will Need
This recipe uses simple, wholesome ingredients to create something truly memorable. Most of these are probably in your kitchen right now. Here’s what you need and why each one matters.
For the Apple Filling
- Apples (6 medium, about 2.5 pounds) — I use a mix of Granny Smith and Honeycrisp. The Granny Smith holds its shape and adds tartness, while the Honeycrisp brings natural sweetness. Peel, core, and slice them about ¼-inch thick.
- Granulated sugar (⅓ cup / 65g) — Just enough to sweeten the apples without making them mushy.
- Light brown sugar (¼ cup / 50g, packed) — Adds a subtle molasses flavor that pairs beautifully with the brown butter.
- All-purpose flour (2 tablespoons / 15g) — Helps thicken the juices so the filling isn’t watery.
- Lemon juice (1 tablespoon / 15ml) — Fresh squeezed. It keeps the apples from browning and balances the sweetness.
- Cinnamon (1 teaspoon) — The backbone of any apple dessert.
- Nutmeg (¼ teaspoon) — Freshly grated if you have it. It adds warmth without overpowering.
- Salt (¼ teaspoon) — A pinch brings out all the other flavors.
For the Brown Butter Oat Pecan Topping
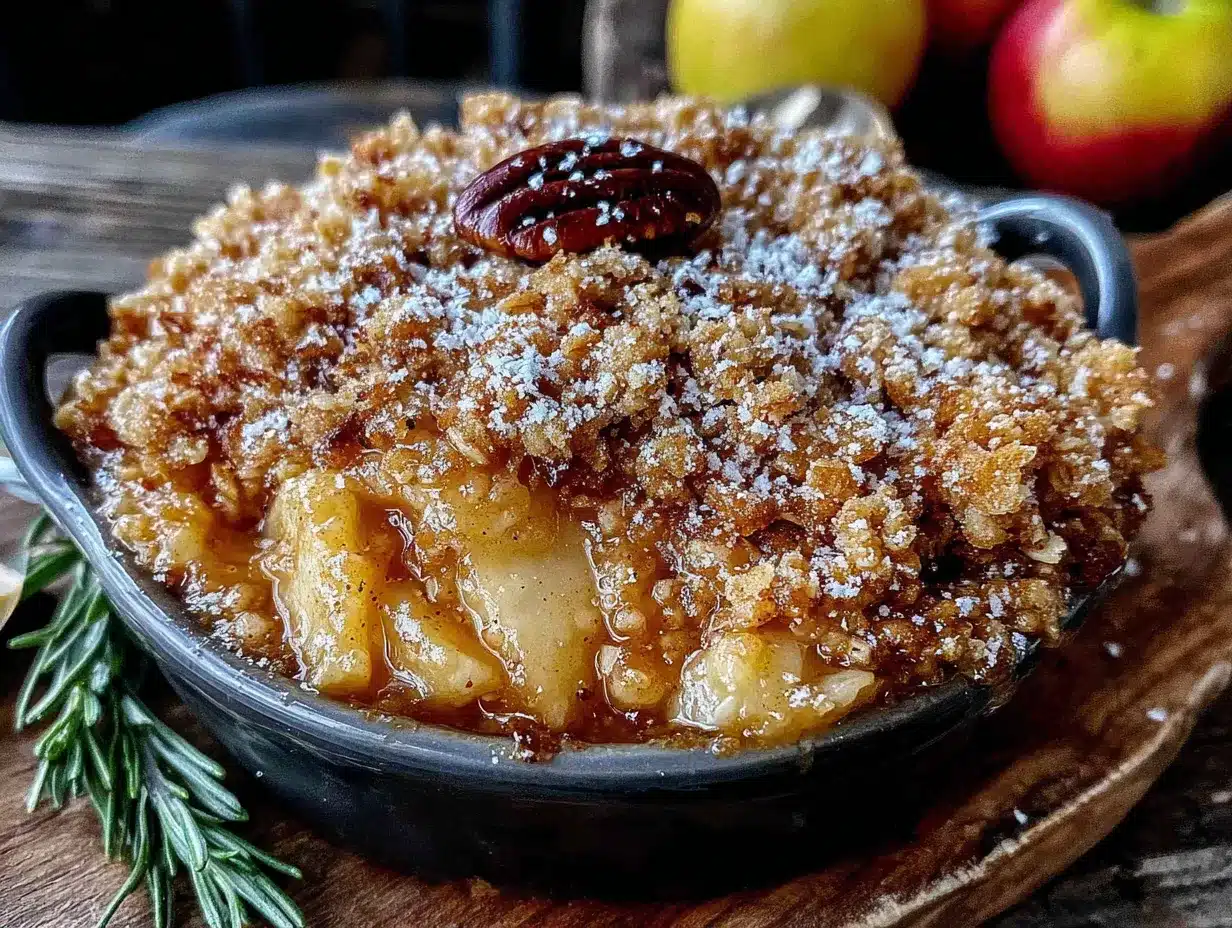
- Unsalted butter (½ cup / 1 stick or 113g) — This is the star. You’ll brown it until it smells like toasted nuts. I use Kerrygold because it has a higher fat content and browns beautifully.
- Rolled oats (1 cup / 90g) — Not quick oats. Rolled oats give the topping that chewy, crunchy texture. Old-fashioned oats are perfect.
- All-purpose flour (½ cup / 60g) — Helps bind the topping and creates those lovely clumps.
- Light brown sugar (½ cup / 100g, packed) — More brown sugar in the topping for that deep, caramelized flavor.
- Chopped pecans (½ cup / 55g) — Toast them lightly before adding for extra crunch. I buy raw pecan halves and chop them myself.
- Cinnamon (½ teaspoon) — A little more warmth in the topping.
- Salt (¼ teaspoon) — Essential to balance the sweetness.
For the best texture, use cold butter when browning. It sounds counterintuitive, but starting with cold butter gives you more control over the browning process. I recommend using a light-colored saucepan so you can see the color change clearly. If you’re looking for more fall dessert inspiration, these small batch pumpkin cream cheese muffins are perfect for when you don’t want a whole pan of something.
Equipment Needed
You don’t need a professional kitchen for this recipe. Here’s what you’ll need:
- 9×13-inch baking dish — Glass or ceramic works best. I use a Pyrex dish because I can see the bubbling apples through the sides.
- Medium saucepan — For browning the butter. Use a light-colored one so you can monitor the color. A stainless steel pan is ideal.
- Large mixing bowl — For the apple filling.
- Medium mixing bowl — For the topping.
- Sharp knife and cutting board — For slicing the apples. A good chef’s knife makes this job so much faster.
- Wooden spoon or silicone spatula — For stirring the brown butter.
- Measuring cups and spoons — Standard set.
- Cooling rack — Optional but helpful for even cooling.
If you don’t have a 9×13 dish, you can use an 8×8 or a 9-inch square pan. Just reduce the apple quantity slightly and keep an eye on the baking time. I’ve also made this in individual ramekins for a dinner party. It’s adorable and everyone gets their own crispy edges.
Preparation Method
Let’s get into it. This recipe comes together in stages, but none of them are hard. Take your time with the brown butter — it’s worth it.
Step 1: Preheat and Prep
Preheat your oven to 350°F (175°C). Grease your 9×13 baking dish with a little butter or non-stick spray. Set it aside.
Step 2: Brown the Butter
Place the ½ cup of unsalted butter in your medium saucepan over medium heat. Let it melt completely, then start swirling the pan occasionally. The butter will foam up, then settle down. Watch for the milk solids at the bottom to turn golden brown. You’ll smell it before you see it — a nutty, toasty aroma that’s unmistakable. This takes about 5-7 minutes. Once it’s a deep amber color, remove it from the heat immediately and pour it into a heat-safe bowl to stop the cooking. Don’t walk away from the pan. Burnt butter happens fast and it’s not salvageable.
Step 3: Make the Topping
In your medium mixing bowl, combine the rolled oats, flour, brown sugar, chopped pecans, cinnamon, and salt. Pour the warm brown butter over the dry ingredients and stir with a fork until everything is moistened and clumps form. You want some larger clumps and some smaller bits. Set the topping aside while you prepare the apples.
Step 4: Prepare the Apple Filling
Peel, core, and slice your apples into ¼-inch thick slices. I like to cut them in half-moons, but any even slice works. Place them in your large mixing bowl. Add the granulated sugar, brown sugar, flour, lemon juice, cinnamon, nutmeg, and salt. Toss everything together with your hands or a spatula until the apples are evenly coated. Let them sit for 5 minutes. This helps the juices start releasing.
Step 5: Assemble the Crisp
Pour the apple mixture into your prepared baking dish. Spread it into an even layer. Now take the topping and sprinkle it evenly over the apples. Don’t press it down. Let it sit loosely on top so it gets crispy and golden. Some apples might peek through — that’s fine.
Step 6: Bake
Place the dish on the middle rack of your preheated oven. Bake for 40-45 minutes, or until the topping is deep golden brown and the apple juices are bubbling up around the edges. If the topping is browning too fast, tent the dish loosely with aluminum foil for the last 10 minutes. You’ll know it’s done when you can insert a knife into the apples and they feel tender.
Step 7: Cool and Serve
Let the crisp cool on a wire rack for at least 15 minutes before serving. This allows the juices to thicken up. Serve warm with vanilla ice cream, whipped cream, or a drizzle of heavy cream. The contrast between the hot, bubbly apples and the cold ice cream is pure magic.
Cooking Tips & Techniques
I’ve made this recipe enough times to know where things can go wrong. Here’s what I’ve learned the hard way so you don’t have to.
- Don’t skip browning the butter. I know it’s an extra step, but it’s the entire point of this recipe. Regular butter just doesn’t deliver that nutty, caramel-like depth. If you’ve never browned butter before, watch it closely. The line between golden and burnt is about 30 seconds.
- Use a mix of apple varieties. All Granny Smith will be too tart. All Honeycrisp will be too sweet and might get mushy. A 50/50 mix gives you the perfect balance of flavor and texture.
- Slice your apples evenly. Thick slices won’t cook through in time. Thin slices will turn to mush. Aim for ¼-inch thickness and try to keep them consistent.
- Let the crisp rest before serving. I know it’s hard to wait, but those juices need time to set. If you dig in too soon, you’ll end up with a soupy mess. Fifteen minutes makes a huge difference.
- Toast your pecans first. Throw them in a dry skillet over medium heat for 3-4 minutes until they smell fragrant. It takes almost no time and adds so much flavor.
- Watch your baking time. Every oven runs differently. Start checking at 35 minutes. If the topping looks dark but the apples aren’t tender, cover with foil and keep baking.
I once forgot to brown the butter and just used melted butter instead. The crisp was fine, but it was boring. Nobody asked for the recipe that time. The brown butter is non-negotiable.
Variations & Adaptations
This recipe is flexible. Here are some ways to make it your own.
- Gluten-Free Version : Substitute the all-purpose flour with a 1:1 gluten-free flour blend. Use certified gluten-free oats. I’ve tested this with King Arthur Measure for Measure flour and it works perfectly.
- Dairy-Free Version : Use vegan butter for browning. I like Miyoko’s or Country Crock Plant Butter. The browning process works the same way.
- Add Dried Fruit : Toss in ½ cup of dried cranberries or chopped dried apricots with the apples. They plump up during baking and add little bursts of sweetness.
- Swap the Nuts : Don’t have pecans? Use walnuts, almonds, or even hazelnuts. You can also leave them out entirely for a nut-free version.
- Add a Streusel Layer : For extra crunch, double the topping recipe and press half of it into the bottom of the dish before adding the apples. It creates a crust-like layer.
- Use Pears : In late fall, swap half the apples for firm Bosc pears. They hold up well and add a lovely floral sweetness.
I once made this with a mix of apples and fresh cranberries for Thanksgiving. The tartness of the cranberries cut through the sweetness beautifully. It was a hit. Don’t be afraid to experiment.
Serving & Storage Suggestions
This crisp is best served warm, but it’s still delicious at room temperature. Here’s how to make the most of it.
Serving: Scoop into bowls and top with a generous scoop of vanilla bean ice cream. The hot and cold contrast is everything. A drizzle of caramel sauce or a dollop of whipped cream is optional but highly recommended. For a breakfast twist (no judgment), I’ve eaten leftovers cold straight from the fridge with a spoon. It’s good.
Storage: Cover the baking dish tightly with foil or plastic wrap and store in the refrigerator for up to 5 days. The topping will soften over time, but the flavor only gets better. To reheat, scoop individual portions into a microwave-safe bowl and heat for 30-45 seconds. For a crisper topping, reheat in a 350°F oven for 10 minutes.
Freezing: You can freeze the unbaked crisp for up to 3 months. Assemble the crisp in a freezer-safe dish, wrap it tightly in plastic wrap and foil, and freeze. Bake directly from frozen, adding 15-20 minutes to the baking time. The baked crisp also freezes well. Let it cool completely, then wrap and freeze. Thaw overnight in the fridge and reheat in the oven.
Flavor Development: Honestly, this crisp tastes even better the next day. The apples absorb all the spices and the brown butter flavor deepens overnight. If you can resist eating it all on day one, you’re in for a treat on day two.
Nutritional Information & Benefits
Here’s an approximate nutritional breakdown per serving (based on 8 servings):
| Nutrient | Amount per Serving |
|---|---|
| Calories | 385 |
| Total Fat | 18g |
| Saturated Fat | 8g |
| Carbohydrates | 55g |
| Fiber | 5g |
| Sugar | 34g |
| Protein | 4g |
Apples are a great source of fiber and vitamin C. Oats provide complex carbohydrates and beta-glucan, which is good for heart health. Pecans are packed with healthy fats and antioxidants. Brown butter? Well, it’s butter. But it makes life better.
This recipe is vegetarian and can be made gluten-free and dairy-free with simple substitutions. It contains wheat, dairy, and tree nuts (pecans). If you’re watching your sugar intake, you can reduce the sugar by ¼ cup in both the filling and topping without sacrificing too much flavor.
Conclusion
This Ultimate Brown Butter Apple Crisp with Oat Pecan Topping is the dessert I turn to when I want to impress without stress. It’s simple enough for a Tuesday night but special enough for Thanksgiving dinner. The brown butter adds a depth of flavor that makes people think you did something complicated. You didn’t. But that’s our little secret.
I love this recipe because it reminds me that the best things in the kitchen often come from happy accidents. A distracted moment, a pan of butter left on the heat too long, and suddenly you have a new favorite dessert. That’s the kind of cooking I believe in — real, imperfect, and full of flavor.
Try this recipe and let me know how it turns out. Did you use a different apple variety? Add extra pecans? Serve it with bourbon whipped cream? Drop a comment below and share your version. I read every single one and I love hearing how you make it your own. Happy baking, friends!
Frequently Asked Questions
Can I use quick oats instead of rolled oats?
I don’t recommend it. Quick oats are more finely processed and will turn mushy during baking. Rolled oats hold their shape and give the topping that perfect chewy-crunchy texture. Stick with old-fashioned rolled oats for the best result.
Do I have to peel the apples?
You can leave the peels on if you’re short on time or want extra fiber. The peels will soften during baking but won’t completely disappear. I prefer peeled apples for a smoother, more uniform texture, but unpeeled works in a pinch.
Can I make this ahead of time?
Absolutely. You can assemble the crisp up to 24 hours in advance and keep it covered in the refrigerator. Add 5-10 minutes to the baking time if starting from cold. You can also bake it fully, let it cool, and reheat it the next day. The flavors actually get better overnight.
Why is my topping not crispy?
Several things could be going wrong. Your oven might not be hot enough, or you might be covering the dish too early. Make sure your oven is fully preheated to 350°F. Also, don’t press the topping down into the apples. It needs to sit loosely on top to get crispy. If your topping is still soft, try baking it uncovered for an extra 5-10 minutes.
Can I use frozen apples?
Frozen apples release a lot of water as they thaw, which can make your crisp watery. If you must use frozen apples, thaw them completely and drain off the excess liquid before mixing with the other ingredients. Fresh apples really do give the best texture and flavor here.
Pin This Recipe!
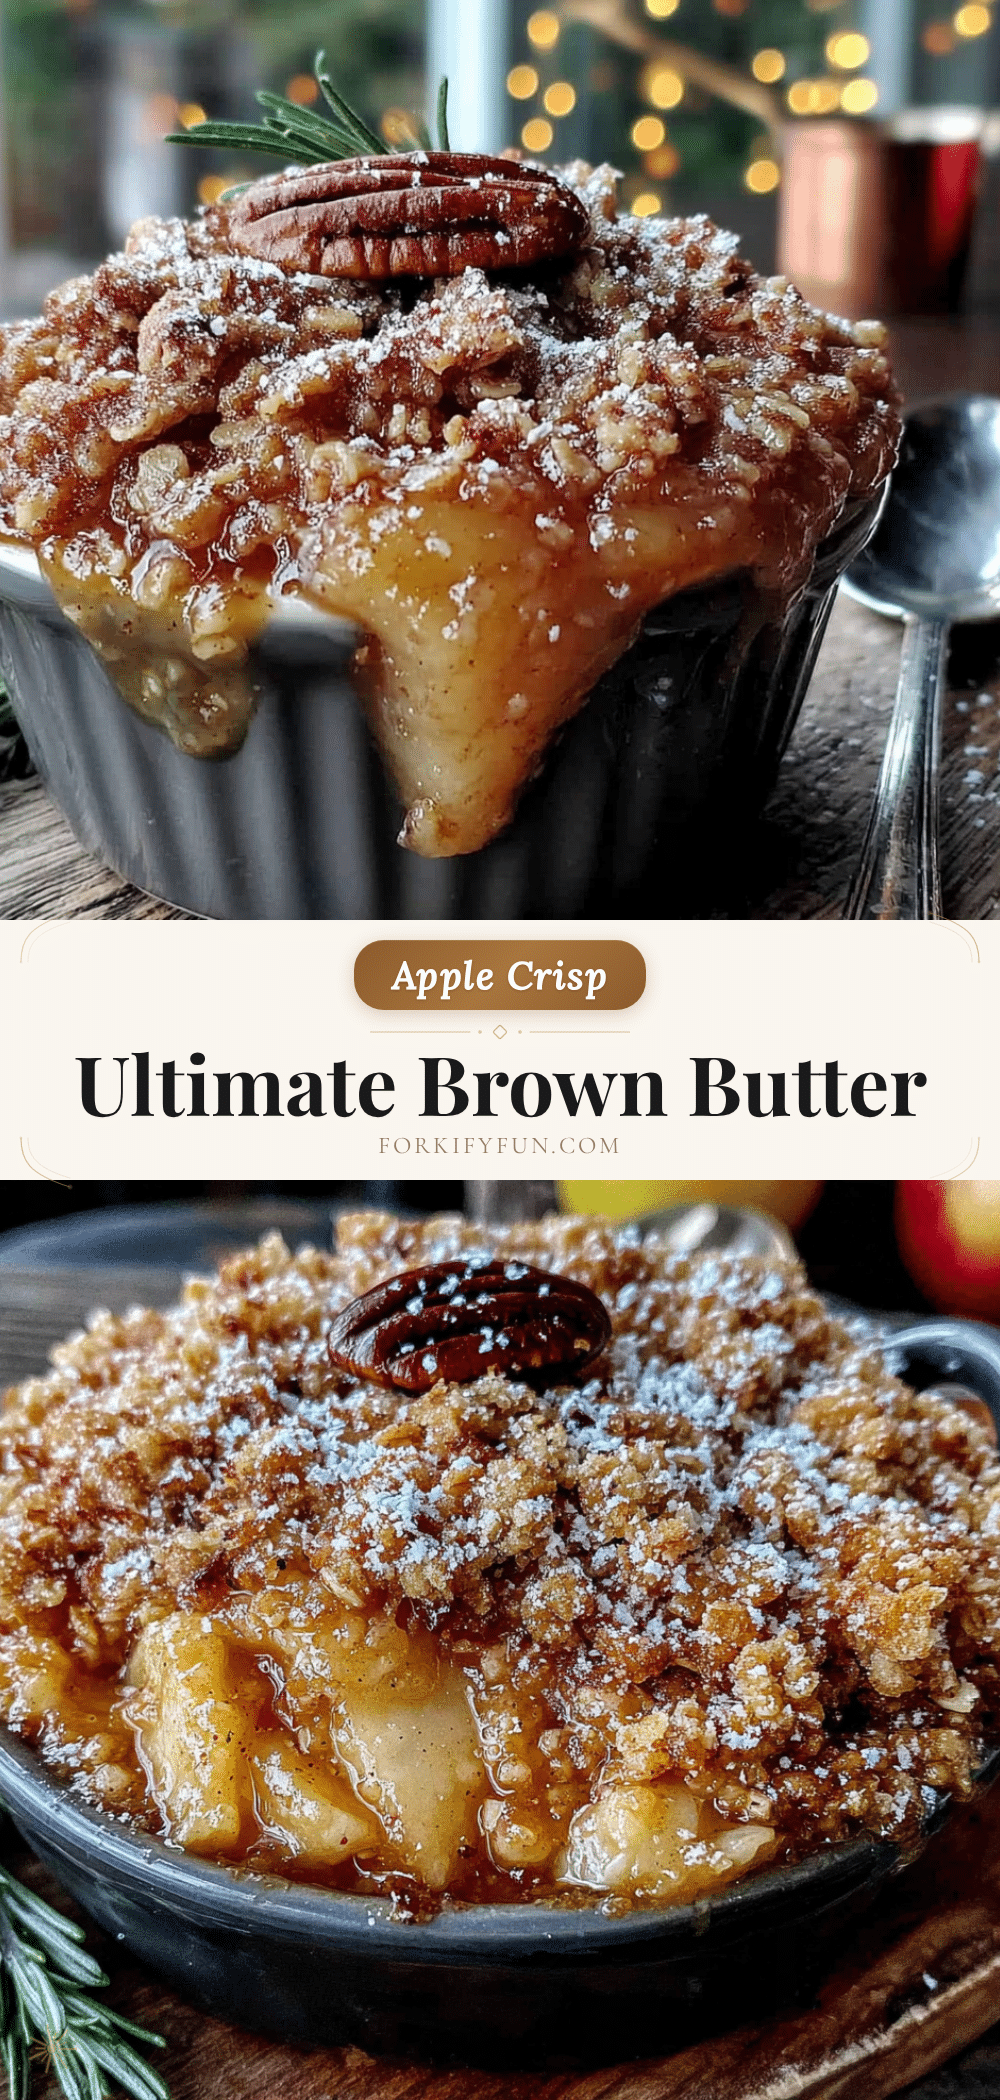
Ultimate Brown Butter Apple Crisp with Oat Pecan Topping – Best Easy Dessert

This isn’t your average apple crisp. The brown butter changes everything, adding a warm, nutty richness that makes the oats and pecans taste almost like caramel. It’s simple enough for a Tuesday night but special enough for Thanksgiving dinner.
- Prep Time: 20 minutes
- Cook Time: 45 minutes
- Total Time: 1 hour 5 minutes
- Yield: 8 servings 1x
- Category: Dessert
- Cuisine: American
Ingredients
- 6 medium apples (about 2.5 pounds), a mix of Granny Smith and Honeycrisp, peeled, cored, and sliced ¼-inch thick
- ⅓ cup (65g) granulated sugar
- ¼ cup (50g) packed light brown sugar
- 2 tablespoons (15g) all-purpose flour
- 1 tablespoon (15ml) fresh lemon juice
- 1 teaspoon ground cinnamon
- ¼ teaspoon ground nutmeg
- ¼ teaspoon salt
- ½ cup (1 stick or 113g) unsalted butter (for browning)
- 1 cup (90g) rolled oats (old-fashioned)
- ½ cup (60g) all-purpose flour
- ½ cup (100g) packed light brown sugar
- ½ cup (55g) chopped pecans
- ½ teaspoon ground cinnamon
- ¼ teaspoon salt
Instructions
- Preheat your oven to 350°F (175°C). Grease a 9×13-inch baking dish with butter or non-stick spray.
- Place the ½ cup of unsalted butter in a medium saucepan over medium heat. Let it melt completely, then swirl the pan occasionally. The butter will foam, then settle. Watch for the milk solids at the bottom to turn golden brown and a nutty aroma to develop, about 5-7 minutes. Remove from heat immediately and pour into a heat-safe bowl to stop cooking.
- In a medium mixing bowl, combine the rolled oats, ½ cup flour, ½ cup brown sugar, chopped pecans, ½ teaspoon cinnamon, and ¼ teaspoon salt. Pour the warm brown butter over the dry ingredients and stir with a fork until moistened and clumps form. Set aside.
- Peel, core, and slice the apples into ¼-inch thick slices. Place in a large mixing bowl. Add the granulated sugar, ¼ cup brown sugar, 2 tablespoons flour, lemon juice, 1 teaspoon cinnamon, nutmeg, and ¼ teaspoon salt. Toss until evenly coated. Let sit for 5 minutes.
- Pour the apple mixture into the prepared baking dish and spread into an even layer. Sprinkle the topping evenly over the apples without pressing down.
- Bake on the middle rack for 40-45 minutes, until the topping is deep golden brown and the apple juices are bubbling around the edges. If the topping browns too fast, tent loosely with foil for the last 10 minutes. The apples should be tender when pierced with a knife.
- Let the crisp cool on a wire rack for at least 15 minutes before serving. Serve warm with vanilla ice cream, whipped cream, or a drizzle of heavy cream.
Notes
Don’t skip browning the butter—it’s the key to the nutty, caramel-like flavor. Use a mix of apple varieties (like Granny Smith and Honeycrisp) for best texture and taste. Slice apples evenly (¼-inch thick) for consistent cooking. Let the crisp rest for 15 minutes before serving to allow juices to thicken. Toast pecans in a dry skillet for 3-4 minutes before adding for extra flavor. For gluten-free, use a 1:1 gluten-free flour blend and certified gluten-free oats. For dairy-free, use vegan butter like Miyoko’s or Country Crock Plant Butter.
Nutrition
- Serving Size: 1 serving (1/8 of re
- Calories: 385
- Sugar: 34
- Fat: 18
- Saturated Fat: 8
- Carbohydrates: 55
- Fiber: 5
- Protein: 4
Keywords: brown butter apple crisp, apple crisp with oat pecan topping, easy apple dessert, fall dessert, apple crisp recipe, brown butter dessert