Three times this week and the royal icing still wasn’t quite right. By the fifth batch, I was borderline manic, obsessing over that perfect pencil shape—the sharp point, the hexagonal edges, even the tiny silver “ferrule” band that holds the eraser. Honestly, I never thought sugar cookies could become such a fixation, but here we are. The first time I attempted these perfect pencil-shaped sugar cookies with royal icing, I was convinced I’d nailed the shape and the icing consistency in one go. Nope. The icing was too runny, the cookies puffed unevenly, and the colors bled like a watercolor painting gone wrong.
Each Friday of the past month, I’d pull out my rolling pin, the trusty cookie cutters, and a fresh batch of royal icing—tweaking the sugar-to-water ratio, adjusting the baking time, coaxing the dough to chill just right. The smell of vanilla and buttery sugar filled the kitchen every time, and I swear that scent alone kept pulling me back. It wasn’t just about making cute cookies; it was about getting that perfect balance of snap and softness, crisp edges, and icing that sets with a glossy finish without cracking or dulling.
One particularly late night, I caught myself staring at a tray of half-decorated cookies, realizing these pencil-shaped sugar cookies had quietly become my favorite way to practice patience and precision. There’s this odd comfort in tracing the sharp icing lines, the way the colors pop against the pale cookie canvas, and the little imperfections that add character. The obsession wasn’t just about the cookies themselves but the quiet moments they created—a tiny creative escape in a busy week.
So if you’re here wondering what makes these pencil-shaped sugar cookies with royal icing so captivating, I get it. They’re more than just a treat; they’re a little project that demands your focus and rewards you with something sweet, playful, and undeniably charming. And just between us, once you start, you might find yourself making them every Friday, too.
Why You’ll Love This Perfect Pencil-Shaped Sugar Cookies Recipe
After countless tests and frosting tweaks, this recipe isn’t just sugar cookies with icing slapped on top. It’s a carefully crafted process that delivers:
- Quick & Easy: From dough to decorated cookie in under 2 hours—great for last-minute celebrations or back-to-school treats.
- Simple Ingredients: Most are pantry staples like flour, butter, and powdered sugar—nothing fancy or hard to find.
- Perfect for Classroom Parties or Gifts: These pencil-shaped cookies add a playful, personalized touch to any occasion that calls for a sweet note.
- Crowd-Pleaser: Kids adore the colorful royal icing, and adults appreciate the buttery, tender cookie base that’s not overly sweet.
- Unbelievably Delicious: The texture strikes that ideal balance—crispy edges with a melt-in-your-mouth center, complemented by smooth, glossy icing.
What sets this recipe apart? It’s the subtle adjustments I made to the royal icing consistency—fluffy but firm enough to hold those crisp pencil lines—and the dough’s chilling time that guarantees no spreading in the oven. Plus, the hexagonal cookie cutter shape (yes, I found that perfect one!) really makes the pencils look authentic. Honestly, the icing colors pop more than I expected, making these cookies almost too pretty to eat.
This recipe isn’t just about sugar cookies; it’s about creating a fun experience that mixes baking with a bit of art and nostalgia. Think of it as a little sweet project, like crafting your own edible stationery. And if you love decorating sugar cookies, you might also appreciate the perfect red, white, and blue sugar cookies with royal icing I perfected last summer. Same royal icing magic, different fun shapes!
What Ingredients You Will Need for Perfect Pencil-Shaped Sugar Cookies with Royal Icing
This recipe uses straightforward, wholesome ingredients that come together to create delightful texture and flavor without fuss. Most are pantry staples, with a few specialty items for that royal icing shine and pencil accuracy.
- For the Sugar Cookie Dough:
- 2 ¾ cups (345g) all-purpose flour (spooned and leveled for accurate measurement)
- 1 teaspoon baking powder
- ½ teaspoon salt
- 1 cup (226g) unsalted butter, softened (I like using Kerrygold for its creamy texture)
- 1 ½ cups (300g) granulated sugar
- 1 large egg, room temperature
- 2 teaspoons pure vanilla extract (real vanilla makes a noticeable difference)
- 1 tablespoon heavy cream or whole milk (adds tenderness)
- For the Royal Icing:
- 4 cups (480g) powdered sugar, sifted
- 3 tablespoons meringue powder (for stable, glossy icing)
- 6 tablespoons (90ml) warm water, adjusted as needed
- Gel food coloring (yellow, pink, silver, and black)—gel colors give vibrant hues without watering down the icing
- Edible silver paint or luster dust (optional, for the pencil ferrule shine)
- Optional Decoration Tools:
- Fine-tipped piping bags for detailed icing lines
- Small angled brush for edible paint application
For those who prefer gluten-free baking, swapping the all-purpose flour with a gluten-free blend like Bob’s Red Mill 1-to-1 works well—just chill the dough a bit longer to prevent spreading. If you want a dairy-free option, use coconut oil solidified or a vegan butter substitute in place of butter, and almond milk for cream.
Equipment Needed
- Mixing bowls (preferably glass or stainless steel)
- Electric mixer or stand mixer with paddle attachment (makes creaming the butter and sugar a breeze)
- Rolling pin (a silicone one helps prevent sticking)
- Pencil-shaped cookie cutter (hexagonal body with pointed end, about 4 to 5 inches long)
- Baking sheets lined with parchment paper or silicone baking mats
- Piping bags and various tips (small round tips #1 or #2 for icing detail)
- Sifter for powdered sugar (important for smooth royal icing)
- Cooling racks
If you don’t have a pencil-shaped cookie cutter, a sharp knife and a ruler can help you cut the dough into neat pencil-like shapes, but honestly, the cutter saves so much time and ensures consistency. For piping bags, reusable silicone ones are cost-effective and easy to clean. I recommend keeping a damp cloth handy to wipe icing tips as you work to prevent clogging.
Preparation Method: Step-by-Step Guide to Perfect Pencil-Shaped Sugar Cookies
- Mix Dry Ingredients: In a medium bowl, whisk together 2 ¾ cups flour, 1 teaspoon baking powder, and ½ teaspoon salt. Set aside. (5 minutes)
- Cream Butter and Sugar: Using an electric mixer at medium speed, beat 1 cup softened butter and 1 ½ cups sugar until light and fluffy—about 3 to 4 minutes. This step is crucial for tender cookies. (5 minutes)
- Add Egg and Vanilla: Beat in 1 large egg and 2 teaspoons vanilla extract until combined, scraping down the bowl. (2 minutes)
- Incorporate Dry Ingredients and Cream: Gradually add dry ingredients alternating with 1 tablespoon heavy cream, mixing just until combined after each addition. Avoid overmixing to prevent tough cookies. The dough should be soft but not sticky. (5 minutes)
- Chill the Dough: Divide dough into two disks, wrap in plastic wrap, and chill for at least 1 hour or overnight for best results. Chilling reduces spread and enhances flavor. (60+ minutes)
- Preheat Oven and Prepare Baking Sheets: Preheat to 350°F (175°C). Line baking sheets with parchment paper or silicone mats. (10 minutes)
- Roll Out Dough: On a lightly floured surface, roll dough to about ¼ inch (6mm) thickness. Keep the dough cool if it starts getting too soft. (10 minutes)
- Cut Cookies: Use your pencil-shaped cutter to cut out shapes. Gently transfer to baking sheets about 1 inch apart. (10 minutes)
- Bake: Bake for 9 to 11 minutes, rotating pans halfway through. Edges should be just turning golden. Avoid overbaking for tender centers. (10-11 minutes)
- Cool: Let cookies cool on baking sheet for 5 minutes before transferring to wire racks to cool completely. This stops carryover baking and preserves shape. (20-30 minutes)
- Prepare Royal Icing: In a large bowl, combine 4 cups sifted powdered sugar, 3 tablespoons meringue powder, and 6 tablespoons warm water. Beat on low until mixed, then increase speed to high for 5-7 minutes until thick and glossy. Adjust water to get piping consistency. Divide and color as desired. (15 minutes)
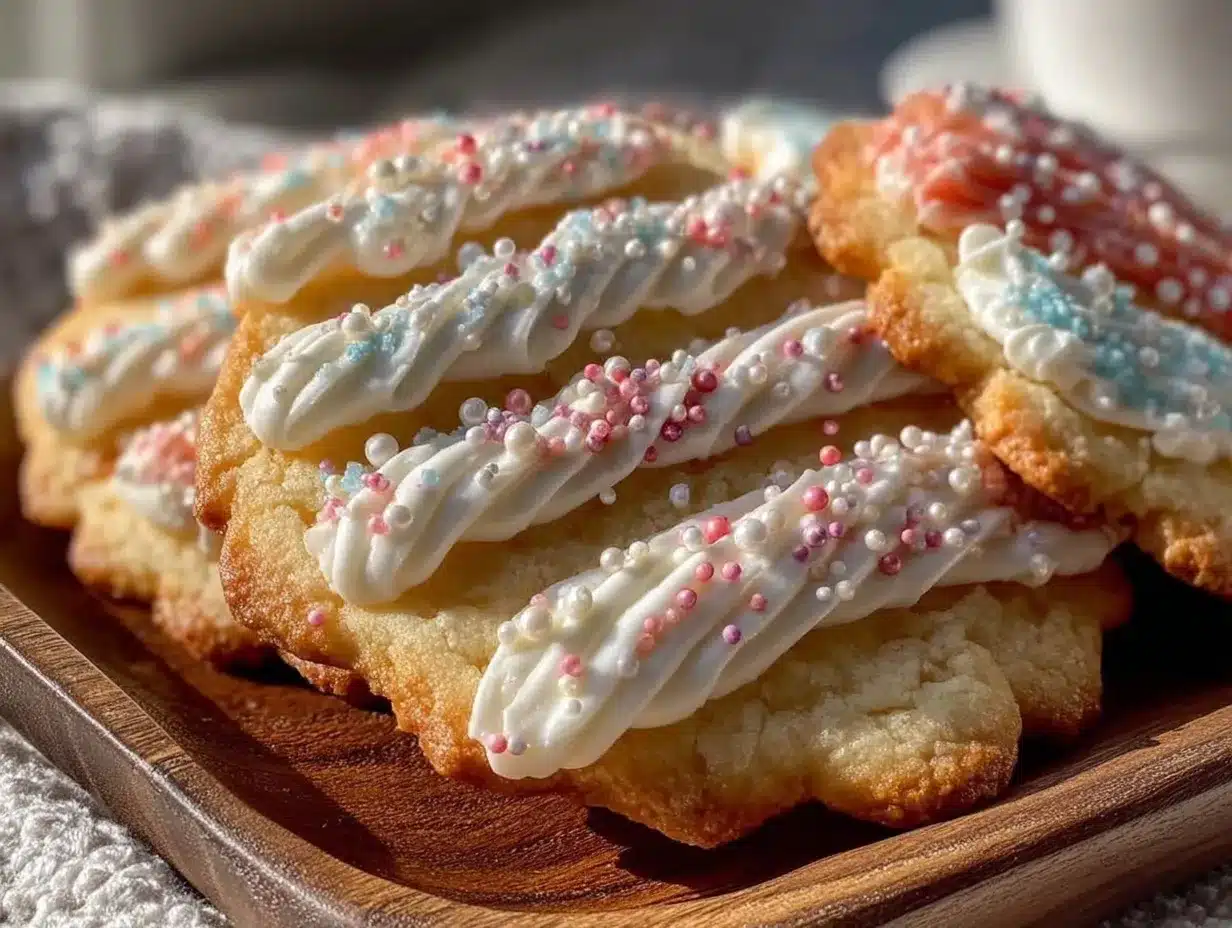
- Decorate: Outline and flood the pencil body in yellow icing, the tip in pink, and the ferrule in silver or gray. Use a fine tip and steady hand for details. Let dry partially before adding black “lead” tips or details. (30-60 minutes drying time)
- Add Final Touches: Use edible silver paint on the ferrule for shine. Let cookies dry completely overnight for best results. (Overnight)
Pro tip: If your royal icing is too runny, add more powdered sugar in small increments. Too thick? Add a few drops of water. Also, chilling your piping bags for a few minutes can help control the flow better. If the cookies puff up or lose shape during baking, your dough might be too warm—try chilling the cut cookies on the baking sheet before popping them in the oven.
Cooking Tips & Techniques for Flawless Pencil-Shaped Sugar Cookies
Royal icing is notoriously tricky, but a few tricks can save you from frustration. First, patience is key—let the icing dry between layers. I learned the hard way that rushing this step causes colors to bleed and details to smudge.
Use gel food coloring instead of liquid; it keeps the icing thick and vibrant. When mixing the dough, don’t overwork it—overmixing develops gluten and toughens the cookies, which nobody wants. I find chilling the dough overnight makes cutting and baking easier, giving the cookies a better snap.
During piping, keep a damp cloth nearby to wipe your tips often to avoid clogged nozzles. Also, if you’re decorating multiple colors, work from lightest to darkest to prevent color contamination.
One mistake I made repeatedly was baking the cookies too long. They need just a hint of golden edges—overbaking leaves them dry. And trust me, a timer is your best friend here.
Finally, multitasking helps: while the cookies bake and cool, prepare your royal icing. This way, you can jump straight into decorating without waiting around. Decorating can be meditative once you get the hang of it, so don’t rush.
Variations & Adaptations for Your Pencil-Shaped Sugar Cookies
These cookies are surprisingly versatile. Here are a few ways to mix things up:
- Flavor Boost: Add lemon or almond extract to the dough for a subtle twist. I once swapped vanilla for almond, and the cookies were a delightful surprise.
- Seasonal Colors: Instead of classic pencil colors, try pastel shades for spring or bold neon for a fun party vibe.
- Gluten-Free Option: Use a gluten-free flour blend, increasing the chilling time to help the dough hold shape.
- Vegan Adaptation: Replace butter with vegan margarine and use a flax egg (1 tablespoon ground flaxseed + 3 tablespoons water) instead of the egg.
- Alternative Decorating: Skip royal icing and try a smooth glaze with powdered sugar and milk, then add edible markers for details.
For a fun twist, I decorated some pencils with edible gold dust instead of silver paint, which gave them a luxe look perfect for gifting. Also, if you want to try a different shape but keep the royal icing technique, check out my star-shaped cinnamon sugar donuts for inspiration on applying detailed icing.
Serving & Storage Suggestions
Serve these cookies at room temperature to fully appreciate their buttery softness and the smooth royal icing finish. They make a charming addition to a back-to-school brunch or a teacher appreciation gift.
Pair them with a cup of tea or a glass of cold milk to balance the sweetness. For a more festive spread, consider placing them alongside other themed treats like the huckleberry lemon pound cake, which adds a fruity counterpoint to the sugary notes.
Store cookies in an airtight container layered with parchment paper to prevent sticking. They keep well for up to a week at room temperature. For longer storage, freeze them in a single layer, then transfer to a sealed freezer bag once solid—thaw at room temperature before serving.
When reheating, avoid microwaves as the icing can soften and lose its shine; instead, let cookies come to room temperature naturally. Over time, the icing’s flavors mellow, making these cookies even more enjoyable after a day or two.
Nutritional Information & Benefits
Each pencil-shaped sugar cookie contains approximately 150-180 calories, depending on size and icing thickness. They’re moderate in fat and sugar, making them an occasional treat rather than an everyday snack.
The butter offers a source of fat-soluble vitamins, and the egg adds protein, while the powdered sugar and meringue powder provide the sweet, glossy finish. While not a health food, these cookies bring joy and creativity to the kitchen, which is a kind of nourishment in itself.
For those with dietary concerns, this recipe can be adapted to gluten-free or vegan versions, and the use of natural extracts and gel colors reduce artificial additives. Just a heads up: royal icing contains egg whites (or meringue powder), so it’s not suitable for raw egg allergies.
Conclusion
If you thought sugar cookies were just a simple treat, these perfect pencil-shaped sugar cookies with royal icing will challenge that idea. They’re a little more effort and a lot more fun—combining buttery cookie dough with sleek, colorful icing that’s as much art as it is dessert.
Feel free to customize the colors and flavors to fit your occasion or mood. I love these cookies because they turn baking into a creative escape and a sweet reminder of school days (or a cool gift for your favorite teacher!).
Give them a try, and I’d love to hear how your pencil cookies turned out—drop a comment or share your decorating tips. Baking is always better when we share the journey.
Frequently Asked Questions About Perfect Pencil-Shaped Sugar Cookies
How do I prevent my sugar cookies from spreading too much?
Chilling the dough thoroughly before baking and making sure your oven is fully preheated helps keep the cookies from spreading. Also, avoid adding too much liquid to the dough.
Can I make the royal icing ahead of time?
Yes, royal icing can be stored in an airtight container in the fridge for up to a week. Stir well before use and add a few drops of water if it thickened too much.
What if I don’t have a pencil-shaped cookie cutter?
You can carefully cut the dough into pencil shapes using a knife and ruler. Just roll the dough to an even thickness and cut hexagonal bodies with pointed ends.
How long should I let the royal icing dry?
For best results, let the icing dry at room temperature for at least 6-8 hours or overnight. This helps it set hard and glossy without cracking.
Can I freeze decorated sugar cookies?
Absolutely! Freeze the undecorated cookies first, then decorate after thawing for best icing results. Or freeze fully decorated cookies carefully in layers with parchment between them.
Pin This Recipe!
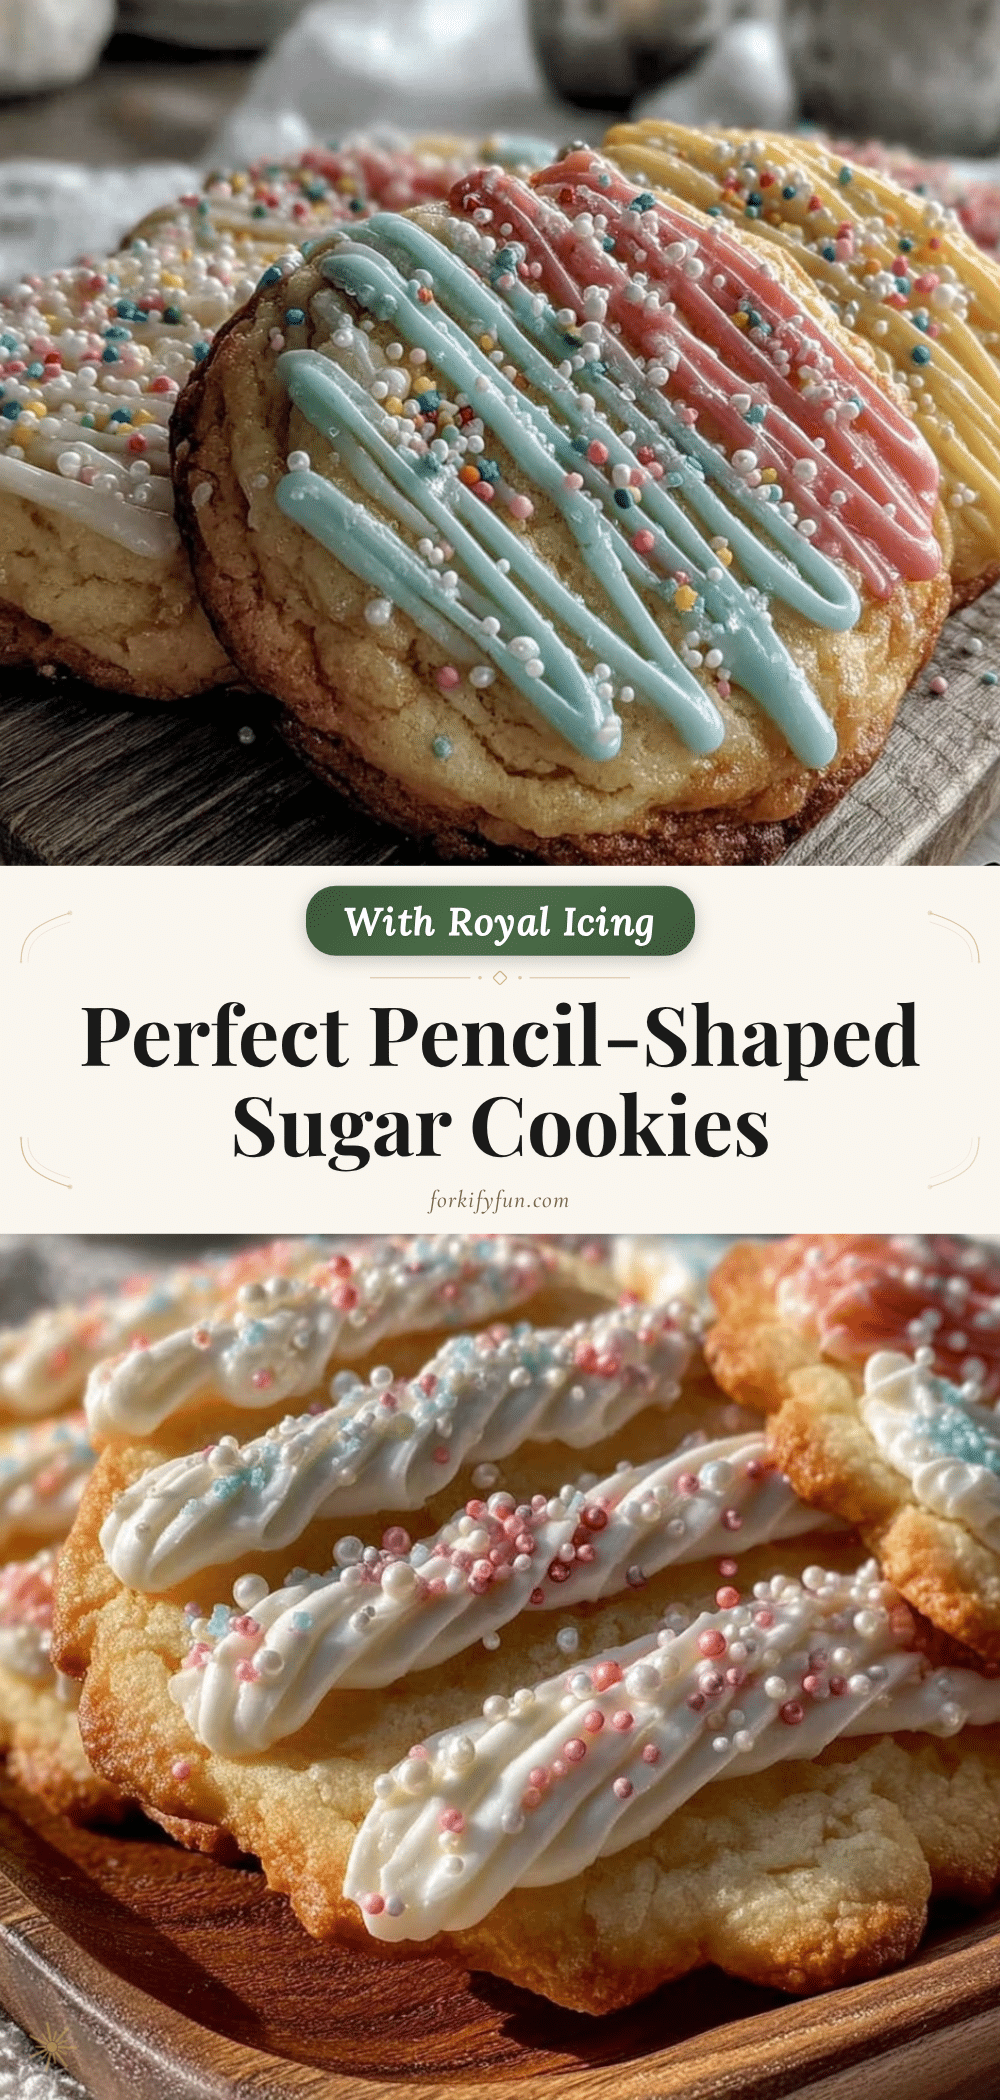
Perfect Pencil-Shaped Sugar Cookies Recipe

These pencil-shaped sugar cookies feature a tender, buttery base with crisp edges and are decorated with smooth, glossy royal icing for a playful and charming treat perfect for classroom parties or gifts.
- Prep Time: 1 hour 37 minutes
- Cook Time: 11 minutes
- Total Time: 2 hours 8 minutes
- Yield: 24 cookies 1x
- Category: Dessert
- Cuisine: American
Ingredients
- 2 ¾ cups (345g) all-purpose flour
- 1 teaspoon baking powder
- ½ teaspoon salt
- 1 cup (226g) unsalted butter, softened
- 1 ½ cups (300g) granulated sugar
- 1 large egg, room temperature
- 2 teaspoons pure vanilla extract
- 1 tablespoon heavy cream or whole milk
- 4 cups (480g) powdered sugar, sifted
- 3 tablespoons meringue powder
- 6 tablespoons (90ml) warm water, adjusted as needed
- Gel food coloring (yellow, pink, silver, and black)
- Edible silver paint or luster dust (optional)
Instructions
- Mix dry ingredients: whisk together flour, baking powder, and salt in a medium bowl. (5 minutes)
- Cream butter and sugar: beat softened butter and sugar until light and fluffy using an electric mixer. (5 minutes)
- Add egg and vanilla: beat in egg and vanilla extract until combined. (2 minutes)
- Incorporate dry ingredients and cream: gradually add dry ingredients alternating with heavy cream, mixing just until combined. (5 minutes)
- Chill the dough: divide dough into two disks, wrap in plastic wrap, and chill for at least 1 hour or overnight. (60+ minutes)
- Preheat oven to 350°F (175°C) and prepare baking sheets with parchment paper or silicone mats. (10 minutes)
- Roll out dough to about ¼ inch (6mm) thickness on a lightly floured surface. (10 minutes)
- Cut cookies using pencil-shaped cookie cutter and transfer to baking sheets about 1 inch apart. (10 minutes)
- Bake cookies for 9 to 11 minutes, rotating pans halfway through, until edges are just turning golden. (10-11 minutes)
- Cool cookies on baking sheet for 5 minutes, then transfer to wire racks to cool completely. (20-30 minutes)
- Prepare royal icing: combine powdered sugar, meringue powder, and warm water; beat on low then high speed until thick and glossy. Divide and color as desired. (15 minutes)
- Decorate cookies: outline and flood pencil body in yellow icing, tip in pink, ferrule in silver or gray; let dry partially before adding black lead tips or details. (30-60 minutes drying time)
- Add final touches: use edible silver paint on ferrule for shine and let cookies dry completely overnight. (Overnight)
Notes
Chill dough thoroughly to prevent spreading. Use gel food coloring for vibrant icing. Let royal icing dry between layers to avoid bleeding. Adjust icing consistency by adding powdered sugar or water as needed. Use a timer to avoid overbaking. Store cookies in airtight container with parchment paper; freeze undecorated cookies for longer storage.
Nutrition
- Serving Size: 1 cookie
- Calories: 165
- Sugar: 16
- Sodium: 90
- Fat: 7
- Saturated Fat: 4
- Carbohydrates: 25
- Protein: 2
Keywords: sugar cookies, pencil-shaped cookies, royal icing, back-to-school treats, classroom party cookies, decorated sugar cookies, easy sugar cookies


