Third batch in two weeks, and I finally stopped adding extra honey to mask the elderberry tang. The first batch tasted like a health food store floor—earthy, a little bitter, and honestly, kind of sad. My kids spit them out. I don’t blame them. But I couldn’t let it go. There had to be a way to make these homemade elderberry immune-boosting gummies actually taste good, not just tolerable.
So I kept tweaking. Less water, more juice. A pinch of cinnamon that somehow makes everything feel warmer. And the real game-changer? Letting the gelatin bloom in cold juice instead of water. That one swap turned my rubbery little cubes into soft, bouncy gummies that actually feel like a treat. I’m not saying I’ve cracked the code on wellness, but I’ve definitely cracked the code on making my family actually look forward to taking their vitamins. Or whatever you call a spoonful of dark purple jelly that fights off winter crud.
Why You’ll Love This Recipe
These homemade elderberry immune-boosting gummies aren’t just another wellness trend. They’re a practical, delicious way to support your immune system during cold season. And honestly? They’re way better than any store-bought version I’ve tried.
- Quick & Easy: Ready in about 15 minutes of active time. The hardest part is waiting for them to set in the fridge.
- Simple Ingredients: You probably have most of these pantry staples already. No weird supplements or hard-to-find extracts.
- Perfect for Cold Season: Great for keeping on hand when sniffles start creeping in, or for packing in lunchboxes as a daily immune boost.
- Kid-Approved: These taste like fruity candy, not medicine. My kids actually ask for them—which I never thought I’d say about anything containing elderberry.
- Customizable: Adjust sweetness, swap juices, or add extra immune-supporting ingredients like ginger or vitamin C powder.
What makes these different from the rest? Most recipes use plain water or all juice, which either tastes flat or gets too sweet. I use a mix of tart cherry juice and a little honey, plus a pinch of warming spices that make the elderberry flavor feel cozy instead of medicinal. It’s not just another version—it’s the one that actually works for real people who don’t love the taste of straight elderberry syrup.
What Ingredients You Will Need
This recipe uses simple, wholesome ingredients that come together to create gummies that are both effective and enjoyable. No obscure supplements or expensive superfood powders here—just real food that supports your immune system.
- Dried elderberries, ½ cup (these are the star of the show; look for organic, deep purple berries from a reputable brand like Starwest Botanicals or Frontier Co-op)
- Water, 3 cups (filtered is best, but tap works fine)
- Tart cherry juice, ½ cup (unsweetened; adds natural sweetness and extra antioxidants without masking the elderberry flavor)
- Raw honey, 3 tablespoons (local honey is ideal for seasonal allergy support; use maple syrup if vegan)
- Grass-fed gelatin, ¼ cup (I prefer Vital Proteins or Great Lakes; this is what gives the gummies their bounce and immune-supporting collagen)
- Fresh ginger, 1-inch piece, sliced (adds warmth and anti-inflammatory benefits)
- Cinnamon stick, 1 (or ½ teaspoon ground cinnamon—adds cozy flavor and blood sugar support)
- Whole cloves, 3 (optional, but adds depth and antimicrobial properties)
- Vitamin C powder, ½ teaspoon (optional, for extra immune support; use a brand like NOW Foods or Pure Encapsulations)
Substitution guidance: If you can’t find dried elderberries, you can use 1 cup of ready-made elderberry syrup (just reduce the honey). For a vegan version, substitute agar agar powder for gelatin—though the texture will be firmer and less bouncy. If you don’t have tart cherry juice, use pomegranate or blueberry juice instead.
Equipment Needed
- Saucepan, medium-sized (for simmering the elderberry mixture)
- Fine-mesh strainer or cheesecloth (to strain out berries and spices)
- Silicone gummy molds (I use bear-shaped ones for kid appeal, but any shape works; avoid plastic molds as they’re harder to unmold)
- Small bowl (for blooming the gelatin)
- Whisk (for incorporating gelatin smoothly)
- Liquid measuring cup with spout (makes pouring into molds much easier and less messy)
- Dropper or small funnel (optional but helpful for filling tiny molds without spills)
If you don’t have silicone molds, you can pour the mixture into a small glass dish and cut into squares once set. It’s less cute but just as effective. I’ve done both, and honestly, the molds are worth the $8 investment for the first time you see a kid’s face light up over a bear-shaped gummy.
Preparation Method
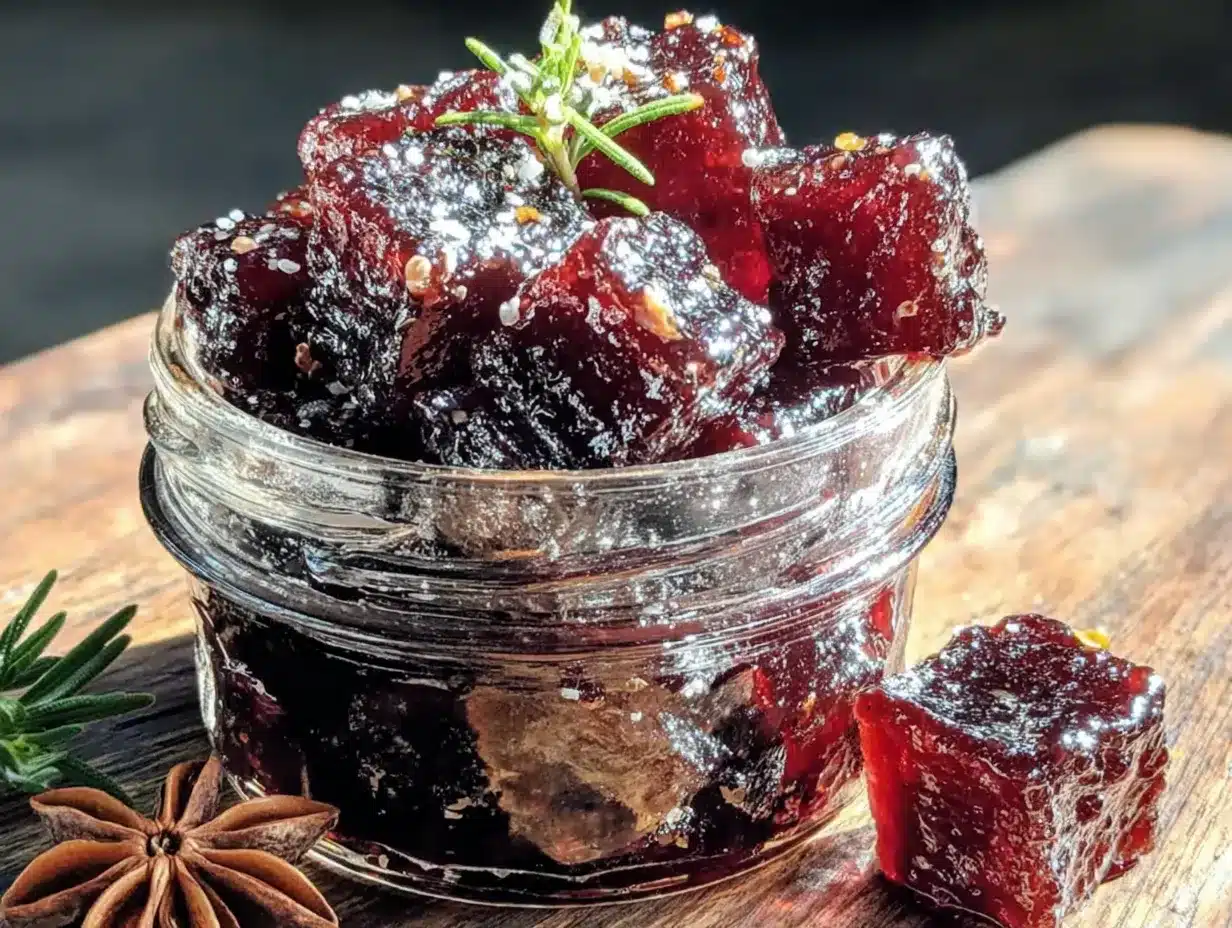
- Simmer the elderberry base: In a medium saucepan, combine the dried elderberries, water, sliced ginger, cinnamon stick, and cloves. Bring to a boil over medium-high heat, then reduce to a simmer. Let it bubble gently for 20-25 minutes, or until the liquid has reduced by about half. You’ll know it’s ready when the kitchen smells like a cozy winter cabin and the liquid is a deep, almost-black purple.
- Strain the mixture: Pour the liquid through a fine-mesh strainer or cheesecloth into a liquid measuring cup. Press down on the berries with the back of a spoon to extract every last drop of that good stuff. Discard the solids. You should have about 1 cup of concentrated elderberry liquid. If you have more, simmer it a few more minutes to reduce. If less, add a splash of water.
- Cool slightly and add juice: Let the liquid cool for 5 minutes—you want it warm but not hot. Stir in the tart cherry juice and honey until fully dissolved. The honey might take a minute to incorporate; just keep whisking. At this point, taste it. It should be pleasantly tart with a hint of sweetness. If it’s too sharp for your liking, add another tablespoon of honey.
- Bloom the gelatin: Pour the gelatin powder into a small bowl. Add ¼ cup of the warm elderberry mixture and whisk immediately to prevent clumps. Let it sit for 2-3 minutes until it becomes thick and jelly-like. This step is crucial—if you skip it, you’ll end up with grainy gummies that don’t set properly. Trust me, I learned this the hard way on batch one.
- Combine and warm: Pour the bloomed gelatin mixture back into the saucepan with the remaining elderberry liquid. Warm over low heat, whisking constantly, for 2-3 minutes until the gelatin is fully dissolved and the mixture is smooth. Do not let it boil—boiling can break down the gelatin and ruin the texture. You’re looking for a smooth, silky liquid with no lumps.
- Add vitamin C (optional): If using vitamin C powder, whisk it in now until completely dissolved. Be aware that vitamin C can make the gummies slightly more tart, so you might want to add an extra teaspoon of honey to balance it.
- Fill the molds: Carefully pour the mixture into a liquid measuring cup with a spout (this makes life so much easier). Fill your silicone molds using the spout, a dropper, or a small funnel. Work quickly but carefully—the mixture will start to set as it cools. If it thickens too much, just warm it gently again.
- Set and unmold: Place the filled molds on a small baking sheet (for easy transport) and refrigerate for at least 2 hours, or until firm. The gummies should feel bouncy and hold their shape when you press them. To unmold, gently push from the bottom of the mold—they should pop right out. If they stick, pop them in the freezer for 5 minutes.
Cooking Tips & Techniques
Making homemade elderberry immune-boosting gummies is simple, but a few tricks can mean the difference between perfect little gems and a sticky mess. Here’s what I’ve learned from my own failures.
Don’t skip the blooming step. I know it feels like an extra, fussy thing to do. But pouring gelatin directly into hot liquid creates clumps that never fully dissolve. Blooming it first in cool or warm liquid ensures a smooth, even texture. Batch one of mine had weird gelatin globs—my kids called them “gummy eyeballs.” Not my finest moment.
Temperature matters. If your liquid is too hot when you add the gelatin, it can weaken the gelling power. If it’s too cold, the gelatin won’t dissolve at all. Aim for warm but not hot—around 110°F, or what feels like a comfortable bath temperature. I use my finger to test; if it feels hot to the touch, I let it cool another minute.
Work quickly when filling molds. The mixture starts setting as it cools, especially if your kitchen is cold. If it thickens before you’re done, just set the saucepan back on low heat for 30 seconds, whisk, and continue. No need to panic.
Grease molds lightly if needed. High-quality silicone molds usually don’t need this, but if you’re using a cheaper set or trying to unmold for the first time, a very light spray of coconut oil can help. Just wipe out any excess with a paper towel.
Storage tip: These gummies are best kept in the fridge. They’ll last about 2-3 weeks in an airtight container. Don’t leave them at room temperature for more than a few hours—they’ll get sticky and might start to melt.
Variations & Adaptations
One of the best things about this recipe is how flexible it is. Over the past few weeks, I’ve tested several variations, and these are my favorites.
- Vegan version: Substitute agar agar powder for gelatin. Use 2 tablespoons agar agar, and whisk it into the hot elderberry liquid. Bring to a boil, then simmer for 2 minutes before pouring into molds. The texture will be firmer and less bouncy, but still satisfying. Use maple syrup instead of honey to keep it fully plant-based.
- Extra immune boost: Add ½ teaspoon of echinacea powder or ¼ teaspoon of turmeric powder along with the vitamin C. Turmeric can stain your molds yellow, so use dark-colored molds if you go this route. I tried this once and loved the earthy warmth it added.
- Spiced chai version: Replace the cinnamon and cloves with 1 teaspoon of chai spice blend (cardamom, ginger, cinnamon, nutmeg). This gives the gummies a cozy, almost dessert-like flavor. Perfect for fall and winter months.
- Low-sugar option: Skip the honey and use 2 tablespoons of monk fruit sweetener or stevia glycerite instead. The gummies will be less sweet but still effective. My husband actually prefers these—he says they taste more “grown-up.”
- Fruit-forward version: Use ½ cup of pomegranate juice instead of tart cherry juice. Pomegranate adds even more antioxidants and a slightly different flavor profile that pairs beautifully with elderberry.
I personally love the spiced chai version for winter mornings. There’s something about starting the day with a little gummy that tastes like a warm cup of tea—it just feels right.
Serving & Storage Suggestions
These homemade elderberry immune-boosting gummies are best served chilled, straight from the fridge. The cold temperature keeps them firm and bouncy, with that satisfying little snap when you bite into one. I like to keep a small jar on the kitchen counter for easy grabbing, but I refresh it from the fridge every day or so.
Serving ideas: Pop a couple in lunchboxes for a midday immune boost. Offer them after dinner as a healthier alternative to candy. Or keep them on your desk for a quick pick-me-up during cold season. My kids love them as an after-school snack, and I’ve been known to sneak a few while cooking dinner.
Storage: Place the gummies in an airtight container, layered between pieces of parchment paper to prevent sticking. They’ll keep in the refrigerator for 2-3 weeks. For longer storage, you can freeze them for up to 3 months—just thaw in the fridge overnight before eating. Freezing can make them slightly softer, but they still taste great.
Reheating note: These are meant to be eaten cold. If you leave them out for more than a few hours, they’ll get sticky and might start to sweat. If that happens, just pop them back in the fridge for 30 minutes to firm up again.
Flavor development: Interestingly, the elderberry flavor deepens after a day or two in the fridge. The first day, they taste mostly fruity and sweet. By day three, the earthy, slightly tart elderberry notes become more pronounced. I actually prefer them on day two—they’ve hit that sweet spot where everything balances perfectly.
Nutritional Information & Benefits
While I’m not a nutritionist, I can share what I’ve learned about the ingredients in these gummies. Elderberries are packed with antioxidants, particularly anthocyanins, which help support a healthy immune response. Combined with vitamin C and the anti-inflammatory properties of ginger and cinnamon, these little gummies are a powerhouse of wellness.
Estimated per serving (2 gummies):
- Calories: 35
- Carbohydrates: 7g
- Sugar: 5g
- Protein: 2g
- Vitamin C: 15mg (from added powder)
Dietary considerations: This recipe is naturally gluten-free, dairy-free, and nut-free. For a vegan version, use agar agar and maple syrup. The gelatin version contains animal products, so it’s not suitable for vegetarians or vegans.
Potential allergens: None of the common allergens are present in the base recipe. However, if you’re using vitamin C powder, check the label for added fillers or cornstarch.
I personally love that these gummies let me feel proactive about my family’s health without relying on sugary store-bought options. They’re a small, daily habit that adds up to real peace of mind during cold season.
Conclusion
These homemade elderberry immune-boosting gummies are proof that taking care of your health doesn’t have to taste like a chore. With the right balance of tart and sweet, a bouncy, satisfying texture, and ingredients you can actually pronounce, they’ve become a staple in my kitchen—and I think they’ll become one in yours too.
What I love most about this recipe is how forgiving it is. You can tweak the sweetness, swap the juice, add spices, or skip them entirely. It’s your kitchen, your rules. Start with the base recipe, then make it your own. Maybe you’ll discover a combination I haven’t tried yet—if you do, I’d love to hear about it.
So grab some dried elderberries, pull out your silicone molds, and give these a try. Your immune system (and your taste buds) will thank you. And if you make them, drop a comment below and let me know how they turned out. Did you add ginger? Skip the honey? Make a double batch because your kids devoured the first one? I want to hear it all!
Happy gummy-making, friends. Here’s to staying healthy, one little bear at a time.
Frequently Asked Questions
Can I use fresh elderberries instead of dried?
Technically yes, but I don’t recommend it. Fresh elderberries have a much higher water content, which can make the syrup too thin and affect the gummy texture. Dried elderberries are more concentrated and consistent. Plus, fresh elderberries need to be cooked thoroughly—they can cause stomach upset if eaten raw. Stick with dried for the best results.
How many gummies should I eat per day?
I usually recommend 2-3 gummies per day for adults, and 1-2 for kids under 12. These are a supplement, not candy, so moderation is key. If you’re using them preventatively during cold season, 2 gummies a day is plenty. If you’re already feeling run down, you can increase to 3-4 for a few days.
Can I use pre-made elderberry syrup instead of making the concentrate?
Yes! If you have store-bought elderberry syrup, you can skip the simmering step entirely. Just warm 1 cup of the syrup, add the gelatin (bloomed in a little cold water first), and proceed with the recipe. Keep in mind that pre-made syrups vary in sweetness, so you might need to adjust the honey.
Why did my gummies turn out too soft or too hard?
Too soft usually means you didn’t use enough gelatin, or the mixture wasn’t heated enough to fully dissolve it. Too hard means you used too much gelatin or simmered the mixture too long, which concentrates the liquid. Stick to the measurements in the recipe and use a kitchen scale if possible—gelatin is finicky, and eyeballing it rarely works.
Can I make these without molds?
Absolutely. Pour the mixture into a small glass dish (like an 8×8 pan) lined with parchment paper, and refrigerate until set. Once firm, cut into small squares with a sharp knife. They won’t look as cute as bear-shaped gummies, but they work just as well. I’ve done this plenty of times when I couldn’t find my molds.
Pin This Recipe!
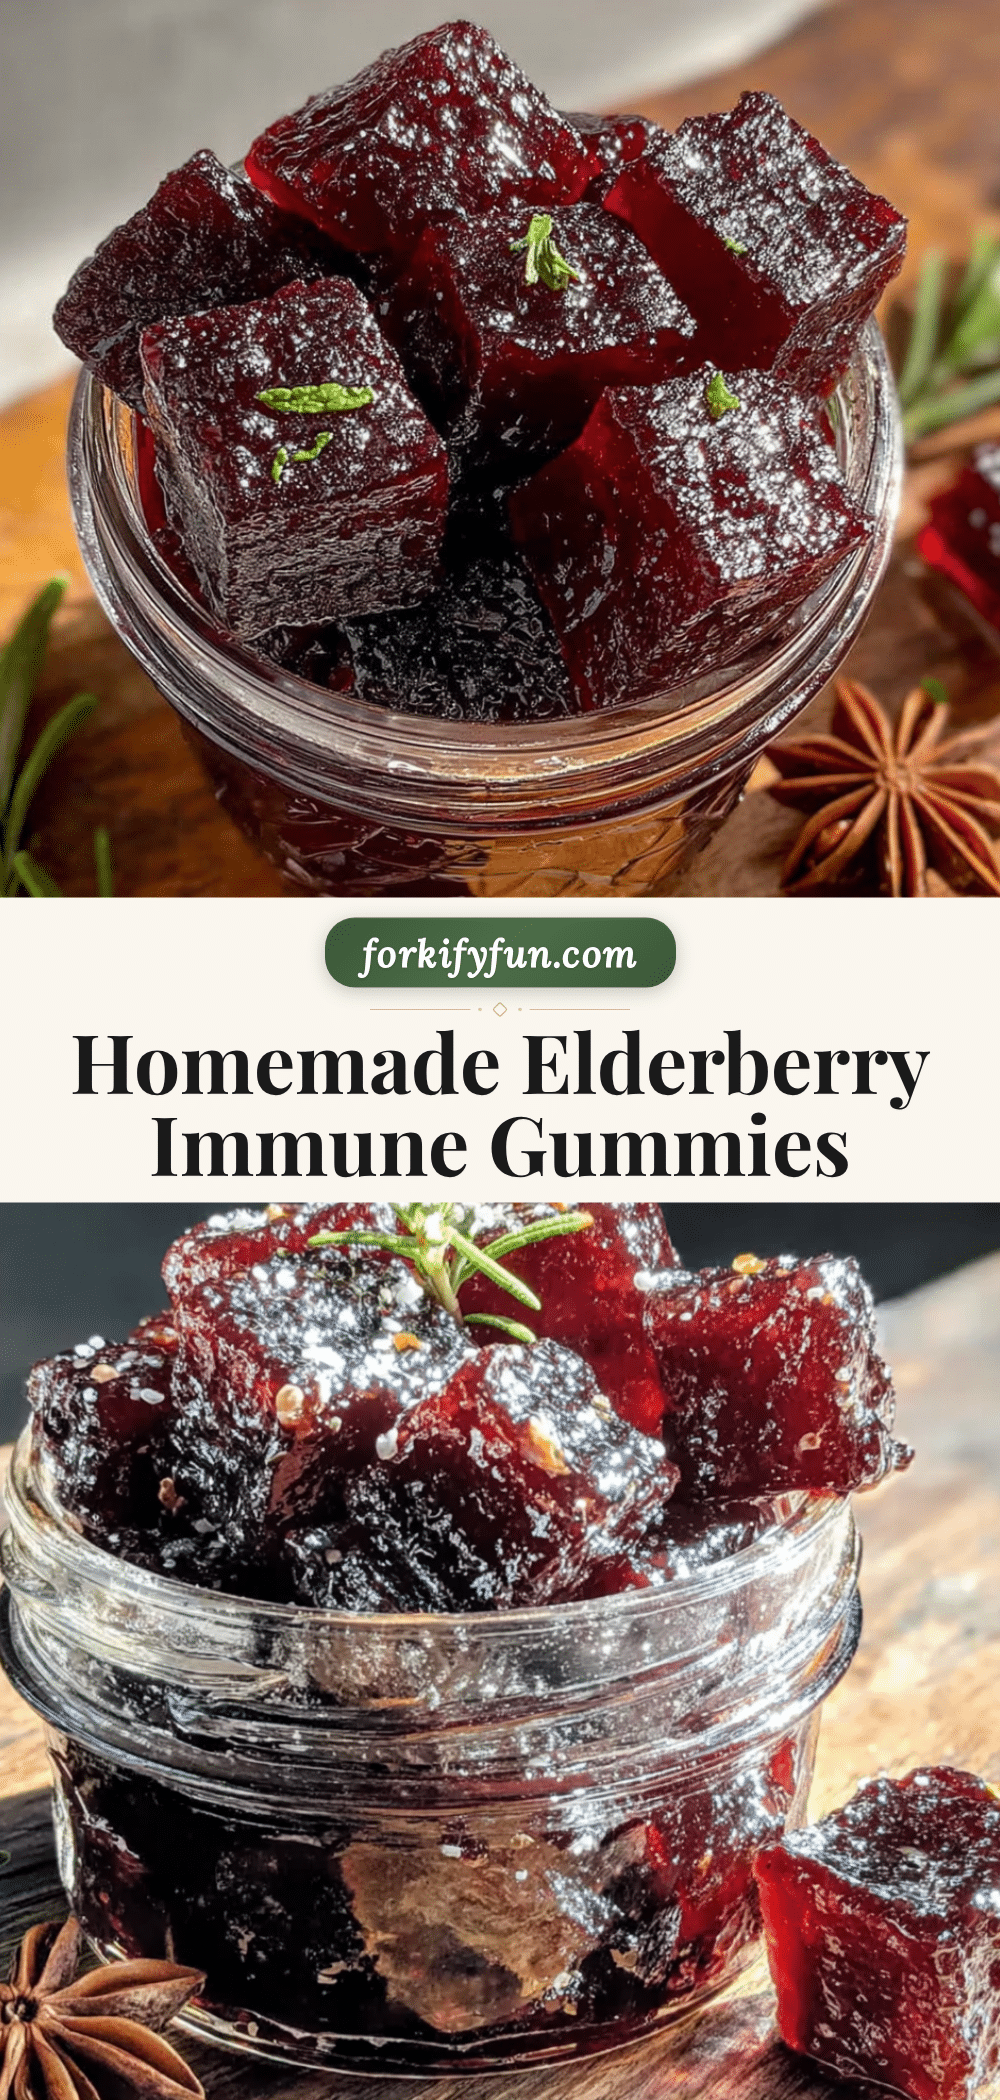
Homemade Elderberry Gummies: Best Immune-Boosting Recipe
These homemade elderberry immune-boosting gummies are a practical, delicious way to support your immune system during cold season. With the right balance of tart and sweet, a bouncy, satisfying texture, and simple ingredients, they’re way better than any store-bought version.
- Prep Time: 15 minutes
- Cook Time: 25 minutes
- Total Time: 2 hours 40 minutes (includes 2 hours setting time)
- Yield: Approximately 60 gummies (30 servings of 2 gummies each) 1x
- Category: Snack, Supplement
- Cuisine: American
Ingredients
- ½ cup dried elderberries
- 3 cups water
- ½ cup unsweetened tart cherry juice
- 3 tablespoons raw honey
- ¼ cup grass-fed gelatin
- 1-inch piece fresh ginger, sliced
- 1 cinnamon stick
- 3 whole cloves (optional)
- ½ teaspoon vitamin C powder (optional)
Instructions
- Simmer the elderberry base: In a medium saucepan, combine the dried elderberries, water, sliced ginger, cinnamon stick, and cloves. Bring to a boil over medium-high heat, then reduce to a simmer. Let it bubble gently for 20-25 minutes, or until the liquid has reduced by about half.
- Strain the mixture: Pour the liquid through a fine-mesh strainer or cheesecloth into a liquid measuring cup. Press down on the berries with the back of a spoon to extract every last drop. Discard the solids. You should have about 1 cup of concentrated elderberry liquid.
- Cool slightly and add juice: Let the liquid cool for 5 minutes. Stir in the tart cherry juice and honey until fully dissolved.
- Bloom the gelatin: Pour the gelatin powder into a small bowl. Add ¼ cup of the warm elderberry mixture and whisk immediately to prevent clumps. Let it sit for 2-3 minutes until it becomes thick and jelly-like.
- Combine and warm: Pour the bloomed gelatin mixture back into the saucepan with the remaining elderberry liquid. Warm over low heat, whisking constantly, for 2-3 minutes until the gelatin is fully dissolved and the mixture is smooth. Do not let it boil.
- Add vitamin C (optional): If using vitamin C powder, whisk it in now until completely dissolved.
- Fill the molds: Carefully pour the mixture into a liquid measuring cup with a spout. Fill your silicone molds using the spout, a dropper, or a small funnel. Work quickly but carefully.
- Set and unmold: Place the filled molds on a small baking sheet and refrigerate for at least 2 hours, or until firm. To unmold, gently push from the bottom of the mold.
Notes
Don’t skip the blooming step for smooth texture. Temperature matters: liquid should be warm but not hot (around 110°F). Work quickly when filling molds. Grease molds lightly with coconut oil if needed. Store in refrigerator for 2-3 weeks or freeze for up to 3 months. Flavor deepens after a day or two.
Nutrition
- Serving Size: 2 gummies
- Calories: 35
- Sugar: 5
- Sodium: 5
- Carbohydrates: 7
- Protein: 2
Keywords: elderberry gummies, immune boosting, homemade gummies, elderberry recipe, cold season remedy, healthy snacks, kid-friendly, gelatin gummies