“Mom, can we get the Lunchables?” — I swear, those five words were the soundtrack of my grocery trips for a solid two years. And every single time, I’d stare at that little plastic tray, do the mental math on the price per ounce, and think… I can do better than this. Not in a smug way, just in a “I have cheese in my fridge and crackers in my pantry” kind of way. So one Tuesday afternoon, after a particularly intense staredown with a box of processed meat in the grocery aisle, I finally snapped. I bought none of it. Instead, I came home, grabbed a bento-style container from the back of my cabinet, and started building my own version of that childhood classic.
Honestly, the first attempt was a little sad. I used the wrong crackers—too thick, they broke when I tried to stack the cheese. But by the third try? I had cracked the code. This homemade ham and cheese cracker Lunchables box is everything the store-bought version wishes it could be. Better cheese. Better ham. Crackers that actually stay crunchy. And zero of that weird plastic divider you always feel guilty throwing away.
This isn’t just a recipe—it’s a little triumph of practicality over packaging. It’s the kind of thing you make once and then never go back to the original. And honestly? That feels pretty good.
Why You’ll Love This Recipe
I’ve tested this concept about a dozen times with different ingredients, different containers, even different ages of kids (my own and my neighbor’s). Here’s why this version wins every single time:
- Quick & Easy : From start to finish, you’re looking at about 10 minutes of active work. Maybe 15 if you’re cutting cheese into cute shapes. That’s faster than a drive-thru line.
- Simple Ingredients : You need exactly four main components—ham, cheese, crackers, and maybe a little fruit or veggie on the side. No weird preservatives, no mystery ingredients.
- Perfect for Lunchboxes : This is the ultimate packable lunch. It travels well, doesn’t need reheating, and kids (and adults) actually look forward to opening it.
- Crowd-Pleaser : I’ve packed these for school lunches, road trips, picnic lunches, and even grown-up work lunches. Every single time, someone says “oh, that looks good.”
- Unbelievably Customizable : Once you learn the basic formula, you can swap in turkey, salami, different cheeses, different crackers—the possibilities are endless.
What makes this different from the store-bought version is the quality. You control the ham—I like getting it sliced thick from the deli counter instead of the pre-packaged stuff. You choose the cheese—sharp cheddar, provolone, gouda, whatever you’re feeling. And the crackers stay crunchy because you’re not storing them in the same compartment as the meat. It’s not rocket science, it’s just better.
This is the kind of lunch that makes you feel like you’ve got your life together, even if the rest of the day is chaos. And sometimes, that’s exactly what you need.
What Ingredients You Will Need
This recipe uses simple, straightforward ingredients that you probably already have in your fridge and pantry. The beauty is in the quality and the combination—not in any fancy techniques.
- Ham: 8 ounces, thinly sliced. I prefer honey ham or black forest ham from the deli counter for the best flavor. Pre-packaged slices work fine in a pinch, but the texture is better when it’s freshly sliced.
- Cheese: 8 ounces, sliced. Cheddar, provolone, Swiss, or Colby Jack all work beautifully. I like using a mix of two cheeses for variety. Sharp cheddar is my go-to for that classic Lunchables taste, but upgraded.
- Crackers: About 24-30 crackers. Mini saltines, Ritz-style buttery rounds, or square wheat crackers work best. Avoid anything too thick or too fragile—you want something that can hold a piece of cheese and ham without crumbling.
- Optional fruit/veggie add-ins: Apple slices, grapes, baby carrots, cucumber rounds, or cherry tomatoes. These add color, crunch, and a little nutritional balance.
- Optional spread: A tiny container of honey mustard, Dijon, or cream cheese for dipping or spreading. This takes it from good to great.
That’s it. No long list of exotic ingredients. No special trips to a specialty store. Just good, simple food that comes together in minutes.
Equipment Needed
You don’t need much to put these together. Here’s what I use:
- Bento-style lunchbox or compartment containers: These are ideal because they keep the crackers separate from the meat and cheese. I’ve picked up a set of three-compartment containers from Amazon for about $12, and they’ve held up for years.
- Cutting board and sharp knife: For slicing the cheese and ham into manageable pieces. You want pieces that are roughly the size of your crackers.
- Small cookie cutters (optional but fun): Star shapes, hearts, or little circles for the cheese. This is a game-changer if you’re packing for kids.
- Small condiment containers: If you’re adding a spread or dip, these little silicone cups with lids are perfect. I got a pack of 10 for a few bucks.
- Paper towels or reusable napkins: Because things can get a little sticky, especially if you’re adding fruit.
No fancy equipment required. If you’ve got a container with dividers and a knife, you’re good to go.
Preparation Method
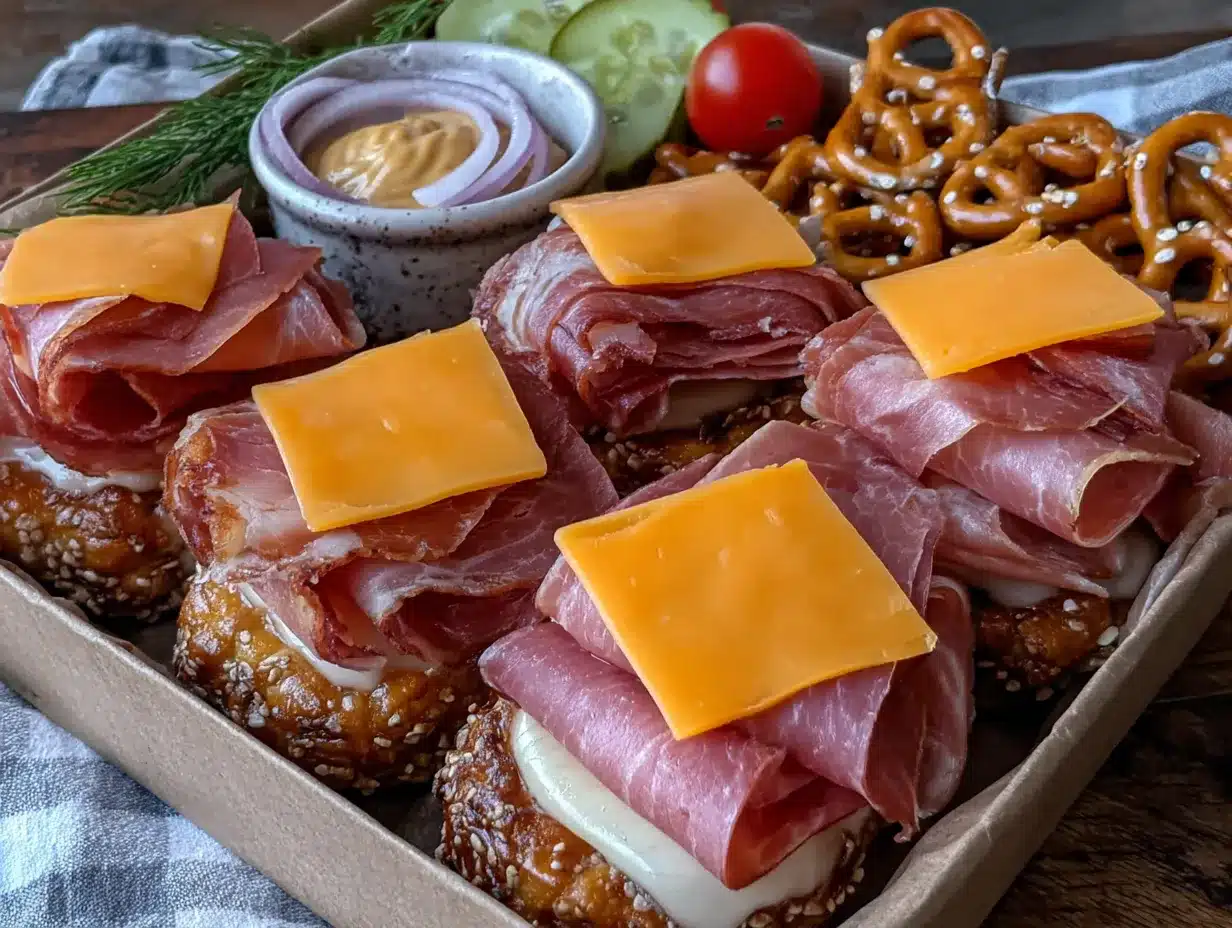
This is almost too easy, but I’ll walk you through it step by step so you get the best results every time.
- Prep your ham: If your ham slices are large, cut them into quarters or thirds—pieces that are roughly the size of your crackers. I like making them slightly smaller than the cracker so they don’t hang over the edges too much. Stack the slices and cut through the whole stack at once to save time.
- Prep your cheese: Slice your cheese into squares or rectangles that match the size of your crackers. If you’re using cookie cutters, press them into the cheese slices to create fun shapes. Pro tip: spray the cookie cutter with a little non-stick spray first—the cheese won’t stick as much.
- Portion your crackers: Count out 8-10 crackers per lunchbox, depending on the size of your container. You want enough for a satisfying lunch but not so many that they get crushed.
- Assemble the compartments: Place the crackers in one compartment. Place the ham slices in a second compartment. Place the cheese pieces in the third compartment. Keep them separate—this is the whole point of the homemade version. The crackers stay crunchy, the cheese doesn’t get sweaty, and the ham doesn’t make everything soggy.
- Add extras: If you’re including fruit or veggies, add them to any empty space or use a fourth compartment if your container has one. Apple slices with a little lemon juice to prevent browning are my favorite addition.
- Pack the spread (optional): If you’re including honey mustard or another spread, fill a small condiment container and nestle it into the lunchbox. I like putting it next to the cheese so it doesn’t spill onto the crackers.
- Close and refrigerate: Seal the container and store it in the fridge until you’re ready to pack it. These can be made up to 3 days in advance—the crackers will stay crunchy if they’re kept separate from the ham and cheese.
One thing I learned the hard way: don’t stack the ham and cheese directly on top of the crackers. I tried that once to save space, and by lunchtime, the crackers were soft and sad. Keep them separate, and your lunch will be infinitely better.
Cooking Tips & Techniques
I’ve made enough of these lunchboxes to know what works and what doesn’t. Here are my best tips:
- Choose sturdy crackers: Thin, delicate crackers will break the first time they get jostled in a lunchbox. Go for something with a little structure—mini saltines, square wheat crackers, or buttery rounds are all great choices.
- Slice cheese at room temperature: Cold cheese is harder to cut cleanly and more likely to crumble. Let it sit on the counter for 10 minutes before slicing, and you’ll get much neater pieces.
- Layer strategically in the container: Put heavier items on the bottom and lighter items on top. If you’re packing grapes, put them under the cheese so they don’t crush the crackers.
- Use an ice pack: Ham and cheese need to stay refrigerated, so toss a small ice pack in the lunchbox if you’re packing these for school or work. It keeps everything fresh and safe.
- Prep in bulk on Sunday: I’ll slice a whole block of cheese and a whole package of ham at once, then portion them into containers for the week. It takes 15 minutes and saves so much time on busy mornings.
I once forgot to use an ice pack on a hot day, and let me tell you—warm ham and sweaty cheese is not a good look. Learn from my mistake and keep things cool.
Variations & Adaptations
This basic formula is endlessly adaptable. Here are some of my favorite variations:
- Turkey and Swiss: Swap the ham for sliced turkey breast and use Swiss cheese. Add a little Dijon mustard in a small container for dipping. This is my go-to for a slightly lighter option.
- Italian-style: Use salami or pepperoni with provolone cheese. Add a few olives and a tiny container of balsamic vinaigrette for dipping. This one feels fancy but takes the same amount of time.
- Vegetarian version: Skip the ham and use extra cheese with hummus or cream cheese for spreading. Add cucumber rounds and bell pepper strips for crunch. This is surprisingly satisfying and perfect for meatless Mondays.
- Sweet and savory: Pair sharp cheddar with apple slices and a drizzle of honey. The combination of salty cheese and sweet apple is absolutely addictive.
- Kid-approved: Use mild cheddar or Colby Jack with honey ham. Add a few mini chocolate chips in a separate compartment for a treat. My niece calls these “fancy lunchboxes” and requests them every time she visits.
I’ve tried all of these, and honestly, the Italian-style one is my current favorite. Something about salami and provolone just hits different when you’re eating it out of a little compartment box.
Serving & Storage Suggestions
These lunchboxes are best served cold, straight from the fridge. The contrast between the cool cheese and ham and the room-temperature crackers is part of the magic.
For storage, keep the assembled containers in the refrigerator for up to 3 days. The crackers will stay crunchy as long as they’re in a separate compartment from the ham and cheese. If you’re packing these for the next day, I recommend adding any fresh fruit or veggies in the morning so they don’t get soggy overnight.
If you’re freezing these, I wouldn’t recommend it. The texture of the ham and cheese changes when frozen and thawed, and the crackers will definitely get soft. Stick to making them fresh and storing them in the fridge.
For serving, I like to take the container out of the fridge about 5 minutes before eating—just enough time for the cheese to lose that initial chill. It makes the flavors come through better.
One more thing: these are perfect for picnics, road trips, and plane rides. Just pack them in a small cooler bag with an ice pack, and you’ve got a portable lunch that doesn’t require any heating or assembly.
Nutritional Information & Benefits
Here’s a rough estimate for one lunchbox (using 8 crackers, 2 ounces of ham, and 2 ounces of cheese):
- Calories: Approximately 350-400 calories
- Protein: 20-25 grams
- Fat: 18-22 grams
- Carbohydrates: 25-30 grams
- Fiber: 1-2 grams
- Sugar: 3-5 grams (varies based on ham and crackers)
The protein from the ham and cheese makes this a satisfying lunch that will keep you full for hours. Cheese is also a good source of calcium, which is great for bone health. If you’re watching your sodium intake, look for low-sodium ham and crackers—that can cut the salt content significantly.
This lunchbox is naturally low-carb friendly if you swap the crackers for cucumber rounds or bell pepper slices. It’s also easy to make gluten-free by using gluten-free crackers. And if you’re dairy-free, there are plenty of great plant-based cheese alternatives that work perfectly here.
Conclusion
This homemade ham and cheese cracker Lunchables box is proof that sometimes the simplest ideas are the best ones. It takes 10 minutes to put together, uses ingredients you probably already have, and tastes infinitely better than anything that comes in a plastic tray with a cardboard divider.
I love this recipe because it makes lunch feel special without being complicated. It’s the kind of thing that makes you look forward to opening your lunchbox, whether you’re 8 years old or 38. And honestly? That’s a pretty great thing.
If you try this, I’d love to hear how it goes. Leave a comment below and let me know what variations you came up with—did you go with turkey and Swiss? Salami and provolone? Something totally unexpected? I’m always looking for new ideas to try.
And if you’re looking for more easy, packable lunch ideas, you might also enjoy these cheesy chicken quesadilla roll-ups or this thermos-friendly mac and cheese with hidden veggies. Both are perfect for lunchboxes and just as easy to make ahead.
Happy packing, friends. Your lunchbox just got a serious upgrade.
Frequently Asked Questions
Can I use any type of ham for this recipe?
Absolutely! Honey ham, black forest ham, smoked ham, or even leftover roasted ham all work great. The best choice is whatever you personally enjoy eating. I recommend getting it sliced fresh from the deli counter for the best texture and flavor, but pre-packaged slices work in a pinch.
How long will these stay fresh in the fridge?
Assembled lunchboxes will stay fresh for up to 3 days in the refrigerator, as long as the crackers are kept in a separate compartment from the ham and cheese. If you’ve added fresh fruit or veggies, I’d recommend eating those within 24 hours for the best texture.
Can I make these gluten-free?
Yes! Simply swap the regular crackers for your favorite gluten-free crackers. There are so many good options available now—I like the gluten-free versions of buttery rounds or seed-based crackers. Everything else in the recipe is naturally gluten-free.
What’s the best way to keep the crackers from getting soft?
Keep them in a completely separate compartment from the ham and cheese. Moisture is the enemy of crunchy crackers, so as long as they’re not touching the other ingredients, they’ll stay crisp. I also recommend not washing the container right before packing—any residual moisture can soften the crackers.
Can I add other items to the lunchbox?
Definitely! This is meant to be a base that you can customize. Some of my favorite additions include apple slices (tossed with a little lemon juice to prevent browning), grapes, baby carrots, cucumber rounds, cherry tomatoes, or a small handful of nuts. Just make sure everything fits without overcrowding the container.
Pin This Recipe!
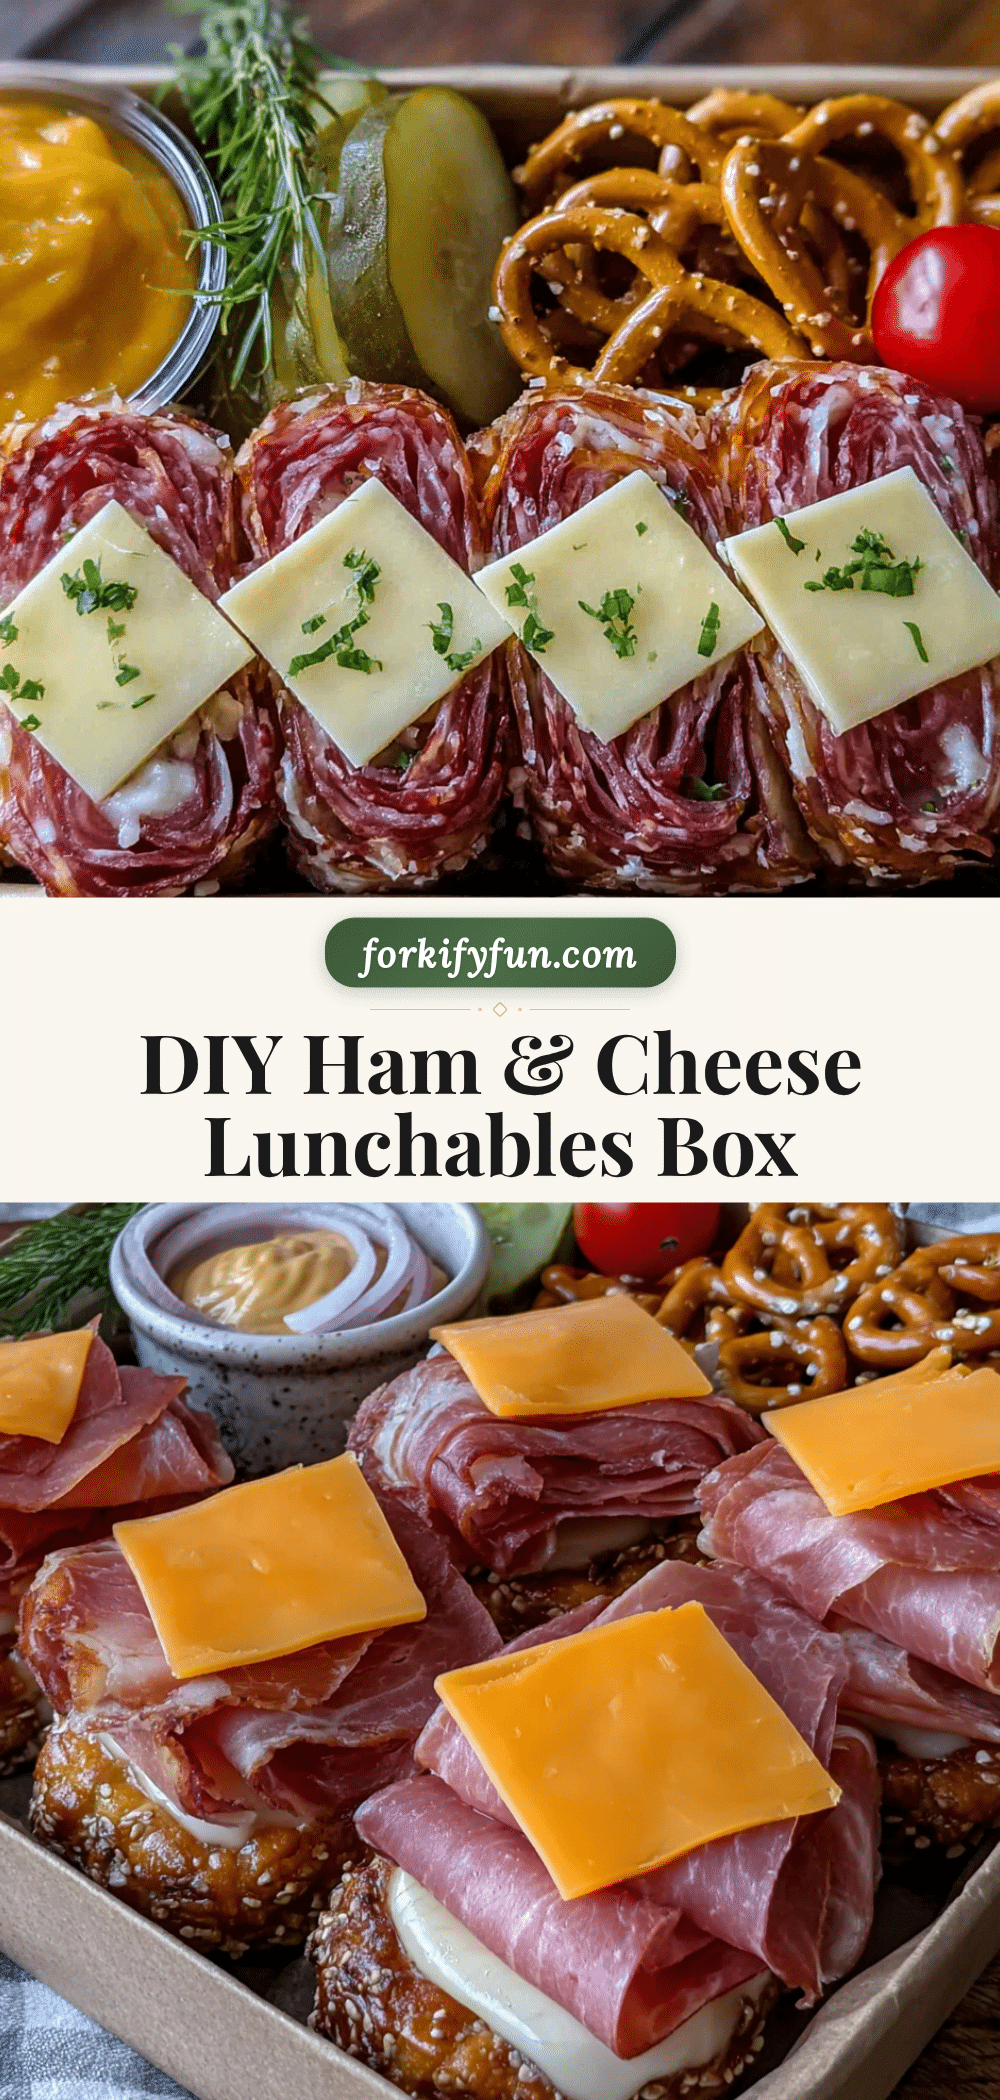
Easy Ham & Cheese Cracker Lunchables: Best Homemade Box

A quick and easy homemade version of the classic Lunchables box, featuring better quality ham, cheese, and crunchy crackers, all packed in a bento-style container for a satisfying, customizable lunch.
- Prep Time: 10 minutes
- Cook Time: 0 minutes
- Total Time: 10 minutes
- Yield: 4 servings 1x
- Category: Lunch
- Cuisine: American
Ingredients
- 8 ounces ham, thinly sliced (honey ham or black forest ham recommended)
- 8 ounces cheese, sliced (cheddar, provolone, Swiss, or Colby Jack)
- 24–30 crackers (mini saltines, Ritz-style buttery rounds, or square wheat crackers)
- Optional: apple slices, grapes, baby carrots, cucumber rounds, or cherry tomatoes
- Optional: honey mustard, Dijon mustard, or cream cheese for dipping
Instructions
- Prep the ham: If ham slices are large, cut them into quarters or thirds, roughly the size of your crackers. Stack slices and cut through the stack to save time.
- Prep the cheese: Slice cheese into squares or rectangles matching cracker size. Optionally, use small cookie cutters to create fun shapes (spray cutter with non-stick spray first).
- Portion the crackers: Count out 8-10 crackers per lunchbox, depending on container size.
- Assemble compartments: Place crackers in one compartment, ham slices in a second, and cheese pieces in a third. Keep them separate to maintain crunchiness.
- Add extras: If including fruit or veggies, add them to empty space or a fourth compartment. Toss apple slices with lemon juice to prevent browning.
- Pack the spread (optional): Fill a small condiment container with honey mustard or other spread and nestle it into the lunchbox, preferably next to the cheese.
- Close and refrigerate: Seal the container and store in the fridge for up to 3 days. Keep crackers separate from ham and cheese to maintain crunch.
Notes
Keep crackers in a separate compartment from ham and cheese to prevent sogginess. Use an ice pack if packing for school or work to keep ingredients fresh. Prep in bulk on Sunday for easy weekday lunches. Not recommended for freezing.
Nutrition
- Serving Size: 1 lunchbox (8 cracke
- Calories: 375
- Sugar: 4
- Sodium: 800
- Fat: 20
- Saturated Fat: 10
- Carbohydrates: 27
- Fiber: 1.5
- Protein: 22
Keywords: homemade lunchables, ham and cheese crackers, packable lunch, bento box lunch, easy lunch idea, kid-friendly lunch, no-cook lunch