Juggling three lunchboxes and a ringing phone when I realized the usual sandwich stash was nowhere to be found. Half a block of cheddar, a handful of leftover chicken, and some flour tortillas stood between me and a full-blown lunchbox meltdown. Honestly, that’s how these easy cheesy chicken quesadilla roll-ups came to be—born out of necessity, a sprinkle of desperation, and a dash of whatever was in the fridge. The kitchen smelled like melty cheese and toasted tortillas within minutes, while the kids kept stealing bites off the counter (not that I blamed them). They’re simple, handheld, and somehow fancy enough to make lunchtime feel special without any fuss. Plus, they don’t crumble or turn soggy—a small miracle in the world of school lunches.
It hit me quietly in the chaos that this recipe wasn’t just a quick fix but something I’d come back to again and again. The kind of lunchbox treat that makes the afternoon a little brighter, the hunger a little easier to manage, and the whole “what’s for lunch?” panic far less dramatic. If you’re on the hunt for a lunchbox hero recipe that’s easy, cheesy, and reliably delicious, these quesadilla roll-ups might just become your secret weapon too.
Why You’ll Love This Recipe
After trying countless lunchbox ideas that fell flat—too messy, bland, or just plain boring—these easy cheesy chicken quesadilla roll-ups stood out as a total game-changer. Here’s why they’re a go-to in our house:
- Quick & Easy: Ready in under 20 minutes, perfect for those mornings when time’s tight and patience is thinner.
- Simple Ingredients: No need for specialty stores or exotic items—just everyday staples like shredded chicken, cheese, and tortillas.
- Perfect for Lunch Boxes: Compact and neat, these roll-ups hold together well and don’t leave a mess, making them ideal for school or work lunches.
- Crowd-Pleaser: From picky kids to hungry adults, they get rave reviews every time, thanks to the melty cheese and savory chicken combo.
- Unbelievably Delicious: That crispy, golden tortilla with gooey cheese inside? It’s comfort food with a little twist.
This isn’t your ordinary quesadilla. The trick is in rolling them tight and slicing into bite-sized pinwheels, which ups the fun factor and makes them perfect finger food. Plus, mixing in a hint of smoky paprika and garlic powder gives it just enough kick without overpowering the cheesy goodness. They’re the kind of recipe that feels like a treat but sneaks in a bit of protein and flavor to keep everyone fueled.
What Ingredients You Will Need
This recipe uses simple, wholesome ingredients to create a flavorful and satisfying lunch treat that’s easy to put together. Most are pantry staples, and substitutions are straightforward if needed.
- Flour tortillas: Medium or large size, soft and fresh for easy rolling (I prefer Mission brand for their flexibility).
- Cooked chicken: Shredded or diced (rotisserie chicken works perfectly for a quick option).
- Cheddar cheese: Sharp or mild, shredded (using freshly shredded cheese melts better than pre-shredded).
- Mozzarella cheese: Shredded, adds that gooey stretch.
- Green onions: Thinly sliced, for a fresh bite.
- Garlic powder: Just a pinch to boost flavor.
- Smoked paprika: Adds a subtle smoky warmth without heat.
- Salt and pepper: To taste.
- Olive oil or butter: For crisping the roll-ups in the pan.
- Sour cream or salsa (optional): For dipping, but not necessary if packing for lunch.
For a gluten-free twist, you can swap the flour tortillas with corn or gluten-free tortillas, though they may be a little trickier to roll. If dairy is a concern, try using dairy-free cheese alternatives and skip the butter in favor of oil. These substitutions keep the recipe flexible without losing the core comforting flavors.
Equipment Needed
- Non-stick skillet or frying pan: Essential for crisping the roll-ups evenly without sticking. I’ve used both cast iron and non-stick pans with great success.
- Spatula: For flipping the roll-ups carefully without breaking them.
- Mixing bowl: To combine the chicken, cheese, and seasonings.
- Cheese grater: If shredding cheese fresh (highly recommended for melt quality).
- Sharp knife: To slice the roll-ups into neat pinwheels.
If you don’t have a non-stick skillet, a well-seasoned cast iron pan works just as well but be sure to use enough oil or butter to prevent sticking. A budget-friendly option is a ceramic-coated frying pan, which heats evenly and cleans up easily. Keeping your pans clean and dry before cooking helps with crisping and prevents sogginess.
Preparation Method
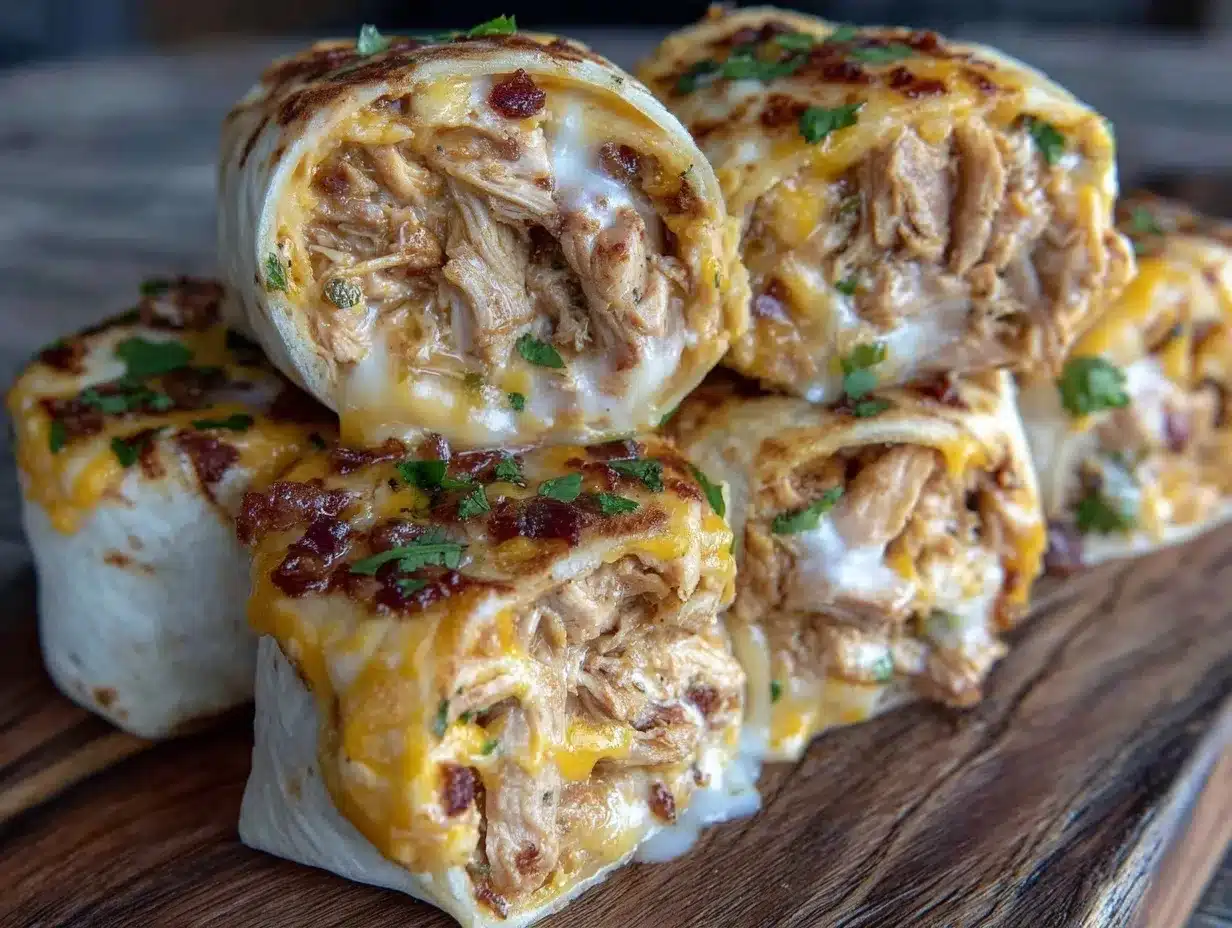
- Prepare the filling: In a mixing bowl, combine 1 ½ cups (about 225g) shredded cooked chicken, 1 cup (100g) shredded cheddar, 1 cup (100g) shredded mozzarella, 2 tablespoons sliced green onions, ½ teaspoon garlic powder, ½ teaspoon smoked paprika, and a pinch of salt and pepper. Mix gently to combine all ingredients evenly.
- Warm the tortillas: Heat each flour tortilla in a dry skillet over medium heat for about 15 seconds per side until soft and pliable. This prevents cracking when rolling.
- Assemble the roll-ups: Lay a warmed tortilla flat and evenly spread about ⅓ cup of the chicken-cheese mixture over it, leaving a ½-inch border around the edges. Roll the tortilla tightly from one end to the other, pressing gently to secure the filling inside.
- Slice into pinwheels: Using a sharp knife, cut each roll into 1-inch (2.5 cm) wide slices. You should get about 6-8 bite-sized pieces per tortilla.
- Cook the roll-ups: Heat 1 tablespoon olive oil or butter in a skillet over medium heat. Place the roll-up slices cut-side down in the pan (you may need to do this in batches). Cook for 2-3 minutes until golden and crispy, then flip and cook the other side for another 2 minutes. The cheese should be melty and the tortilla crisp.
- Cool and pack: Let the roll-ups cool slightly before packing into lunchboxes to avoid sogginess. Add a small container of salsa or sour cream for dipping if desired.
Watch closely while cooking because the cheese melts fast and tortillas can burn if left unattended. If you find the roll-ups are falling apart, try rolling tighter or using a slightly smaller tortilla. The warming step is key—cold tortillas tend to crack when rolled.
Cooking Tips & Techniques
One insider tip? Don’t skip the warming step on the tortillas. That little touch makes rolling so much easier and keeps the edges from cracking apart when sliced. Also, mixing two types of cheese—cheddar for flavor and mozzarella for that stringy melt—gives these roll-ups a delightful texture contrast that’s surprisingly satisfying.
When cooking, keep the heat at medium rather than high. High heat might crisp the outside too quickly while leaving the cheese unmelted inside. Medium heat gives a perfect golden crust without burning. I’ve learned the hard way not to crowd the pan; giving each roll-up space helps them cook evenly.
Another trick: after cooking, let the roll-ups rest for a couple of minutes on a wire rack or plate lined with paper towels. This prevents the bottom from steaming and getting soggy, which can happen if you pack them immediately.
Variations & Adaptations
- Spicy Kick: Add finely chopped jalapeños or a sprinkle of cayenne pepper to the chicken mixture for a nice heat boost.
- Vegetarian Version: Replace chicken with sautéed mushrooms, bell peppers, and black beans for a hearty meat-free option.
- Different Cheeses: Try pepper jack for a zesty twist or swap mozzarella with Monterey Jack for a creamier taste.
- Whole Wheat Tortillas: Use whole wheat or spinach tortillas for added fiber and a subtle flavor change.
- Baking Instead of Pan-Frying: For a less hands-on approach, bake the roll-ups at 375°F (190°C) for 12-15 minutes until golden and crispy.
One time, I swapped in leftover smoked turkey instead of chicken and added a handful of finely chopped sun-dried tomatoes. It was a surprise hit—something about the smoky meat and tangy tomatoes made the quesadilla roll-ups taste gourmet without extra effort.
Serving & Storage Suggestions
These roll-ups are best served warm or room temperature—perfect for lunchboxes because they don’t lose their charm even if eaten hours later. For a quick snack or appetizer, serve them with a side of fresh salsa, guacamole, or a creamy ranch dip.
Store leftover roll-ups in an airtight container in the refrigerator for up to 3 days. To reheat, pop them in a toaster oven or conventional oven at 350°F (175°C) for 5-7 minutes to regain that crispness. Microwaving works too but can make the tortillas a bit soggy.
Flavors often deepen after a day, so making these roll-ups a day ahead can actually improve the taste. Just pack the dipping sauce separately to keep things fresh.
Nutritional Information & Benefits
Each serving (about 3 roll-up slices) offers roughly 300-350 calories, with a good balance of protein from the chicken and cheese, carbs from the tortillas, and moderate fat content. The chicken provides lean protein essential for energy and muscle repair, while cheese delivers calcium and vitamin D.
This recipe can easily fit into a balanced diet and is naturally gluten-friendly if you swap in gluten-free tortillas. It’s low in added sugars and packed with ingredients that keep hunger at bay, making it a smart choice for busy school or workdays.
Conclusion
These easy cheesy chicken quesadilla roll-ups have become a staple in my lunchbox arsenal for good reason—they’re quick, tasty, and just the right amount of indulgent without being over the top. Whether you’re packing school lunches or grabbing a bite between meetings, they hit that sweet spot of satisfying and simple.
Feel free to tweak the filling to your family’s tastes or dietary needs; they’re forgiving and flexible. Honestly, I love how they turned a hectic morning into a moment of calm with something warm and comforting to offer. If you try them, I’d love to hear how you make them your own—there’s always room for a little creativity in the kitchen.
FAQs about Easy Cheesy Chicken Quesadilla Roll-Ups
Can I use pre-cooked frozen chicken for this recipe?
Absolutely! Just thaw and shred the chicken before mixing it with cheese and spices. It’s a great way to use leftovers or meal prep chicken.
How do I prevent the roll-ups from falling apart?
Warming the tortillas before rolling helps make them more pliable. Rolling tightly and slicing with a sharp knife also keeps them intact during cooking.
Can I make these roll-ups ahead of time?
Yes, you can prepare and cook them a day ahead. Store in the fridge and reheat in the oven or toaster oven to maintain crispness before packing.
What’s the best cheese combination for melt and flavor?
Cheddar paired with mozzarella works best—cheddar adds bold flavor while mozzarella gives that perfect gooey stretch.
Are these roll-ups freezer-friendly?
They can be frozen before cooking. Freeze the assembled roll-ups on a baking sheet, then transfer to a bag. Cook from frozen, adding a few extra minutes to the cooking time.
For a bit of sweet inspiration to round out your lunchbox menu, you might appreciate the moist huckleberry lemon pound cake or a quick treat like flavorful firework popcorn mix to pair with these savory roll-ups.
Pin This Recipe!
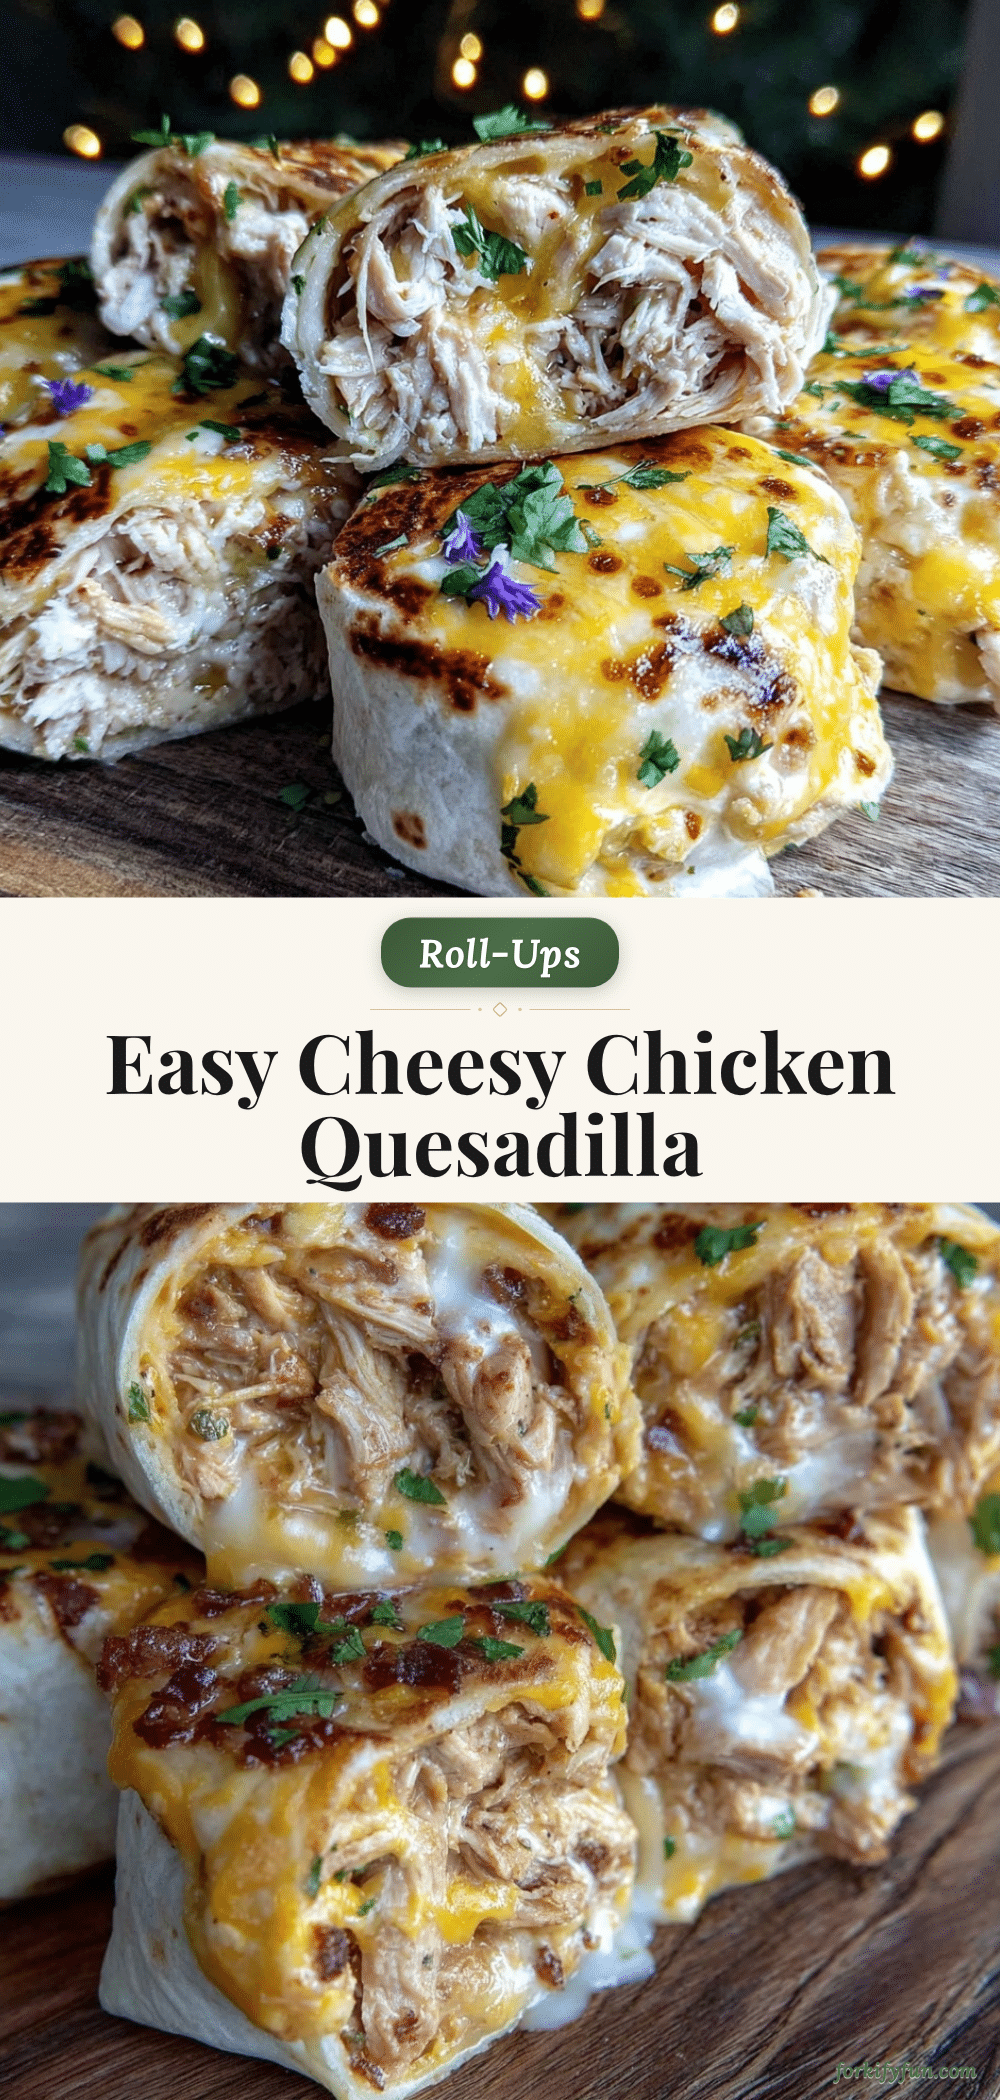
Easy Cheesy Chicken Quesadilla Roll-Ups

These easy cheesy chicken quesadilla roll-ups are a quick, handheld lunchbox favorite featuring melty cheese, savory chicken, and crispy tortillas rolled into bite-sized pinwheels.
- Prep Time: 10 minutes
- Cook Time: 10 minutes
- Total Time: 20 minutes
- Yield: 4 servings 1x
- Category: Main Course
- Cuisine: Mexican-inspired
Ingredients
- Flour tortillas (medium or large size)
- 1 ½ cups shredded cooked chicken (about 225g)
- 1 cup shredded cheddar cheese (about 100g)
- 1 cup shredded mozzarella cheese (about 100g)
- 2 tablespoons sliced green onions
- ½ teaspoon garlic powder
- ½ teaspoon smoked paprika
- Salt and pepper to taste
- 1 tablespoon olive oil or butter for cooking
- Sour cream or salsa (optional, for dipping)
Instructions
- In a mixing bowl, combine shredded cooked chicken, cheddar cheese, mozzarella cheese, sliced green onions, garlic powder, smoked paprika, salt, and pepper. Mix gently to combine.
- Heat each flour tortilla in a dry skillet over medium heat for about 15 seconds per side until soft and pliable.
- Lay a warmed tortilla flat and spread about ⅓ cup of the chicken-cheese mixture evenly over it, leaving a ½-inch border around the edges.
- Roll the tortilla tightly from one end to the other, pressing gently to secure the filling inside.
- Using a sharp knife, cut each roll into 1-inch wide slices to make 6-8 bite-sized pinwheels.
- Heat olive oil or butter in a skillet over medium heat. Place the roll-up slices cut-side down in the pan and cook for 2-3 minutes until golden and crispy.
- Flip and cook the other side for another 2 minutes until cheese is melty and tortilla is crisp.
- Let the roll-ups cool slightly before packing into lunchboxes. Serve with sour cream or salsa if desired.
Notes
Warm tortillas before rolling to prevent cracking. Roll tightly and slice with a sharp knife to keep roll-ups intact. Cook over medium heat to avoid burning and ensure cheese melts. Let roll-ups rest on a wire rack or paper towels after cooking to prevent sogginess. Can be baked at 375°F for 12-15 minutes as an alternative cooking method.
Nutrition
- Serving Size: About 3 roll-up slic
- Calories: 325
- Sugar: 2
- Sodium: 550
- Fat: 18
- Saturated Fat: 8
- Carbohydrates: 22
- Fiber: 1
- Protein: 20
Keywords: chicken quesadilla, lunchbox recipe, cheesy roll-ups, easy lunch, kid-friendly, quick meal, handheld snack