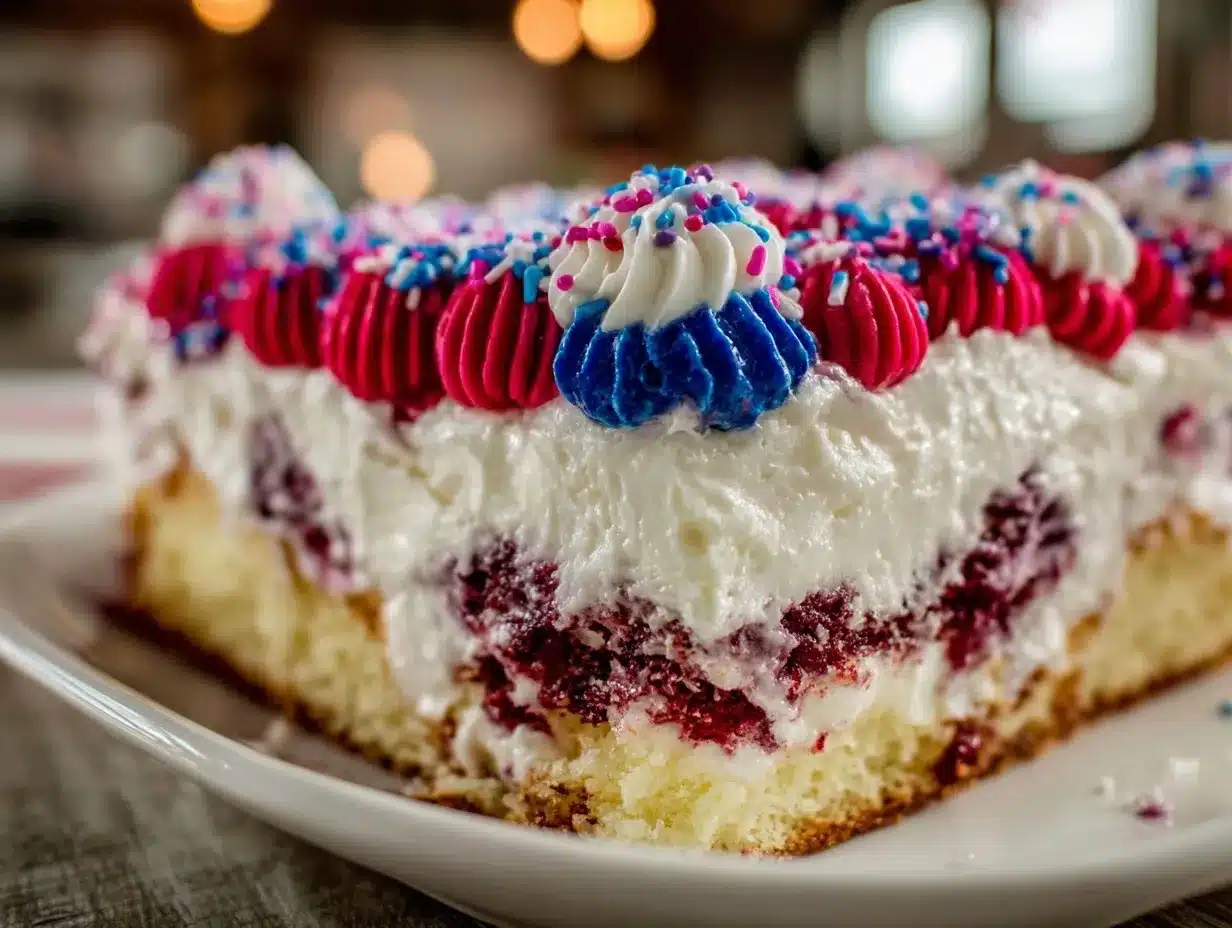
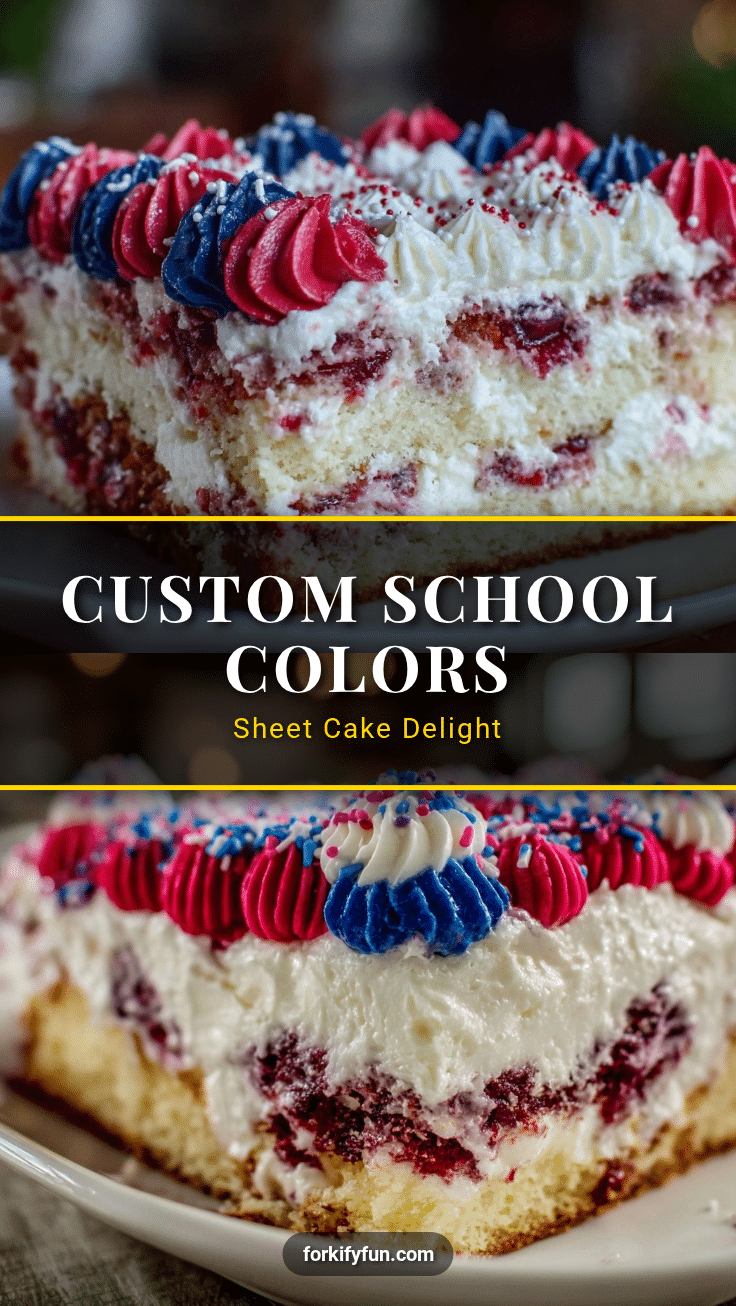
“Hey, can you whip up a cake with the school colors—and, oh yeah, with an edible photo?” That text popped up on my phone late one evening, and honestly, I thought, “Great, just what I needed after a long day.” But there was something about that challenge that got me curious. The idea of a perfect custom school colors sheet cake with an edible photo sounded like one of those things that might be a bit more trouble than it’s worth. I mean, edible photos? That seemed fancy and a tad intimidating.
But as I started messing around, I found it actually wasn’t so complicated. The colors came out bright and just right, the cake stayed moist, and the photo? Crisp and clear, like magic on frosting. It became this fun little obsession—making a cake that wasn’t just tasty but also a real showstopper for school events or celebrations. I even caught myself making it twice in one week, tweaking the frosting colors and switching up the edible photo designs.
What struck me the most was how this cake made the whole room pause. It’s funny how something as simple as a sheet cake can turn into a centerpiece, sparking smiles and conversations. And the best part? You don’t need to be a bakery pro to pull it off. Over time, this recipe stuck with me—not just as a dessert but as a small way to bring people together, celebrate spirit, and create memories. If you’re someone who’s ever hesitated to try edible photos or feared the color matching, this recipe will quietly prove it can be done—well, and deliciously too.
Why You’ll Love This Recipe
Making the perfect custom school colors sheet cake with an edible photo isn’t just about decoration; it’s a blend of taste, creativity, and a bit of showmanship. Here’s why this recipe really stands out:
- Quick & Easy: The cake comes together in about an hour, which is great when you’re juggling last-minute party plans or need a crowd-pleaser fast.
- Simple Ingredients: No fancy or hard-to-find stuff here—just pantry staples and a reliable edible photo printer or service.
- Perfect for School Events: Whether it’s a pep rally, graduation, or team celebration, this cake fits the bill perfectly.
- Crowd-Pleaser: Kids and adults alike love the bright colors and the novelty of the edible photo—it’s always a hit.
- Unbelievably Delicious: Moist, tender crumb paired with creamy frosting that holds the colors well, making the whole thing taste as good as it looks.
This isn’t your run-of-the-mill sheet cake. The secret lies in balancing the frosting’s texture for smooth color application and selecting a cake that stays sturdy yet soft enough to handle the photo without cracking. I’ve also experimented with different edible photo brands and found a few that hold up better over time, which makes a big difference if you want your masterpiece to last through the event.
Honestly, this recipe captures that feeling when you nail the school spirit in edible form, and everyone notices. It’s like a little celebration on a plate, and that’s why it’s become my go-to for any school-related festivities.
What Ingredients You Will Need
This recipe uses simple, wholesome ingredients to deliver a moist cake with bold flavor and a smooth frosting base that’s perfect for custom colors and edible photos. Most of these are pantry staples, and substitutions are easy if needed.
- For the Cake:
- All-purpose flour, 2 ½ cups (312g) — for a sturdy yet soft crumb
- Granulated sugar, 2 cups (400g) — sweetens and tenderizes
- Baking powder, 2 ½ tsp — for lift and fluffiness
- Baking soda, ½ tsp — balances acidity
- Salt, ½ tsp — enhances flavors
- Unsalted butter, ¾ cup (170g), softened — adds richness (I like using Land O’Lakes for consistent results)
- Buttermilk, 1 cup (240ml), room temperature — keeps cake moist (can swap with milk + 1 tbsp vinegar if needed)
- Large eggs, 3, room temperature — structure and tenderness
- Pure vanilla extract, 2 tsp — flavor depth
- For the Frosting:
- Unsalted butter, 1 cup (227g), softened — creamy base
- Powdered sugar, 4 cups (480g), sifted — smooth sweetness
- Heavy cream, 3-4 tbsp (45-60ml) — for spreadable, firm frosting
- Vanilla extract, 1 tsp — subtle flavor
- Gel food coloring in your school’s colors — gel works best to keep frosting consistency (brands like AmeriColor are reliable)
- For the Edible Photo:
- Edible image sheet printed on frosting paper — can order through local bakery or online edible ink services
- Edible ink printer (optional) — if you want to print at home
Feel free to swap all-purpose flour with gluten-free flour blend for a gluten-free cake. For dairy-free options, use coconut milk yogurt instead of buttermilk and dairy-free butter substitutes.
Equipment Needed
- 9×13 inch (23×33 cm) sheet cake pan — the best size for a school crowd and perfect for the edible photo size
- Mixing bowls — medium and large
- Electric mixer or stand mixer — for smooth frosting and batter
- Measuring cups and spoons — precise measurements matter here
- Offset spatula — crucial for spreading frosting evenly and smoothing colors
- Rubber spatula — for scraping bowls
- Cooling rack — helps cool the cake evenly before frosting
- Edible photo printer or access to edible photo printing service
You can use a hand mixer if you don’t have a stand mixer, but a stand mixer does save elbow grease, especially while whipping frosting. For the cake pan, non-stick pans work well, but line it with parchment paper for easy removal and clean edges. I’ve found offset spatulas make the biggest difference in getting those smooth layers of frosting that let the colors pop and the edible photo lay flat without wrinkles.
Preparation Method
- Preheat your oven to 350°F (175°C). Grease your 9×13 inch sheet cake pan and line it with parchment paper, leaving some overhang for easy cake removal later. Set aside.
- Mix the dry ingredients. In a large bowl, whisk together 2 ½ cups (312g) all-purpose flour, 2 cups (400g) granulated sugar, 2 ½ tsp baking powder, ½ tsp baking soda, and ½ tsp salt until fully combined. This ensures even rising and flavor.
- Cream the butter. In your mixer bowl, beat ¾ cup (170g) softened unsalted butter on medium speed for about 2 minutes until light and fluffy. This step creates the base for a tender crumb.
- Add eggs and vanilla. Beat in 3 large eggs one at a time, making sure each is fully incorporated before adding the next. Then mix in 2 tsp vanilla extract. The batter will look creamy and smooth.
- Alternate wet and dry ingredients. With the mixer on low, add the flour mixture in three parts, alternating with 1 cup (240ml) room temperature buttermilk, beginning and ending with the dry ingredients. Mix just until combined—over-mixing can toughen the cake.
- Pour batter into the pan. Spread it evenly using a spatula, making sure to scrape the edges and smooth the top for an even bake.
- Bake for 35-40 minutes. The cake should spring back lightly when pressed, and a toothpick inserted in the center comes out clean. Oven temps vary, so start checking at 35 minutes.
- Cool the cake completely on a rack. This is crucial before frosting so the frosting doesn’t melt or slide off.
- Prepare the frosting. Beat 1 cup (227g) softened unsalted butter on medium speed until creamy. Gradually add 4 cups (480g) sifted powdered sugar, mixing on low to avoid a sugar cloud. Add 3-4 tbsp (45-60ml) heavy cream and 1 tsp vanilla extract, beating until fluffy and spreadable.
- Divide frosting and tint. Separate the frosting into bowls for each school color and tint with gel food coloring. Use an offset spatula to apply each color in smooth sections or swirl gently for a marbled effect.
- Frost the cake evenly. Start with a thin crumb coat to seal in crumbs, chill 15 minutes, then apply the final thick layer of colored frosting, smoothing well. This creates the perfect surface for your edible photo.
- Apply the edible photo. Carefully place the edible image sheet on the frosted cake, pressing gently to avoid air bubbles or wrinkles. Keep the cake in a cool place to prevent the photo from curling or melting.
- Serve within 24 hours. The edible photo tastes best fresh, and the frosting holds its texture nicely.
Quick tip: If your edible photo edges start curling, lightly mist the back with water before placing it on the cake for better adhesion. And if you want a smoother finish, chill the frosted cake for 10 minutes before adding the photo. This recipe pairs nicely with the creamy texture of cakes like the creamy carbonara after a party meal or alongside the fresh flavors of pesto pasta with cherry tomatoes for a full celebration spread.
Cooking Tips & Techniques
Getting the perfect custom school colors sheet cake with an edible photo means paying attention to a few key details that can make or break the final look and taste.
- Use gel food coloring. Liquid colors can thin your frosting and dull the vibrancy. Gel color packs a punch without changing consistency.
- Mix frosting thoroughly but carefully. Overbeating can cause air bubbles, leading to an uneven surface for your edible photo.
- Don’t frost a warm cake. It’s tempting when you’re excited, but warm cake causes frosting to melt and the edible photo to wrinkle.
- Chill between frosting layers. A quick chill after the crumb coat helps set a smooth base.
- Handle the edible photo gently. These sheets are fragile; use clean, dry hands or a flat knife to lift and position it.
- Store the cake in a cool spot. Heat or humidity can cause frosting to soften and the photo to curl.
- Practice piping the colors first. If you want stripes or blocks of color, test on parchment paper before frosting the cake.
- Common mistake: Using too much food coloring can make frosting taste bitter—start with small amounts and build up.
I remember my first attempt when I skipped chilling the cake before frosting—let’s just say the photo curled like a curling ribbon, and I learned the hard way. Now, I set timers and prep everything in stages. Multitasking with dishes like my quick shrimp stir fry helps me stay on schedule during party prep!
Variations & Adaptations
One of the best parts about this recipe is its flexibility—feel free to switch it up depending on dietary needs, available ingredients, or personal taste.
- Flavor swaps: Use chocolate or red velvet cake batter instead of vanilla for a richer base. Just adjust baking time slightly.
- Dietary adaptations: Gluten-free flour blends work well, as do dairy-free substitutes like coconut milk yogurt and vegan butter for the frosting.
- Alternate frosting styles: Try cream cheese frosting tinted with gel colors for a tangier contrast that pairs wonderfully with the moist cake.
- Edible photo alternatives: If you don’t have access to edible photo printing, consider hand-piping logos or simple school mascots with colored frosting or edible markers.
- Seasonal tweaks: Add fresh berries or edible flowers around the cake edges to tie in school colors naturally and add freshness.
Personally, I once made this cake with a chocolate base and cream cheese frosting tinted in school colors for a friend’s sports banquet. It was a game-changer—rich and tangy with that clean edible photo finish. It’s fun to get creative beyond the basic vanilla and buttercream combo!
Serving & Storage Suggestions
Serving this cake at room temperature brings out the best flavors and texture. Keep it out of the fridge for about 30 minutes before slicing to let the frosting soften slightly.
For presentation, garnish with fresh fruit matching the school colors or small edible glitter for a festive touch. Pairing with beverages like iced tea or sparkling lemonade complements the sweet richness perfectly.
Store leftover cake covered loosely at room temperature for up to 24 hours. If you need to keep it longer, refrigerate but be mindful the edible photo might start to curl after a day or two. To reheat, bring slices to room temperature naturally; avoid microwaving as it softens frosting too much.
Flavors actually meld nicely if you let the cake rest a few hours after frosting, so if you have time, prepare it the day before a celebration. You can also freeze unfrosted cake layers wrapped tightly for up to 3 months and frost once thawed.
Nutritional Information & Benefits
This sheet cake serves about 12-16 people. Each serving contains approximately:
| Calories | 350-400 kcal |
|---|---|
| Fat | 18g |
| Carbohydrates | 50g |
| Protein | 4g |
| Sugar | 30g |
The key ingredients like eggs and butter provide protein and essential fats, while the flour and sugar give energy. Using buttermilk adds a subtle tang and tenderness and may improve digestibility for some sensitive to gluten.
This recipe is naturally gluten-free adaptable and can be made dairy-free with simple swaps. Be mindful of allergens like eggs and dairy if serving to a crowd. I find it’s a nice balance between indulgence and celebration—a treat with the right heart behind it.
Conclusion
The perfect custom school colors sheet cake with an edible photo is more than just a dessert—it’s a way to celebrate spirit, pride, and togetherness. The recipe’s balance of moist cake, creamy frosting, and vibrant colors makes it a favorite for any school event or milestone. It’s a recipe that invites you to play with colors and designs while keeping everything approachable.
Feel free to tweak flavors, colors, or photo designs to suit your needs. I love how this cake turns simple ingredients into a centerpiece worth remembering. If you ever need a crowd-pleasing, visually impressive dessert that’s surprisingly easy, this recipe has you covered. And hey, I’d love to hear how your custom school cake turns out—don’t be shy to share your versions!
Here’s to many more celebrations with this one in your baking arsenal.
FAQs
Can I make the edible photo at home?
Yes, if you have an edible ink printer and frosting sheets, you can print your own photos. Otherwise, many bakeries or online services print edible photos for you.
How long can I store the cake with the edible photo?
It’s best eaten within 24 hours. After that, the photo may start to curl or fade, especially in humid conditions.
What if I don’t have gel food coloring?
You can use liquid food coloring but add it sparingly to avoid thinning the frosting and dull colors.
Can I use this recipe for cupcakes?
Absolutely! Adjust baking time to 18-22 minutes, and apply the edible photo on larger cupcakes or use themed toppers.
Is it okay to freeze the cake after decorating?
Freezing after decorating isn’t recommended because the frosting texture and edible photo can be damaged. Freeze cake layers unfrosted instead.
Pin This Recipe!
Perfect Custom School Colors Sheet Cake Recipe Easy Step-by-Step with Edible Photo Tutorial
A moist and tender sheet cake decorated with vibrant school colors and an edible photo, perfect for school events and celebrations. This recipe is easy to follow and yields a crowd-pleasing dessert that looks as good as it tastes.
- Prep Time: 20 minutes
- Cook Time: 35-40 minutes
- Total Time: 55-60 minutes
- Yield: 12-16 servings 1x
- Category: Dessert
- Cuisine: American
Ingredients
- 2 ½ cups (312g) all-purpose flour
- 2 cups (400g) granulated sugar
- 2 ½ tsp baking powder
- ½ tsp baking soda
- ½ tsp salt
- ¾ cup (170g) unsalted butter, softened
- 1 cup (240ml) buttermilk, room temperature
- 3 large eggs, room temperature
- 2 tsp pure vanilla extract
- 1 cup (227g) unsalted butter, softened (for frosting)
- 4 cups (480g) powdered sugar, sifted
- 3–4 tbsp (45-60ml) heavy cream
- 1 tsp vanilla extract (for frosting)
- Gel food coloring in your school’s colors
- Edible image sheet printed on frosting paper
- Edible ink printer (optional)
Instructions
- Preheat your oven to 350°F (175°C). Grease a 9×13 inch sheet cake pan and line it with parchment paper, leaving some overhang for easy removal. Set aside.
- In a large bowl, whisk together the flour, sugar, baking powder, baking soda, and salt until fully combined.
- In a mixer bowl, beat ¾ cup softened unsalted butter on medium speed for about 2 minutes until light and fluffy.
- Beat in the eggs one at a time, ensuring each is fully incorporated before adding the next. Mix in the vanilla extract.
- With the mixer on low, add the flour mixture in three parts, alternating with the buttermilk, beginning and ending with the dry ingredients. Mix just until combined.
- Pour the batter into the prepared pan and spread evenly, scraping edges and smoothing the top.
- Bake for 35-40 minutes until the cake springs back lightly when pressed and a toothpick inserted in the center comes out clean.
- Cool the cake completely on a cooling rack before frosting.
- For the frosting, beat 1 cup softened unsalted butter on medium speed until creamy. Gradually add powdered sugar, mixing on low to avoid a sugar cloud.
- Add heavy cream and vanilla extract, beating until fluffy and spreadable.
- Divide the frosting into bowls and tint each with gel food coloring.
- Apply a thin crumb coat to the cake and chill for 15 minutes.
- Apply the final thick layer of colored frosting, smoothing well.
- Carefully place the edible photo sheet on the frosted cake, pressing gently to avoid air bubbles or wrinkles.
- Keep the cake in a cool place and serve within 24 hours.
Notes
[‘Use gel food coloring to maintain frosting consistency and vibrant colors.’, ‘Avoid frosting a warm cake to prevent melting and photo wrinkling.’, ‘Chill the cake between frosting layers for a smooth finish.’, ‘Handle edible photo sheets gently to avoid tears or wrinkles.’, ‘Store the cake in a cool place and serve within 24 hours for best photo quality.’, ‘If edible photo edges curl, lightly mist the back with water before placing.’, ‘Practice piping colors on parchment paper before applying to cake.’, ‘Substitute gluten-free flour blend for gluten-free option.’, ‘Use coconut milk yogurt and dairy-free butter for dairy-free adaptation.’, ‘Freeze unfrosted cake layers wrapped tightly for up to 3 months.’]
Nutrition
- Serving Size: 1 slice (approximate
- Calories: 350400
- Sugar: 30
- Fat: 18
- Carbohydrates: 50
- Protein: 4
Keywords: sheet cake, school colors cake, edible photo cake, custom cake, party cake, easy sheet cake, colorful frosting, edible image


