Third time in as many weeks and I finally stopped adding extra liquid halfway through. That was my problem, you see—I kept peeking under the lid, convinced the rice was drying out, and then I’d pour in another splash of broth. Which made the rice mushy. Every single time. By the third attempt, I forced myself to step away from the stove, set a timer, and trust the process. And honestly? That was the moment this One-Pan Garlic Butter Chicken and Rice went from a decent weeknight dinner to something I actually looked forward to making.
The first time I made it, I was just trying to use up some chicken thighs and a half-empty box of rice. Nothing special. But that garlic butter situation—the way it melts into the rice and coats every single grain—had me scooping seconds straight from the pan. (Don’t judge. You’ll do it too.) By the second time, I was tweaking the garlic-to-butter ratio and testing different pan sizes. By the third, I had it memorized. That’s when you know a recipe has earned its spot in the rotation.
What I love most is how unfussy it is. No browning the chicken in batches, no dirtying extra bowls, no stirring every five minutes. You sear the chicken, toss in the aromatics, add the rice and liquid, and let the oven (or stovetop) do the heavy lifting. The rice comes out fluffy, the chicken stays juicy, and that garlic butter flavor weaves through everything like it was always meant to be there. It’s the kind of dinner that makes you wonder why you ever complicated things.
Why You’ll Love This Recipe
I’ve tested this one-pan garlic butter chicken and rice more times than I care to admit, and every batch confirmed the same thing—it’s the weeknight hero we all need. Here’s why this version actually works:
- One Pan, Minimal Mess – You sear the chicken, cook the aromatics, and simmer the rice all in the same skillet. That means fewer dishes, less scrubbing, and more time sitting down to actually eat.
- Pantry-Friendly Ingredients – Chicken, rice, garlic, butter, broth, and a few seasonings. That’s it. No specialty items, no last-minute grocery runs.
- Juicy Chicken + Perfect Rice – The magic is in the method. Searing the chicken first locks in moisture, and cooking the rice in that same garlicky butter creates flavor from the ground up.
- Comfort Food Without the Guilt – It’s rich and satisfying but balanced enough for a regular Tuesday. Plus, you control the salt and fat, which is nice.
- Flexible for Any Schedule – You can make it on the stovetop in about 35 minutes, or let it bake in the oven while you prep a quick side. Either way, dinner happens.
This recipe isn’t complicated—it’s just smart. The kind of meal you make when you want something that feels special but doesn’t require a culinary degree. Honestly, the first time I made it for friends, one of them asked for the recipe before she finished her plate. That’s when I knew I wasn’t the only one obsessed.
What Ingredients You Will Need
This one-pan garlic butter chicken and rice relies on simple, everyday ingredients that come together to create something surprisingly luxurious. Most of these are probably in your kitchen right now, which is exactly the point.
- Chicken thighs (boneless, skinless) – I use about 1.5 pounds (680g). Thighs stay juicier than breasts during cooking, and they absorb that garlic butter flavor beautifully. If you prefer breasts, go for it—just reduce the cooking time slightly.
- Butter (unsalted) – 4 tablespoons (56g), divided. We use half for searing the chicken and half for cooking the aromatics and rice. Unsalted lets you control the salt level without overdoing it.
- Garlic (fresh, minced) – 6 to 8 cloves, depending on how much you love garlic. I’m a 8-clove person myself. Pre-minced jarred garlic works in a pinch, but fresh really does make a difference here.
- Yellow onion – 1 medium, finely diced. It melts into the rice and adds a subtle sweetness that balances the garlic.
- Long-grain white rice – 1.5 cups (300g). Basmati or jasmine both work great. Avoid short-grain or sticky rice—they’ll turn gummy in this preparation.
- Chicken broth – 2.5 cups (590ml). Use low-sodium so you can adjust seasoning. Homemade broth is lovely, but boxed works perfectly fine.
- Dried thyme – 1 teaspoon. It adds an earthy, slightly floral note that pairs well with garlic butter.
- Paprika – 1 teaspoon. I use smoked paprika for a subtle warmth, but sweet paprika works too.
- Salt and black pepper – To taste. Start with 1 teaspoon salt and ½ teaspoon pepper, then adjust at the end.
- Fresh parsley – A handful, chopped, for garnish. Optional but recommended—it adds a fresh pop of color and flavor.
- Lemon wedges – For serving. A squeeze of lemon right before eating cuts through the richness and wakes up the whole dish.
I’ve made this with both salted and unsalted butter, and honestly, unsalted gives you more control. If you only have salted, just reduce the added salt by about ¼ teaspoon. Also, I’ve tested this with brown rice—it works, but you’ll need to increase the liquid to 3 cups and extend the cooking time by about 20 minutes. The texture won’t be quite as fluffy, but it’s still good.
Equipment Needed
You don’t need much for this one-pan garlic butter chicken and rice, which is kind of the whole point. Here’s what you’ll want:
- Large oven-safe skillet or Dutch oven – A 12-inch skillet with a tight-fitting lid is ideal. I use my cast-iron skillet for the best sear, but a stainless steel or enameled Dutch oven works great too. Just make sure it’s oven-safe if you’re using the oven method.
- Wooden spoon or silicone spatula – For scraping up those browned bits after searing the chicken. That’s where so much flavor lives.
- Measuring cups and spoons – Accurate measurements matter here, especially for the rice-to-liquid ratio.
- Sharp knife and cutting board – For prepping the onion and garlic.
- Lid or foil – If your skillet doesn’t have a lid, a sheet of heavy-duty aluminum foil works perfectly.
If you don’t have an oven-safe skillet, no worries—you can cook this entirely on the stovetop. Just keep the heat low and resist the urge to stir too much. I’ve also made this in a regular nonstick pan (not oven-safe) and transferred everything to a baking dish halfway through. It worked fine, just one extra dish to wash.
Preparation Method
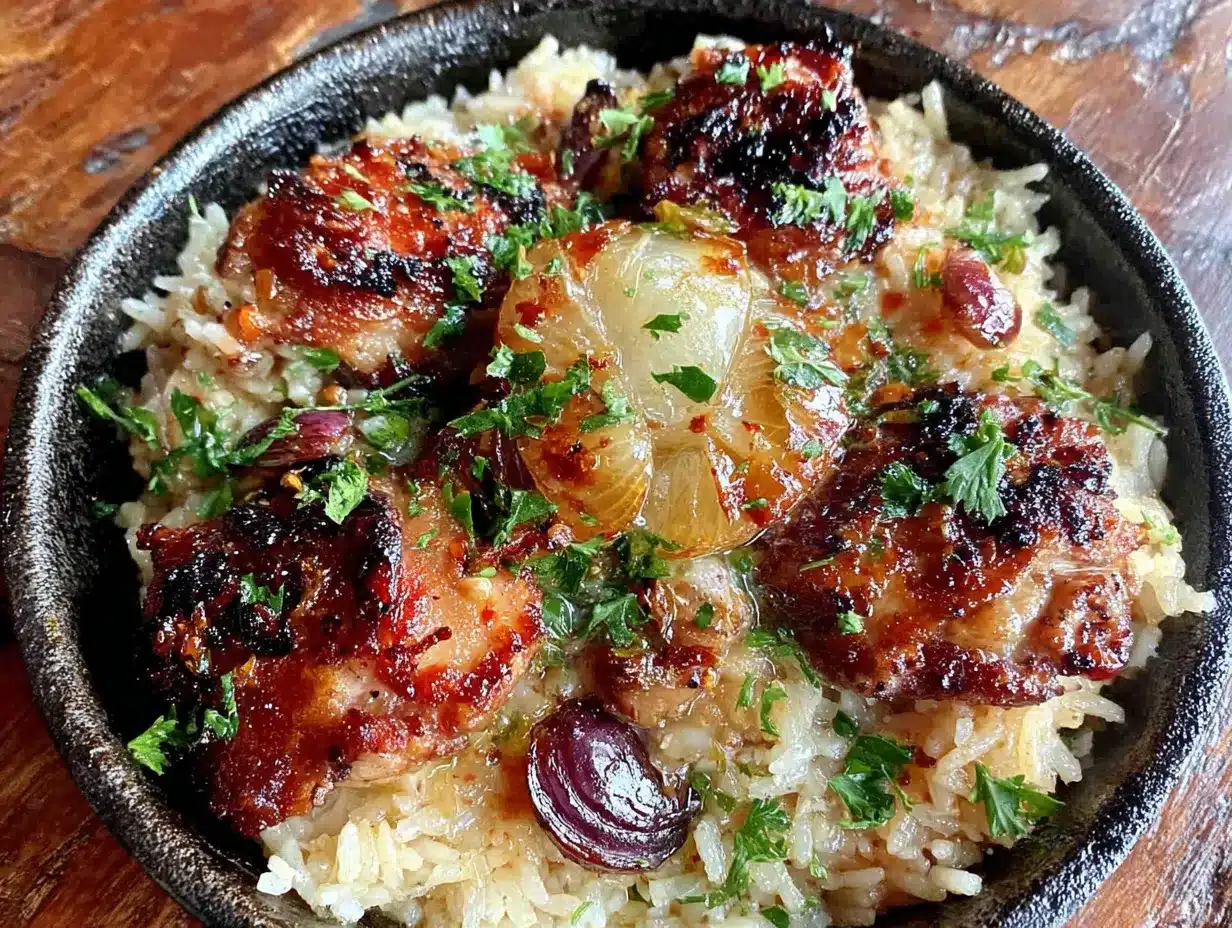
Let me walk you through this one-pan garlic butter chicken and rice step by step. I’ve included all the little details I wish someone had told me the first time.
- Pat the chicken dry and season it. Use paper towels to remove excess moisture from the chicken thighs. This is crucial for a good sear. Season both sides generously with salt, pepper, and paprika. Let them sit at room temperature for about 10 minutes while you prep the other ingredients.
- Melt 2 tablespoons of butter in the skillet over medium-high heat. Once it’s bubbling and starting to brown slightly (about 2 minutes), place the chicken thighs skin-side down if they have skin, or just arrange them in a single layer. Sear for 4-5 minutes per side until golden brown. Don’t crowd the pan—if your skillet is small, do this in two batches. Transfer the chicken to a plate and set aside.
- Reduce heat to medium and add the remaining 2 tablespoons of butter. Once melted, add the diced onion and cook for 3-4 minutes until soft and translucent. Scrape up any browned bits from the bottom of the pan—that’s pure flavor.
- Add the minced garlic and cook for 30 seconds. Stir constantly. Garlic burns fast, and burnt garlic tastes bitter. You want it fragrant, not brown.
- Add the rice and dried thyme. Stir to coat every grain in that garlic butter mixture. Cook for 1-2 minutes, stirring frequently. This toasts the rice slightly and helps it stay fluffy instead of mushy.
- Pour in the chicken broth. Stir once to distribute the rice evenly. Bring it to a gentle boil—you should see small bubbles around the edges.
- Nestle the chicken thighs back into the rice. Place them on top, skin-side up if applicable. Any juices from the plate should go into the pan too. Don’t submerge the chicken completely; let the tops peek out so they stay crispy.
- Cover the skillet with a tight-fitting lid. Reduce heat to low and let it simmer for 18-20 minutes. Do not lift the lid during this time. I know it’s tempting, but every time you lift it, steam escapes and the rice cooks unevenly. Set a timer and walk away.
- After 18 minutes, turn off the heat. Let it sit, still covered, for another 5 minutes. This resting time allows the rice to absorb any remaining liquid and fluff up.
- Remove the lid and fluff the rice gently with a fork. Check the chicken for doneness—it should register 165°F (74°C) at the thickest part. If it needs a few more minutes, cover and let it rest longer.
- Garnish with fresh parsley and serve with lemon wedges. A squeeze of lemon right before eating makes a huge difference—it brightens everything and cuts through the richness.
If you’re using the oven method, preheat to 375°F (190°C). Follow steps 1-6, then instead of covering and simmering on the stovetop, cover the skillet and bake for 25-30 minutes. Let it rest for 5 minutes before serving. The oven method gives you slightly more even heat distribution, which is nice if you’re nervous about stovetop temperature control.
Cooking Tips & Techniques
After making this one-pan garlic butter chicken and rice more times than I can count, I’ve collected a few hard-earned lessons. Here are the ones that made the biggest difference:
- Don’t skip the sear. That golden-brown crust on the chicken isn’t just for looks—it adds layers of flavor to the entire dish. Those browned bits left in the pan (called fond) are what make the rice taste like it cooked in something special.
- Toast the rice. That 1-2 minutes of stirring the rice in the garlic butter before adding liquid transforms the texture. The grains become slightly translucent at the edges, which helps them stay separate and fluffy instead of clumping together.
- Resist the urge to stir. Once you add the broth and bring it to a boil, leave it alone. Stirring releases starch and makes the rice gummy. Trust the process and let the steam do its job.
- Use a timer, not your instincts. I learned this the hard way. My instincts told me the rice needed more liquid, so I added extra broth and ended up with porridge. Set a timer for 18 minutes and don’t touch it.
- Let it rest. That 5-minute rest at the end isn’t optional. It allows the rice to finish absorbing steam and fluffs up beautifully. If you dig in immediately, the texture will be uneven.
- Adjust the garlic based on your audience. I love garlic, but 8 cloves can be intense for some people. Start with 4-5 if you’re unsure, and add more next time. You can also roast a few cloves alongside the chicken for a milder, sweeter garlic flavor.
One mistake I made early on was using a pan that was too small. The rice needs room to expand, and if everything is packed too tightly, it cooks unevenly. A 12-inch skillet is your best bet.
Variations & Adaptations
This one-pan garlic butter chicken and rice is wonderfully adaptable. Here are some variations I’ve tried and loved:
- Vegetarian Version – Swap the chicken for 1.5 cups of sliced mushrooms (cremini or shiitake work great) and use vegetable broth instead of chicken broth. Sear the mushrooms until golden before adding the aromatics. The umami from the mushrooms pairs beautifully with the garlic butter.
- Spicy Kick – Add ½ teaspoon of red pepper flakes along with the garlic, or stir in a diced jalapeño with the onion. A pinch of cayenne in the seasoning mix works too. The heat cuts through the richness nicely.
- Herb Lover’s Version – Stir in 2 tablespoons of fresh chopped rosemary or thyme along with the parsley at the end. You can also add a sprig of rosemary to the pan while it simmers for a more subtle herb infusion.
- Cheesy Finish – During the last 5 minutes of cooking, sprinkle ½ cup of shredded Parmesan or mozzarella over the top. Cover and let it melt. The cheese creates a lovely crust on the rice.
- One-Pan Meal Upgrade – Add 1 cup of frozen peas or chopped green beans during the last 5 minutes of cooking. They’ll steam perfectly and add a pop of color. You can also stir in a handful of fresh spinach right before serving—it wilts in seconds.
- Dairy-Free Adaptation – Use 4 tablespoons of olive oil or vegan butter instead of regular butter. The flavor changes slightly, but it’s still delicious. I’ve tested this with coconut oil too—it works, but you’ll taste the coconut.
My personal favorite variation is adding a handful of frozen peas and a squeeze of lemon at the end. It makes the whole dish feel brighter and more complete, like a meal that doesn’t need a side. I’ve also tried this with cozy slow cooker ramen noodle chicken bowl vibes by adding a splash of soy sauce and a drizzle of sesame oil, and honestly, it was surprisingly good.
Serving & Storage Suggestions
This one-pan garlic butter chicken and rice is best served warm, straight from the skillet. The rice is at its fluffiest right after that 5-minute rest, and the chicken is most tender. Here’s how to make the most of it:
- Serving Temperature – Serve hot, with a lemon wedge on the side. That squeeze of citrus right before eating is non-negotiable in my house. It wakes up all the flavors.
- Side Dish Ideas – A simple green salad with a vinaigrette cuts through the richness beautifully. Steamed broccoli or roasted asparagus also work well. If you want something starchier, crusty bread is perfect for soaking up any garlic butter left in the pan.
- Garnish Options – Beyond parsley, try fresh chives, a sprinkle of red pepper flakes, or a few shavings of Parmesan. A dollop of Greek yogurt or sour cream adds a nice tangy contrast.
- Storage – Store leftovers in an airtight container in the refrigerator for up to 4 days. The rice will absorb more liquid as it sits, so it won’t be as fluffy the next day, but the flavor actually deepens overnight.
- Reheating – The best way to reheat is in a skillet over medium-low heat with a splash of broth or water. Cover and let it steam for 5-7 minutes, stirring occasionally. The microwave works in a pinch, but the texture won’t be as good.
- Freezing – This freezes well for up to 3 months. Let it cool completely, then transfer to a freezer-safe container. Thaw in the refrigerator overnight and reheat as directed. I like to portion it into single servings for easy lunches.
One thing I’ve noticed—the flavors meld together beautifully overnight. Day-two leftovers often taste even better than the first serving. The garlic mellows out and the rice absorbs all those savory notes. It’s the kind of meal that rewards patience.
Nutritional Information & Benefits
Here’s an approximate nutritional breakdown per serving (based on 4 servings, using chicken thighs and unsalted butter):
| Nutrient | Amount per Serving |
|---|---|
| Calories | 485 |
| Protein | 32g |
| Carbohydrates | 45g |
| Fat | 18g |
| Saturated Fat | 8g |
| Fiber | 1g |
| Sodium | 680mg |
Pin This Recipe!
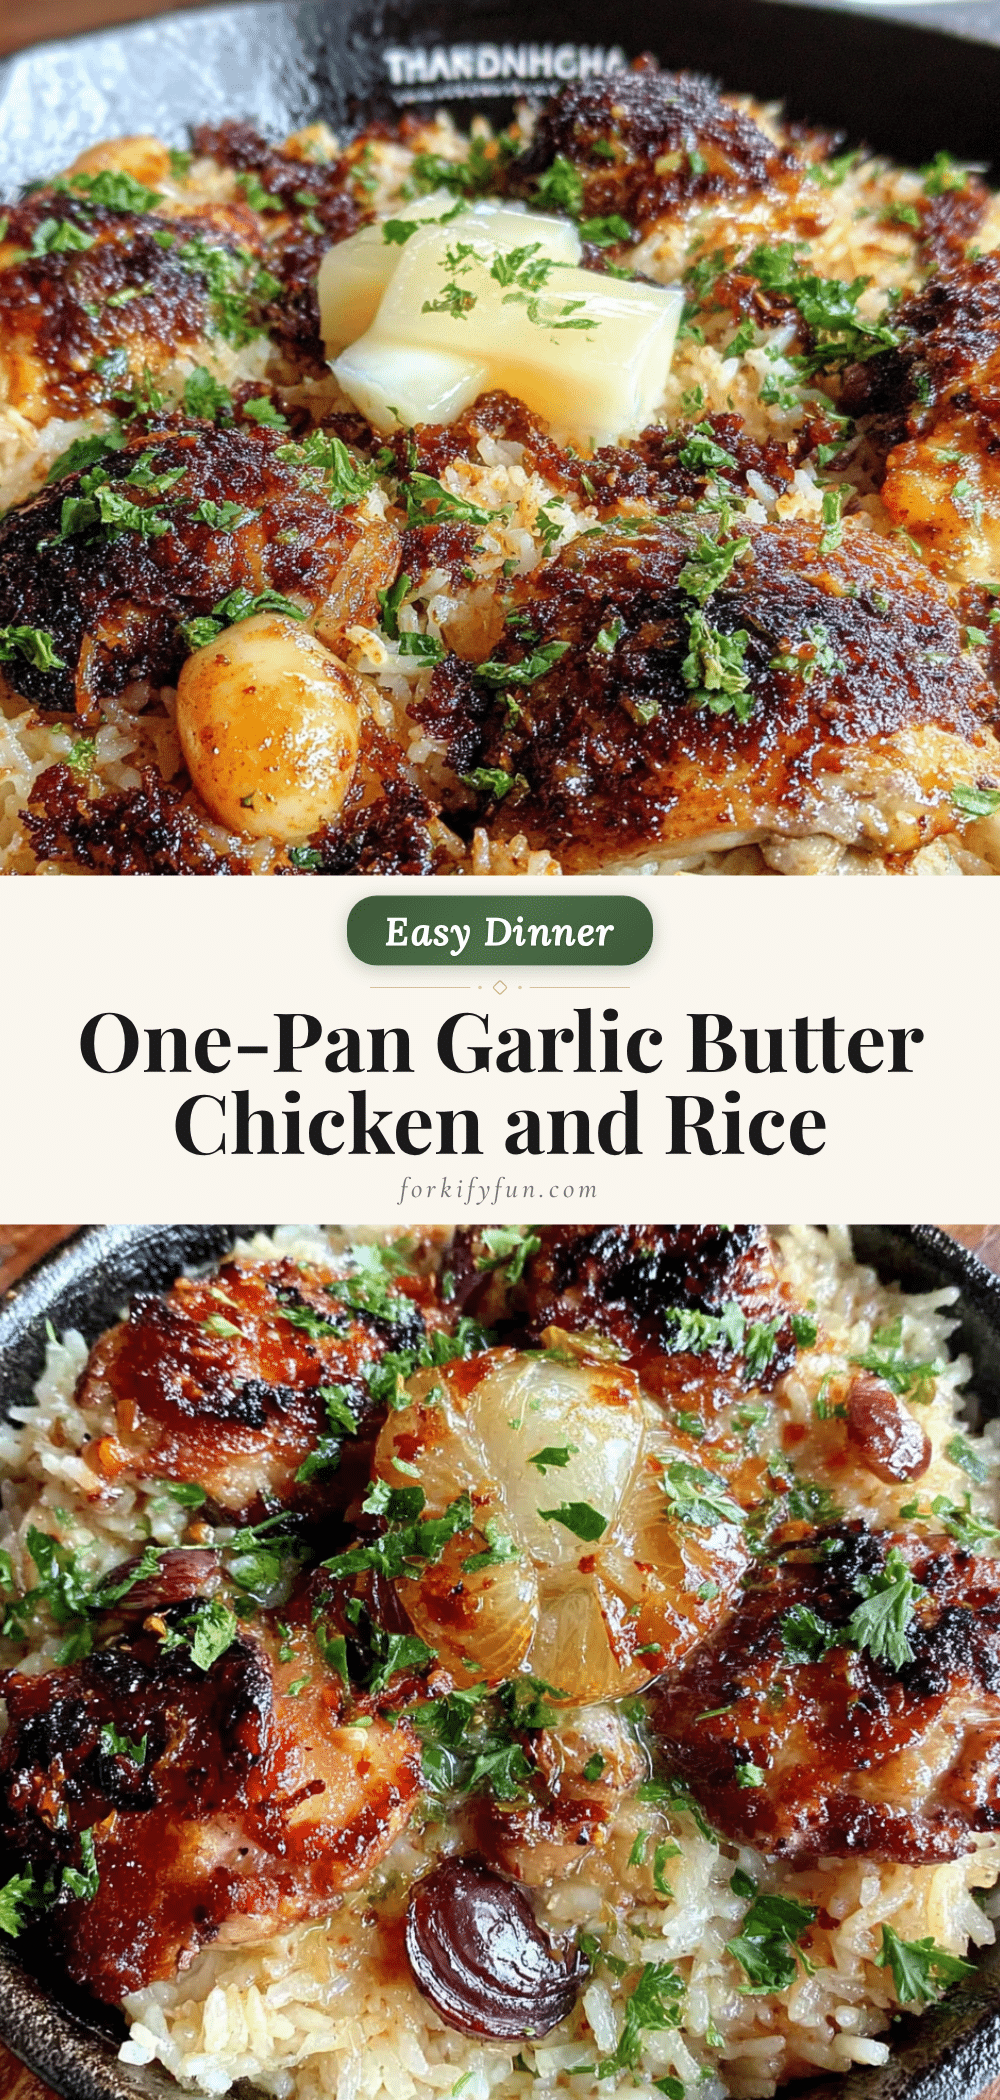
One-Pan Garlic Butter Chicken and Rice – Easy Weeknight Dinner

This one-pan garlic butter chicken and rice is a simple, flavorful weeknight dinner that comes together in about 40 minutes with minimal cleanup. Juicy chicken thighs and fluffy rice are cooked in a rich garlic butter sauce, all in one skillet.
- Prep Time: 10 minutes
- Cook Time: 30 minutes
- Total Time: 40 minutes
- Yield: 4 servings 1x
- Category: Main Course
- Cuisine: American
Ingredients
- 1.5 pounds (680g) boneless, skinless chicken thighs
- 4 tablespoons (56g) unsalted butter, divided
- 6–8 cloves garlic, minced
- 1 medium yellow onion, finely diced
- 1.5 cups (300g) long-grain white rice (basmati or jasmine)
- 2.5 cups (590ml) low-sodium chicken broth
- 1 teaspoon dried thyme
- 1 teaspoon smoked paprika
- Salt and black pepper to taste (start with 1 tsp salt and ½ tsp pepper)
- Fresh parsley, chopped, for garnish
- Lemon wedges, for serving
Instructions
- Pat the chicken dry with paper towels and season both sides generously with salt, pepper, and paprika. Let sit at room temperature for 10 minutes.
- Melt 2 tablespoons of butter in a large oven-safe skillet or Dutch oven over medium-high heat. Once bubbling, place chicken thighs in a single layer and sear for 4-5 minutes per side until golden brown. Transfer to a plate and set aside.
- Reduce heat to medium and add remaining 2 tablespoons of butter. Add diced onion and cook for 3-4 minutes until soft and translucent, scraping up any browned bits from the pan.
- Add minced garlic and cook for 30 seconds, stirring constantly.
- Add rice and dried thyme, stirring to coat every grain. Cook for 1-2 minutes, stirring frequently, until rice is slightly toasted.
- Pour in chicken broth and stir once to distribute rice evenly. Bring to a gentle boil.
- Nestle the chicken thighs back into the rice, skin-side up. Pour any accumulated juices from the plate into the pan.
- Cover the skillet with a tight-fitting lid. Reduce heat to low and simmer for 18-20 minutes. Do not lift the lid during this time.
- Turn off the heat and let the skillet sit, still covered, for 5 minutes.
- Remove the lid and fluff the rice gently with a fork. Check that chicken reaches 165°F (74°C) at the thickest part.
- Garnish with fresh parsley and serve with lemon wedges.
Notes
For the oven method, preheat to 375°F (190°C). After step 6, cover and bake for 25-30 minutes, then rest 5 minutes. Do not lift the lid during cooking. For best results, use a 12-inch skillet and resist stirring after adding liquid.
Nutrition
- Serving Size: 1 serving (about 1.5
- Calories: 485
- Sugar: 2
- Sodium: 680
- Fat: 18
- Saturated Fat: 8
- Carbohydrates: 45
- Fiber: 1
- Protein: 32
Keywords: one-pan chicken and rice, garlic butter chicken, easy weeknight dinner, skillet chicken and rice, one pot meal