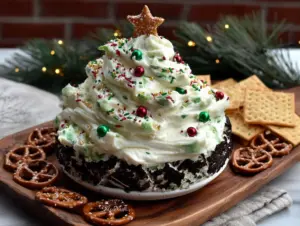
The timer went off, and I pulled the cake out of the oven expecting a lovely, tall sheet cake for a holiday party. I had planned everything—the frosting, the sprinkles, the whole festive nine yards. But what I got was a flat, dense, slightly sunken rectangle that looked more like a giant, sad cookie than a cake. I had grabbed the wrong pan size, the oven was running hot, and I was already running late.
Honestly, I was ready to scrap the whole thing. But then I looked at my bowl of whipped cream and had a thought—what if I just broke it up? I crumbled that “failed” cake into a dish, dolloped the cream on top, and added some festive sprinkles. The result? A ridiculously good, light, and scoopable dessert that everyone at the party fought over. It was better than the original plan, and no one believed me when I told them it was a mistake.
This Lighter Christmas Tree Snack Cake Dip with Whipped Cream was born from that very moment of kitchen panic. It’s the kind of dessert that feels indulgent but doesn’t weigh you down, perfect for holiday grazing without the commitment of a full slice of cake. You know that feeling when you want something sweet but not too heavy? This is that recipe. It has become my go-to for holiday gatherings, and I keep making it because it’s the perfect mix of festive fun and easy eating. Let me tell you, it’s a happy accident I’m glad I stumbled into.
Why You’ll Love This Recipe
This isn’t just another dessert dip—it’s a game-changer for holiday entertaining. I’ve tested this recipe multiple times, tweaking the cake mix and the cream ratio to get that perfect, light-yet-satisfying texture. It’s been family-approved at three different Christmas parties, and it always gets the same reaction: “Wait, this is light?”
- Quick & Easy: Comes together in under 20 minutes, perfect for last-minute holiday cravings or unexpected guests.
- Simple Ingredients: You likely already have everything in your pantry—no fancy grocery trips needed.
- Perfect for Holiday Parties: Great for buffets, potlucks, cozy family gatherings, or even a fun Christmas movie night.
- Crowd-Pleaser: Always gets rave reviews from kids and adults alike—everyone loves dipping into a festive bowl.
- Unbelievably Delicious: The combination of tender cake crumbles and light, airy whipped cream is pure comfort food magic.
What makes this different from other cake dips? It’s the lightened-up approach. Instead of a heavy cream cheese base, we’re using a simple, airy whipped cream that lets the cake flavor shine without feeling overly rich. It’s comfort food reimagined—healthier, faster, but with the same soul-soothing satisfaction. Perfect for impressing guests without stress, or turning a simple dessert into something memorable.
What Ingredients You Will Need
This recipe uses simple, wholesome ingredients to deliver bold flavor and satisfying texture without the fuss. Most of these are pantry staples, making it incredibly easy to whip up on a whim.
- For the Cake Dip Base:
- 1 box (15.25 oz) vanilla cake mix (I prefer Duncan Hines for its consistent texture)
- 1 cup unsweetened applesauce (replaces oil, keeping it light and moist)
- 2 large eggs, room temperature
- 1 teaspoon vanilla extract (adds richness)
- 1/2 cup milk (dairy or non-dairy, like almond milk, works fine)
- For the Whipped Cream Topping:
- 1 cup heavy whipping cream, cold
- 2 tablespoons powdered sugar
- 1/2 teaspoon vanilla extract
- For the Festive Decoration:
- Green food coloring (gel works best for vibrant color)
- Red and green sprinkles or holiday jimmies
- Optional: A star-shaped cookie or candy for the top
- For Dipping (choose your favorites):
- Graham crackers, vanilla wafers, pretzels, or fresh fruit like strawberries and apple slices
For the cake mix, I recommend using a standard vanilla variety—white cake mix or funfetti also work beautifully. If you want a gluten-free option, use a certified gluten-free cake mix; the applesauce keeps it just as moist. For a dairy-free version, swap the milk with oat milk and use a coconut-based whipped cream. The applesauce is the secret to keeping this dip light—it adds moisture without the fat of oil, and you honestly can’t taste it.
Equipment Needed
You don’t need any fancy gadgets for this recipe, which is part of its charm. Here’s what you’ll need:
- 9×13-inch baking pan (or an 8×8-inch pan for a thicker cake layer)
- Mixing bowls (one large, one medium)
- Whisk or electric hand mixer (a stand mixer works too, but hand mixer is easier for cleanup)
- Rubber spatula
- Cutting board and knife (for breaking up the cake)
- Serving dish or festive bowl
If you don’t have a 9×13 pan, you can use a cast-iron skillet—just adjust the baking time slightly. I’ve also used a round cake pan, and it works fine; just crumble the cake as usual. For the whipped cream, a hand mixer is your best friend. I’ve made it with a whisk before, and let me tell you, your arm will get a workout. Stick with the mixer for a light, fluffy result.
Preparation Method
Follow these steps, and you’ll have a festive dip in no time. I’ve included all the little cues I’ve learned from making this a dozen times.
- Preheat and Prep: Preheat your oven to 350°F (175°C). Lightly grease your 9×13-inch baking pan with cooking spray or a little butter. This prevents sticking and makes crumbling easier later.
- Mix the Cake Batter: In a large bowl, combine the cake mix, applesauce, eggs, vanilla extract, and milk. Stir with a whisk until just combined—don’t overmix, or the cake will be tough. The batter will be thicker than usual, almost like a cookie dough. That’s perfect.
- Bake the Cake: Spread the batter evenly into the prepared pan. Bake for 15-18 minutes, or until the edges are golden brown and a toothpick inserted in the center comes out clean. The cake will be thin—that’s intentional. Let it cool in the pan for 5 minutes, then transfer to a wire rack to cool completely. Note: The cake will be dense and slightly crumbly, which is exactly what we want.
- Crumble the Cake: Once the cake is completely cool, break it into small, bite-sized crumbles using your hands or a fork. You want a mix of fine crumbs and slightly larger pieces for texture. Transfer the crumbles to your serving dish or bowl.
- Make the Whipped Cream: In a medium bowl, combine the cold heavy cream, powdered sugar, and vanilla extract. Using an electric hand mixer, beat on medium-high speed until soft peaks form—about 2-3 minutes. Be careful not to overbeat, or you’ll end up with butter. Sensory cue: The cream should be thick and fluffy, holding its shape when you lift the beaters.
- Color the Cream (Optional): Add a few drops of green food coloring to the whipped cream and gently fold it in with a spatula until you reach your desired shade. I like a light, pastel green for a festive look.
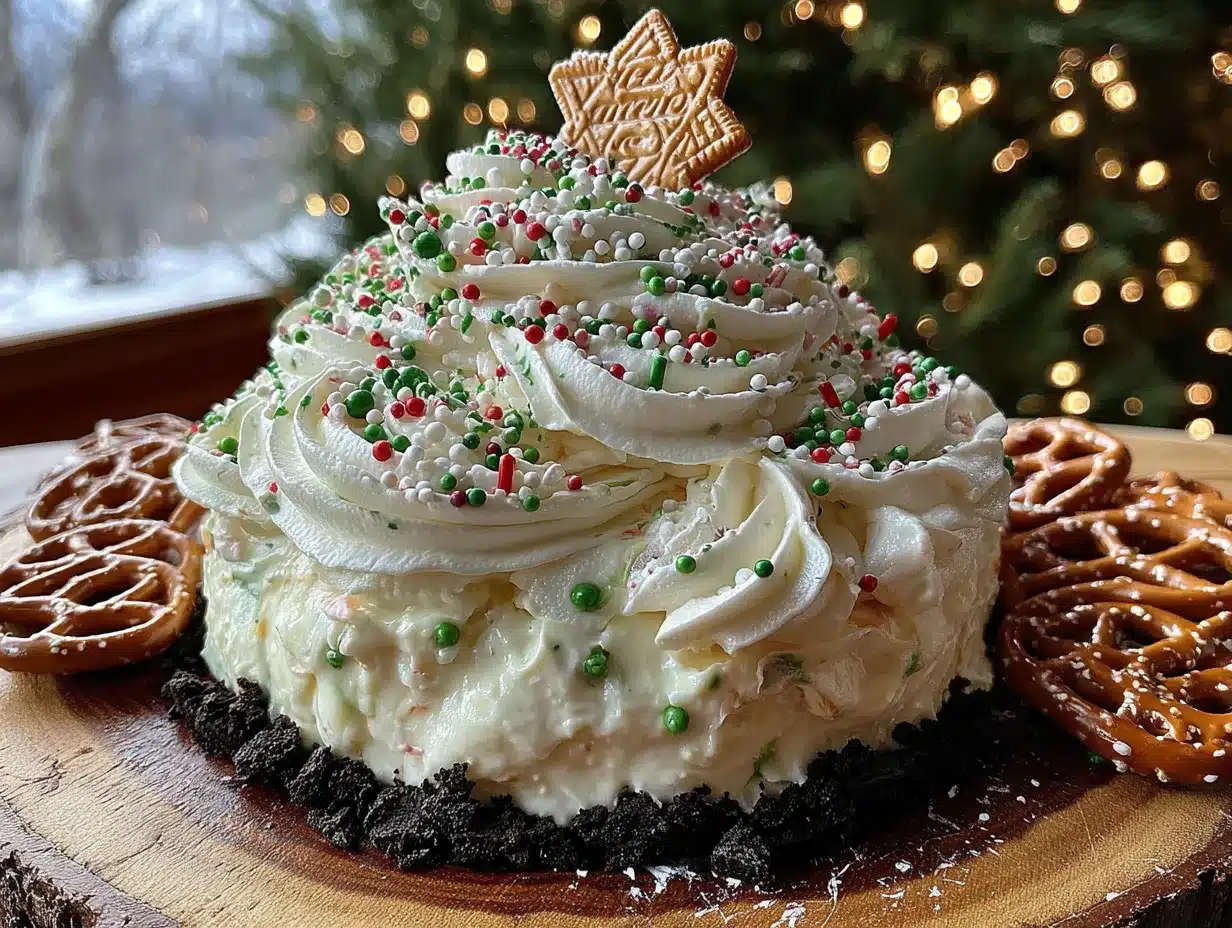
- Assemble the Dip: Spread the green whipped cream over the cake crumbles in a mound, shaping it into a rough cone or tree shape. You can also just dollop it on top for a more rustic look. Sprinkle generously with red and green sprinkles, and top with a star-shaped cookie or candy if you have one.
- Serve Immediately: Place the dip on a platter surrounded by your chosen dippers—graham crackers, vanilla wafers, pretzels, or fresh fruit. The dip is best enjoyed within an hour of assembly, as the cake crumbles will soften over time.
Cooking Tips & Techniques
Over the years, I’ve learned a few tricks that make this recipe foolproof. Here’s what I wish I knew from the start.
Don’t overbake the cake. The first time I made this, I left the cake in the oven for 20 minutes, and it came out dry and hard. The cake should be just set—slightly golden around the edges but still tender in the middle. Remember, you’re going to crumble it, so a slightly underbaked texture is actually better.
Use cold cream for the best whipped cream. This is non-negotiable. If your cream isn’t cold, it won’t whip properly. I even chill my bowl and beaters for 10 minutes before starting—it makes a noticeable difference in volume and stability.
Let the cake cool completely. I know it’s tempting to rush, but if you crumble a warm cake, you’ll end up with a gummy mess. Patience pays off here. I usually bake the cake the night before and crumble it the next day—it saves time and ensures perfect texture.
Multitask wisely. While the cake is baking, you can measure your sprinkles and set out your serving platter. But don’t make the whipped cream until just before serving—it will hold for about an hour in the fridge, but it’s best fresh.
One mistake I made early on was using too much food coloring. A little goes a long way—start with two drops and add more if needed. You want a subtle green, not a neon glow.
Variations & Adaptations
This recipe is incredibly versatile, so feel free to make it your own. Here are some variations I’ve tried and loved.
- Chocolate Lover’s Version: Use a chocolate cake mix instead of vanilla. The chocolate pairs beautifully with the whipped cream, and you can add chocolate shavings on top for extra decadence.
- Vegan Adaptation: Use a vegan cake mix (most are accidentally vegan), flax eggs (1 tablespoon flaxseed meal + 3 tablespoons water per egg), and a dairy-free whipped topping like CocoWhip. The texture will be slightly different, but it’s still delicious.
- Berry Swirl: After crumbling the cake, layer in some fresh or thawed frozen berries (blueberries or raspberries work great). The tartness cuts through the sweetness beautifully.
- Peppermint Twist: Add 1/2 teaspoon peppermint extract to the whipped cream and crush some candy canes for the topping. It’s a festive winter wonderland in a bowl.
- Gluten-Free Option: Use a gluten-free vanilla cake mix. The applesauce helps keep it moist, so you won’t miss the gluten at all.
I once tried a pumpkin spice version for fall using a spice cake mix and adding a teaspoon of pumpkin pie spice to the whipped cream. It was a hit at Thanksgiving, proving this recipe works for more than just Christmas.
Serving & Storage Suggestions
This dip is best served at room temperature, right after assembly. The contrast between the tender cake crumbles and the cold, airy whipped cream is pure magic. I like to present it in a clear glass bowl so you can see the layers—it looks so festive with the sprinkles peeking through.
For dippers, graham crackers and vanilla wafers are classic choices, but don’t overlook pretzels for a sweet-salty combo. Fresh fruit like strawberries, apple slices, or pear wedges also work wonderfully and keep things on the lighter side.
Storage: If you have leftovers (which is rare in my house), store the dip in an airtight container in the refrigerator for up to 2 days. The cake crumbles will soften, but it still tastes great—almost like a trifle. To refresh it, you can add a new layer of freshly made whipped cream on top before serving.
I don’t recommend freezing this dip, as the texture of the cake and cream will suffer. It’s truly best made fresh, which is easy since it comes together so quickly.
One thing I’ve noticed: the flavors meld together beautifully after a few hours in the fridge. If you’re making it for a party, you can bake and crumble the cake a day ahead, then assemble the dip just before guests arrive. The whipped cream will hold for about an hour in the fridge, so you have a nice window of time.
Nutritional Information & Benefits
Here’s an estimated breakdown per serving (1/8 of the recipe, without dippers):
- Calories: 245
- Fat: 12g
- Carbohydrates: 32g
- Protein: 3g
- Fiber: 1g
- Sugar: 18g
The use of applesauce instead of oil cuts the fat content significantly while adding natural sweetness and a dose of fiber. The whipped cream provides a small amount of calcium and vitamin A, but the real benefit here is portion control—because it’s a dip, you naturally eat less than you would a full slice of cake.
This recipe is vegetarian and can easily be made gluten-free or dairy-free with simple swaps. It’s also lower in calories and fat than traditional cake dips, which often rely on cream cheese or butter. From a wellness perspective, I love that I can enjoy a festive dessert without feeling heavy or guilty afterward. It’s all about balance, right?
Conclusion
This Lighter Christmas Tree Snack Cake Dip with Whipped Cream is proof that mistakes in the kitchen can lead to something wonderful. It’s festive, fun, and surprisingly light—everything you want in a holiday dessert without the post-dinner slump. I love how customizable it is, how quickly it comes together, and how it always sparks conversation at parties. “Wait, this was an accident?” is a question I hear every time.
I encourage you to make this recipe your own. Try different cake flavors, experiment with toppings, or serve it with your favorite dippers. The beauty of this dip is that it’s forgiving—just like the mistake that created it. If you make it, I’d love to hear how it turned out. Drop a comment below, share your photos, or let me know what variations you tried. Happy holidays, and happy dipping!
Frequently Asked Questions
Can I use a sugar-free cake mix?
Absolutely! A sugar-free vanilla cake mix works perfectly in this recipe. The applesauce adds enough moisture, and the whipped cream provides sweetness. Just keep an eye on the baking time, as sugar-free mixes can bake faster.
How far in advance can I make this dip?
You can bake and crumble the cake up to 2 days ahead and store it in an airtight container at room temperature. Assemble the dip with the whipped cream no more than 1-2 hours before serving for the best texture.
Can I use store-bought whipped cream?
You can, but I don’t recommend it. Homemade whipped cream is so much lighter and fluffier, and it doesn’t have the stabilizers and additives found in store-bought versions. The texture difference is noticeable.
What if I don’t have a 9×13 pan?
No problem! Use an 8×8-inch pan and bake for a few extra minutes, or even a round cake pan. The key is to keep the cake layer thin so it bakes quickly and crumbles easily. Just adjust the baking time as needed.
Can I make this dip dairy-free?
Yes! Use a dairy-free cake mix (many are accidentally dairy-free), replace the milk with oat or almond milk, and use a dairy-free whipped topping like CocoWhip. The texture will be slightly different, but it’s still delicious and festive.
Pin This Recipe!
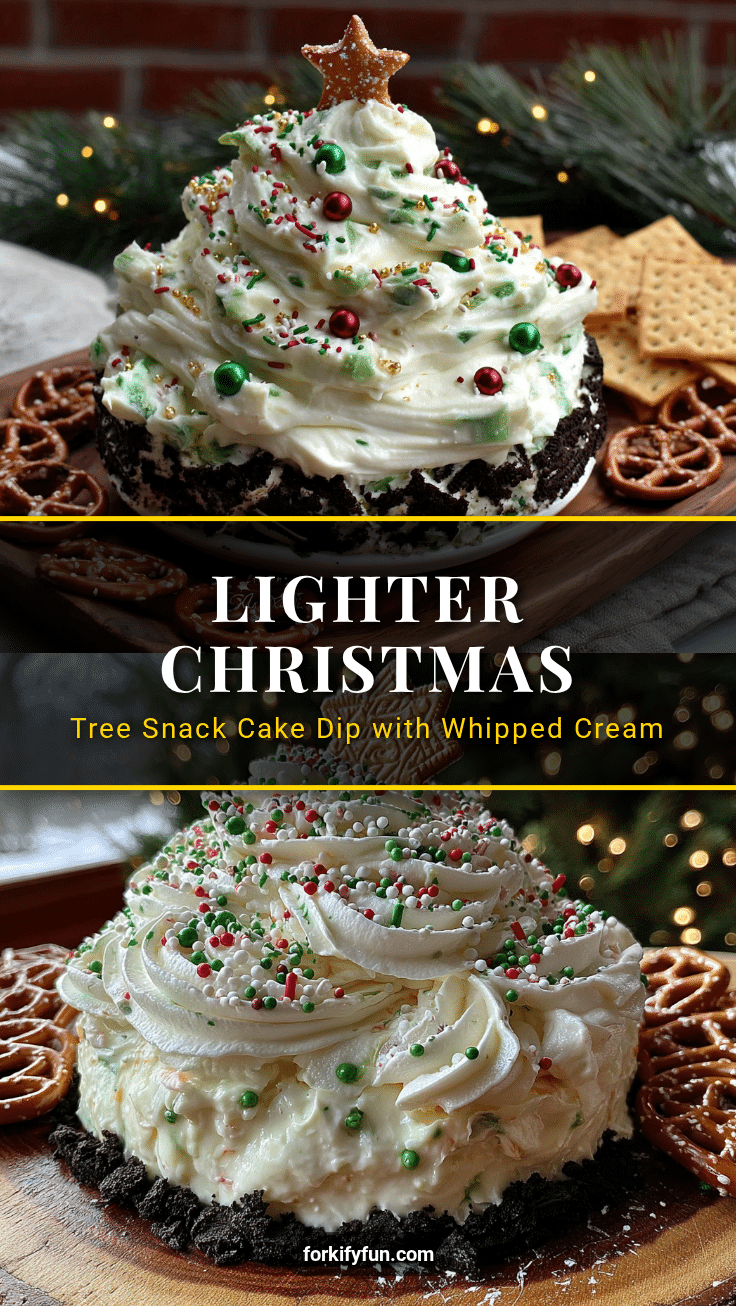
Lighter Christmas Tree Snack Cake Dip with Whipped Cream

This Lighter Christmas Tree Snack Cake Dip with Whipped Cream is a festive, fun, and surprisingly light dessert that’s perfect for holiday gatherings. It’s made with a tender cake crumble base and topped with airy, green-tinted whipped cream and sprinkles, creating a scoopable treat that’s easy to enjoy.
- Prep Time: 10 minutes
- Cook Time: 18 minutes
- Total Time: 28 minutes
- Yield: 8 servings 1x
- Category: Dessert
- Cuisine: American
Ingredients
- 1 box (15.25 oz) vanilla cake mix (e.g., Duncan Hines)
- 1 cup unsweetened applesauce
- 2 large eggs, room temperature
- 1 teaspoon vanilla extract
- 1/2 cup milk (dairy or non-dairy, like almond milk)
- 1 cup heavy whipping cream, cold
- 2 tablespoons powdered sugar
- 1/2 teaspoon vanilla extract
- Green food coloring (gel works best)
- Red and green sprinkles or holiday jimmies
- Optional: A star-shaped cookie or candy for the top
- For dipping: graham crackers, vanilla wafers, pretzels, or fresh fruit like strawberries and apple slices
Instructions
- Preheat your oven to 350°F (175°C). Lightly grease a 9×13-inch baking pan with cooking spray or butter.
- In a large bowl, combine the cake mix, applesauce, eggs, vanilla extract, and milk. Stir with a whisk until just combined (batter will be thick, like cookie dough). Do not overmix.
- Spread the batter evenly into the prepared pan. Bake for 15-18 minutes, or until the edges are golden brown and a toothpick inserted in the center comes out clean. The cake will be thin. Let cool in the pan for 5 minutes, then transfer to a wire rack to cool completely.
- Once the cake is completely cool, break it into small, bite-sized crumbles using your hands or a fork. Aim for a mix of fine crumbs and slightly larger pieces. Transfer crumbles to a serving dish or bowl.
- In a medium bowl, combine the cold heavy cream, powdered sugar, and vanilla extract. Using an electric hand mixer, beat on medium-high speed until soft peaks form (about 2-3 minutes). Be careful not to overbeat.
- Add a few drops of green food coloring to the whipped cream and gently fold it in with a spatula until you reach your desired shade (start with 2 drops).
- Spread the green whipped cream over the cake crumbles in a mound, shaping it into a rough cone or tree shape, or simply dollop on top. Sprinkle generously with red and green sprinkles, and top with a star-shaped cookie or candy if desired.
- Serve immediately, surrounded by your chosen dippers. Best enjoyed within an hour of assembly.
Notes
Don’t overbake the cake; a slightly underbaked texture is better for crumbling. Use cold cream for the best whipped cream. Let the cake cool completely before crumbling to avoid a gummy texture. Make the whipped cream just before serving for best results. A little food coloring goes a long way—start with 2 drops. The dip is best served within an hour of assembly. Leftovers can be stored in an airtight container in the refrigerator for up to 2 days; cake crumbles will soften.
Nutrition
- Serving Size: 1/8 of recipe (witho
- Calories: 245
- Sugar: 18
- Sodium: 320
- Fat: 12
- Saturated Fat: 7
- Carbohydrates: 32
- Fiber: 1
- Protein: 3
Keywords: Christmas dessert, cake dip, snack cake, holiday dessert, light dessert, whipped cream, festive dip, easy dessert