It was supposed to be a simple batch of apple cider doughnuts.
I had the cider simmering on the stove, the oil heating up, and my three-year-old “helper” stationed on her step stool. I turned around for maybe ten seconds—just to grab the cinnamon—and in that blink, she dumped half a cup of cider straight into the dry ingredients. Not the wet ones. The flour. The sugar. The baking powder. It turned into this weird, lumpy paste that looked like grey playdough. I stood there, staring at the bowl, thinking about the wasted ingredients and how we were supposed to be making something fun. I almost threw it out, honestly. But my grandmother’s voice popped into my head—she always said you can fix a bad batter, you just can’t fix a bad attitude. So I added the eggs and butter anyway, poured it into a loaf pan, and crossed my fingers. What came out of that oven was nothing like doughnuts. It was better. It was this tender, fragrant cake that smelled like fall in a bakery. The whole house filled with this warm, cinnamony smell, and my daughter kept saying “cake, cake, cake” before it was even cool. I let her have a piece still warm, and she did that little happy dance toddlers do when something tastes good. That’s the moment I knew the messed-up doughnuts were never meant to be doughnuts at all. Maybe you’ve had a moment like that—when a kitchen mistake turns into something you keep making for years. This is that recipe for me.
Why You’ll Love This Recipe
Let’s be real—finding a dessert that makes both your kids and your in-laws happy is like finding a unicorn. But this apple cider cake? It’s that unicorn. I’ve tested it on picky eaters, dessert snobs, and people who “don’t really like cake.” All of them came back for seconds.
- Quick & Easy: From start to finish, this cake comes together in about an hour. Most of that is baking time while you do something else—like finally sit down with your coffee.
- Simple Ingredients: You probably already have everything in your kitchen except maybe the apple cider. No weird flours or specialty extracts here.
- Perfect for Family Dinners: It’s not too sweet, not too plain. It hits that Goldilocks zone where everyone at the table wants a slice.
- Crowd-Pleaser: I brought this to a potluck once, and someone asked for the recipe before they even finished their first piece. That’s never happened to me before.
- Unbelievably Delicious: The texture is what gets you—it’s moist but not dense, tender but not crumbly. And that cream cheese glaze? It’s the kind of thing you want to put on everything.
What makes this recipe different from the hundred other apple cakes out there? It’s the way the cider reduces and concentrates while it bakes, giving you this deep, almost caramelized apple flavor without any extra work. I’ve tried making it with apple juice, and it’s just not the same. The cider matters. Plus, the cream cheese glaze adds a tangy richness that cuts through the sweetness perfectly. It’s not just another version—it’s the version I keep coming back to, week after week, all fall long.
This cake is the kind that makes you close your eyes after the first bite. It’s comfort food reimagined—simpler, faster, but with the same soul-soothing satisfaction. And honestly? It makes your house smell like happiness.
What Ingredients You Will Need
This recipe uses simple, everyday ingredients to deliver big flavor without any fuss. Most of these are pantry staples, which means you can whip this up on a whim—no special trip to the store required.
For the Apple Cider Cake
- 1 ¾ cups all-purpose flour (spooned and leveled—don’t scoop straight from the bag or you’ll get too much)
- 1 teaspoon baking powder
- ½ teaspoon baking soda
- ½ teaspoon salt
- 1 teaspoon ground cinnamon (I prefer McCormick, but any brand works)
- ½ teaspoon ground nutmeg (freshly grated if you have it, but pre-ground is fine)
- ¼ teaspoon ground cloves (optional, but it adds that cozy “something” you can’t quite name)
- ½ cup unsalted butter, softened to room temperature (don’t microwave it—just leave it out for an hour)
- ¾ cup granulated sugar
- ¼ cup light brown sugar, packed
- 2 large eggs, room temperature
- 1 teaspoon vanilla extract
- ¾ cup apple cider (unfiltered is best—it has more flavor)
For the Cream Cheese Glaze
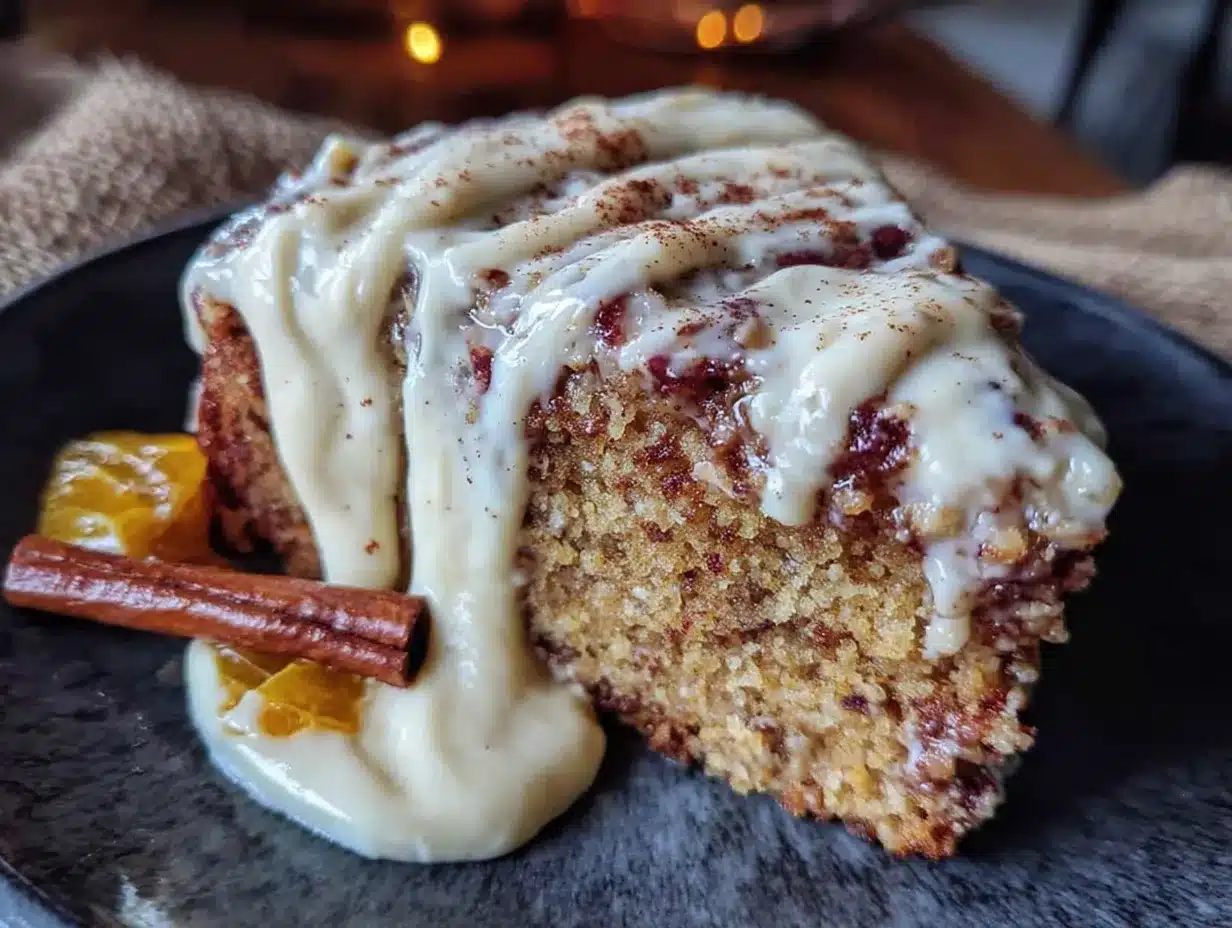
- 4 ounces cream cheese, softened (use full-fat for the best texture)
- 2 tablespoons unsalted butter, softened
- 1 cup powdered sugar, sifted (sifting prevents lumps—trust me on this)
- 1-2 tablespoons milk (or heavy cream for an even richer glaze)
- ½ teaspoon vanilla extract
- Pinch of salt (this balances the sweetness)
Ingredient Notes & Substitutions: For a dairy-free version, use plant-based butter and cream cheese—just make sure they’re the block-style kind, not the spreadable tub. If you don’t have apple cider, you can use apple juice, but the flavor will be milder. I’ve also made this with gluten-free all-purpose flour (I like the King Arthur brand), and it turned out surprisingly well—just don’t overmix the batter. For a less sweet cake, reduce the granulated sugar to ½ cup and skip the brown sugar. The glaze will still give you plenty of sweetness.
Equipment Needed
You don’t need any fancy equipment to make this cake. Here’s what you’ll need:
- 9×5-inch loaf pan (a metal one works best—glass takes longer to bake)
- Parchment paper (for lining the pan—makes cleanup so much easier)
- Mixing bowls (one medium, one large)
- Whisk (for the dry ingredients)
- Electric hand mixer or stand mixer (you can do it by hand, but your arm will get tired)
- Rubber spatula (for scraping the bowl and folding the batter)
- Cooling rack (if you don’t have one, just use the stovetop grates)
- Small saucepan (for reducing the cider—optional but recommended)
If you don’t have a loaf pan, you can use an 8×8-inch square pan instead—just reduce the baking time by about 10 minutes and check it early. I’ve also made these as muffins (bake for 18-20 minutes at 350°F), and they’re perfect for lunchboxes.
Preparation Method
Here’s how to make this cake—step by step, with all the little details I’ve learned from making it about twenty times.
- Preheat your oven to 350°F (175°C). Grease a 9×5-inch loaf pan and line it with parchment paper, leaving some overhang on the long sides. This makes lifting the cake out so much easier—I learned that the hard way after a cake broke in half on me.
- Reduce the apple cider. Pour ¾ cup of apple cider into a small saucepan and bring it to a simmer over medium heat. Let it cook for about 8-10 minutes, until it reduces to about ½ cup. You’re concentrating the flavor here—it makes the cake taste like you used way more apples than you actually did. Let it cool while you prep the rest. Don’t skip this step—it’s the secret to the deep apple flavor.
- Whisk the dry ingredients together. In a medium bowl, whisk together the flour, baking powder, baking soda, salt, cinnamon, nutmeg, and cloves. Set this aside. Make sure there are no lumps—especially in the baking powder and soda.
- Cream the butter and sugars. In a large bowl, beat the softened butter, granulated sugar, and brown sugar together with an electric mixer on medium speed until light and fluffy—about 3 minutes. It should look pale and almost doubled in volume. Scrape down the sides of the bowl halfway through.
- Add the eggs and vanilla. Beat in the eggs one at a time, making sure each one is fully incorporated before adding the next. Then add the vanilla extract and beat until combined. The mixture might look slightly curdled at this point—that’s okay, it’ll come together when you add the flour.
- Alternate adding the dry ingredients and the cider. With the mixer on low speed, add about a third of the flour mixture, then half of the reduced cider. Repeat with another third of flour, the remaining cider, and finally the last of the flour. Mix just until combined—stop as soon as you don’t see any more streaks of flour. Overmixing will make the cake tough, and nobody wants a tough cake.
- Fold the batter one last time. Use a rubber spatula to give the batter a few gentle folds from the bottom up. This catches any flour hiding at the bottom of the bowl. The batter will be thick and slightly sticky—that’s normal.
- Pour and spread the batter. Transfer the batter to your prepared loaf pan and spread it into an even layer. Give the pan a gentle tap on the counter to release any air bubbles. If you want, sprinkle a little coarse sugar on top for a crunchy crust—my kids love this part.
- Bake for 45-55 minutes. Place the pan on the middle rack and bake until a toothpick inserted into the center comes out clean or with just a few moist crumbs. The top should be golden brown and spring back when you gently press it. If the top is browning too quickly (around the 30-minute mark), tent it loosely with foil.
- Cool completely. Let the cake cool in the pan for 10 minutes, then use the parchment paper to lift it out onto a cooling rack. Let it cool completely before adding the glaze—at least 1 hour. I know it’s tempting, but warm glaze just slides right off and pools at the bottom.
- Make the cream cheese glaze. While the cake is cooling, beat the softened cream cheese and butter together until smooth and creamy—about 2 minutes. Add the sifted powdered sugar, vanilla, and a pinch of salt, then beat on low until combined. Add milk one tablespoon at a time until you reach a pourable consistency. The glaze should be thick but flow slowly off a spoon.
- Glaze and serve. Pour the glaze over the completely cooled cake, letting it drip down the sides. Let the glaze set for about 15 minutes before slicing. Store any leftovers in the fridge, covered.
Cooking Tips & Techniques
After making this cake more times than I can count, here are the things I wish someone had told me the first time:
Don’t skip the cider reduction. I know it adds an extra step, but it’s the difference between a good cake and a “can I have the recipe?” cake. The reduction concentrates the apple flavor and removes some of the water, which keeps the cake from getting soggy. I tried skipping it once when I was in a hurry, and the cake was noticeably less flavorful. Never again.
Room temperature ingredients matter. I used to think this was just chef talk, but it really does make a difference. Cold butter doesn’t cream properly, and cold eggs can make the batter curdle. Just leave your butter, eggs, and cream cheese out on the counter for about an hour before you start. Your cake will thank you.
The toothpick test is your friend. Ovens vary wildly—I’ve baked this cake in three different ovens, and the time ranged from 42 minutes to 58 minutes. Start checking at 40 minutes. Insert a toothpick into the center; if it comes out clean or with just a few moist crumbs, it’s done. If it’s still wet, give it 5 more minutes and check again.
Let it cool completely. I know it’s hard to wait. The smell alone is torture. But if you glaze a warm cake, the glaze will melt into a thin, runny mess that pools on your plate. Trust me—I’ve done it, and it’s sad. Give it the full hour.
My biggest mistake: The first time I made this, I used cold butter straight from the fridge. The batter was lumpy, the cake took forever to bake, and the texture was dense and almost greasy. It was still edible, but it wasn’t the light, tender cake I was hoping for. Now I always set my butter out first thing, before I even measure the flour. Small change, huge difference.
Variations & Adaptations
This cake is surprisingly flexible. Here are some ways I’ve adapted it over the years:
Apple Cider Muffins
Divide the batter into a 12-cup muffin tin lined with paper cups. Bake at 350°F for 18-22 minutes. These are perfect for school lunches or breakfast on the go. The glaze can be drizzled on top or skipped entirely.
Dairy-Free Version
Use plant-based butter and cream cheese (the block-style kind, not the spread). I’ve had good luck with the Violife brand. The texture is slightly less tender, but the flavor is still fantastic. My dairy-sensitive sister-in-law requests this version every Thanksgiving.
Spiced Apple Cake with Walnuts
Add ½ cup of toasted, chopped walnuts to the batter along with the dry ingredients. The nuts add a nice crunch and make the cake feel a little more grown-up. I did this once when I was out of pecans for a different recipe, and it worked beautifully.
Gluten-Free Option
Use a 1:1 gluten-free all-purpose flour blend (I like King Arthur’s). Don’t overmix the batter, and let the cake cool completely before slicing—gluten-free cakes are more fragile when warm. The flavor is almost identical to the original.
Serving & Storage Suggestions
This cake is delicious at room temperature, but I actually prefer it slightly chilled—the cream cheese glaze firms up and gets almost like a frosting. For a special treat, warm a slice in the microwave for 10 seconds and serve with a scoop of vanilla ice cream. It’s the kind of dessert that makes you close your eyes.
To store: Keep the cake covered in the refrigerator for up to 5 days. The glaze will stay creamy, and the cake actually gets more moist on day two. I’ve eaten it on day four and it was still fantastic—the flavors meld together beautifully over time.
To freeze: Wrap the unglazed cake tightly in plastic wrap, then in foil, and freeze for up to 3 months. Thaw overnight in the refrigerator, then bring to room temperature before glazing. I always bake a double batch in the fall and freeze one for later—it’s a lifesaver during the holiday chaos.
To reheat: Microwave individual slices for 15-20 seconds. Or, for a crispier edge, pop slices in a toaster oven at 350°F for 5 minutes. Just watch closely—the glaze can burn if you’re not careful.
The flavors actually deepen over time, so don’t be afraid to make this a day ahead. It’s one of those rare cakes that tastes even better the next day.
Nutritional Information & Benefits
Per slice (based on 10 slices, with glaze): approximately 320 calories, 14g fat, 46g carbohydrates, 4g protein, 2g fiber, 28g sugar. These are estimates and will vary based on your specific ingredients.
This cake isn’t health food, but it does have some redeeming qualities. The apple cider provides a small amount of vitamin C and antioxidants. Cinnamon has been shown to help regulate blood sugar levels. And the cream cheese adds a bit of calcium and protein—hey, every little bit counts, right?
If you’re watching your sugar intake, you can reduce the sugar in the cake to ½ cup total and use a lighter hand with the glaze. The cake will still be plenty sweet. For a lower-fat option, you can substitute half the butter with unsweetened applesauce—the texture will be slightly denser, but it’s still delicious.
Allergen note: This recipe contains wheat (gluten), dairy, and eggs. For allergen-friendly versions, see the variations section above.
Frequently Asked Questions
Can I use apple juice instead of apple cider?
You can, but the flavor won’t be as rich. Apple cider has a deeper, more concentrated apple taste because it’s less filtered. If you use apple juice, I’d recommend reducing it a bit longer on the stove to concentrate the flavor.
Why did my cake sink in the middle?
This usually happens for one of three reasons: the oven door was opened too early (don’t peek for the first 30 minutes), the batter was overmixed (which creates too much air that collapses), or the cake wasn’t baked long enough. Make sure your oven temperature is accurate with an oven thermometer.
Can I make this cake ahead of time?
Absolutely! In fact, it tastes even better on day two. Bake the cake, let it cool completely, wrap it tightly, and store it at room temperature for up to 24 hours. Glaze it just before serving for the best presentation.
How do I get the cream cheese glaze to be smooth and not lumpy?
The secret is making sure your cream cheese and butter are truly softened to room temperature—not cold, not melted. Sift your powdered sugar to remove any lumps, and beat everything together on low speed until just combined. Overbeating can actually make the glaze grainy.
Can I double this recipe?
Yes! Double all the ingredients and bake in two loaf pans, or use a 9×13-inch baking dish. If using a 9×13 pan, bake for 30-35 minutes. The glaze recipe can also be doubled easily. This is my go-to for potlucks and family gatherings.
Conclusion
This apple cider cake started as a happy accident—a toddler’s well-intentioned sabotage of what was supposed to be doughnuts. But honestly? I’m grateful for that spilled cider. It forced me to think on my feet, to trust my instincts, and to discover a recipe that’s become a staple in our home. Every time I make it, I remember that afternoon in the kitchen, the smell of cinnamon filling the air, and my daughter’s sticky little fingers reaching for a warm slice.
This cake is for the nights when you need something special without spending hours in the kitchen. It’s for the mornings when you want your house to smell like fall. It’s for the moments when you want to make something that feels like a hug in food form. I hope you make it your own—add a little extra cinnamon, skip the glaze if you’re in a hurry, or double the batch because one cake is never enough.
If you try this recipe, I’d love to hear about it. Drop a comment below, share your photos, or tell me how your family liked it. Did you add any twists? Did your kids ask for seconds? That’s the kind of kitchen story I live for. Happy baking, friends—and remember, some of the best recipes come from the messiest mistakes.
Pin This Recipe!
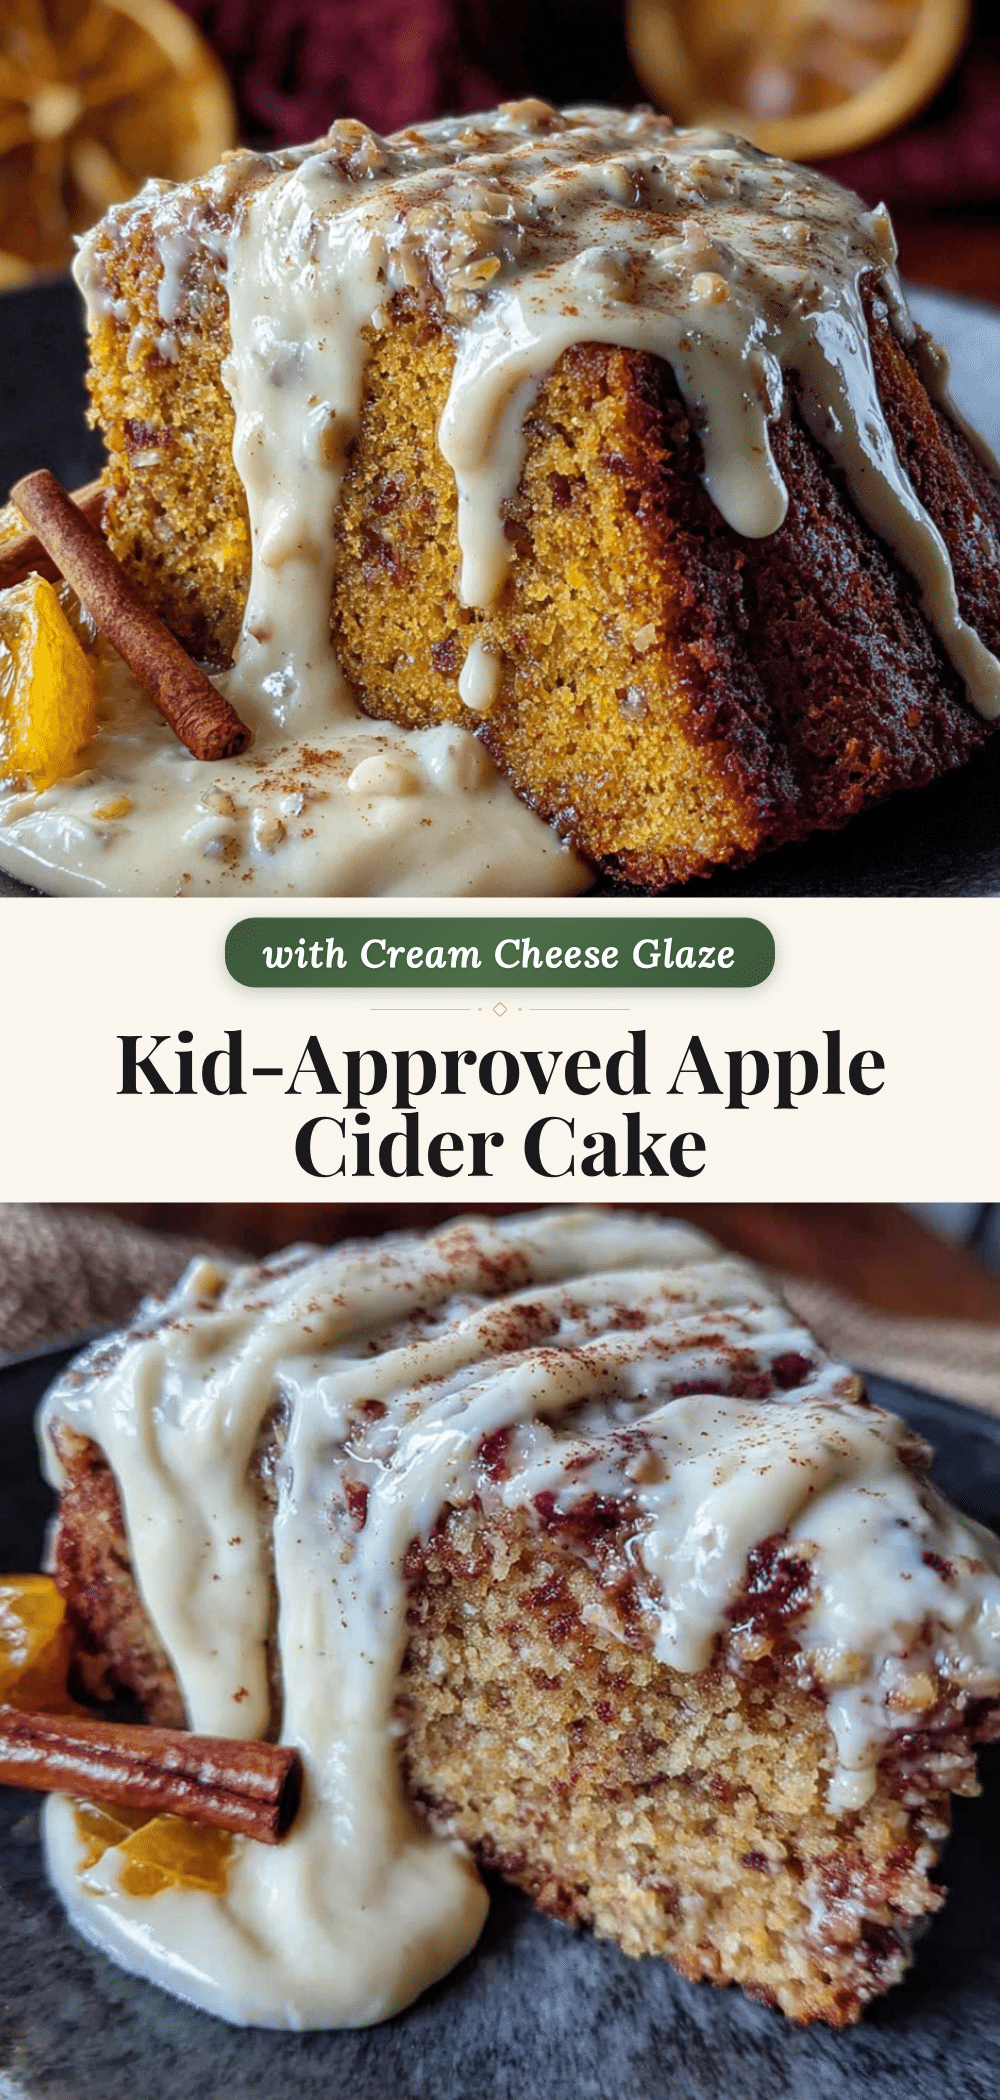
Kid-Approved Apple Cider Cake with Cream Cheese Glaze: Perfect Easy Dessert

A tender, fragrant apple cider cake with a tangy cream cheese glaze that started as a happy kitchen accident. This easy dessert is moist, perfectly spiced, and a crowd-pleaser for family dinners and fall gatherings.
- Prep Time: 15 minutes
- Cook Time: 50 minutes
- Total Time: 1 hour 5 minutes
- Yield: 10 servings 1x
- Category: Dessert
- Cuisine: American
Ingredients
- 1 ¾ cups all-purpose flour (spooned and leveled)
- 1 teaspoon baking powder
- ½ teaspoon baking soda
- ½ teaspoon salt
- 1 teaspoon ground cinnamon
- ½ teaspoon ground nutmeg
- ¼ teaspoon ground cloves (optional)
- ½ cup unsalted butter, softened to room temperature
- ¾ cup granulated sugar
- ¼ cup light brown sugar, packed
- 2 large eggs, room temperature
- 1 teaspoon vanilla extract
- ¾ cup apple cider (unfiltered is best)
- 4 ounces cream cheese, softened
- 2 tablespoons unsalted butter, softened
- 1 cup powdered sugar, sifted
- 1–2 tablespoons milk (or heavy cream)
- ½ teaspoon vanilla extract
- Pinch of salt
Instructions
- Preheat your oven to 350°F (175°C). Grease a 9×5-inch loaf pan and line it with parchment paper, leaving some overhang on the long sides.
- Reduce the apple cider: Pour ¾ cup of apple cider into a small saucepan and bring it to a simmer over medium heat. Let it cook for about 8-10 minutes, until it reduces to about ½ cup. Let it cool while you prep the rest.
- Whisk the dry ingredients together: In a medium bowl, whisk together the flour, baking powder, baking soda, salt, cinnamon, nutmeg, and cloves. Set aside.
- Cream the butter and sugars: In a large bowl, beat the softened butter, granulated sugar, and brown sugar together with an electric mixer on medium speed until light and fluffy—about 3 minutes. Scrape down the sides of the bowl halfway through.
- Add the eggs and vanilla: Beat in the eggs one at a time, making sure each one is fully incorporated before adding the next. Then add the vanilla extract and beat until combined.
- Alternate adding the dry ingredients and the cider: With the mixer on low speed, add about a third of the flour mixture, then half of the reduced cider. Repeat with another third of flour, the remaining cider, and finally the last of the flour. Mix just until combined.
- Fold the batter one last time: Use a rubber spatula to give the batter a few gentle folds from the bottom up.
- Pour and spread the batter: Transfer the batter to your prepared loaf pan and spread it into an even layer. Give the pan a gentle tap on the counter to release any air bubbles.
- Bake for 45-55 minutes: Place the pan on the middle rack and bake until a toothpick inserted into the center comes out clean or with just a few moist crumbs. If the top is browning too quickly (around the 30-minute mark), tent it loosely with foil.
- Cool completely: Let the cake cool in the pan for 10 minutes, then use the parchment paper to lift it out onto a cooling rack. Let it cool completely before adding the glaze—at least 1 hour.
- Make the cream cheese glaze: Beat the softened cream cheese and butter together until smooth and creamy—about 2 minutes. Add the sifted powdered sugar, vanilla, and a pinch of salt, then beat on low until combined. Add milk one tablespoon at a time until you reach a pourable consistency.
- Glaze and serve: Pour the glaze over the completely cooled cake, letting it drip down the sides. Let the glaze set for about 15 minutes before slicing. Store any leftovers in the fridge, covered.
Notes
Don’t skip the cider reduction—it concentrates the apple flavor. Room temperature ingredients are important for proper creaming. Let the cake cool completely before glazing to prevent the glaze from melting off. The cake tastes even better on day two. For a dairy-free version, use plant-based butter and cream cheese (block-style). For gluten-free, use a 1:1 gluten-free all-purpose flour blend.
Nutrition
- Serving Size: 1 slice
- Calories: 320
- Sugar: 28
- Sodium: 280
- Fat: 14
- Saturated Fat: 8
- Carbohydrates: 46
- Fiber: 2
- Protein: 4
Keywords: apple cider cake, cream cheese glaze, easy dessert, fall dessert, kid-friendly, apple cake, loaf cake