My neighbor across the hall, a retired pastry chef named Rosa, watched me wrestling with a piping bag one October afternoon. I was trying to make fancy Halloween cupcakes, and honestly, it was a disaster. She didn’t say anything at first. She just stood there in my doorway, arms crossed, a little smile on her face. Then she walked over, gently took the piping bag from my hands, and said, “You’re overthinking it. The best Halloween treats are the ones that look a little scary and taste a whole lot like fun.” She pulled out a bag of pretzel sticks from my pantry, a jar of almond slivers, and some green candy melts. Within ten minutes, she had transformed these simple ingredients into a plate of the most wonderfully creepy witch fingers I had ever seen. I mean, they were so realistic, my own kids hesitated before taking a bite! That moment, standing in my messy kitchen with flour on my nose and a new friend sharing her secrets, is exactly why this recipe has become our non-negotiable Halloween tradition. Let me tell you, if you’ve been looking for a Halloween treat that is spooky, delicious, and almost impossibly simple, you have found it.
Why You’ll Love This Recipe
Look, Halloween can be a lot. Between the costume drama, the pumpkin carving, and the sheer sugar overload, the last thing you need is a complicated recipe that takes all afternoon. These Easy Witch Finger Pretzel Snacks are my secret weapon for a stress-free Halloween, and here is why they work so well.
- Quick & Easy: From start to finish, this recipe takes about 20 minutes of active time. Seriously, you can whip up a batch while the kids are still arguing about who gets to be the ghost this year.
- Simple Ingredients: You only need three main ingredients: pretzel sticks, green candy melts, and sliced almonds. No fancy grocery store runs for exotic spices or hard-to-find decorations.
- Perfect for Halloween Parties: These are the ultimate conversation starter. They look genuinely creepy, but they taste like a sweet and salty dream. They disappear faster than anything else on the dessert table.
- Crowd-Pleaser: I have yet to meet a kid or an adult who can resist the charm of a witch finger. They are just so fun to eat, and the salty-sweet combo is universally loved.
- Unbelievably Delicious: The crunchy pretzel, the smooth, sweet candy coating, and the nutty almond “fingernail” create a texture and flavor that is next-level addictive. It is comfort food with a spooky twist.
What makes this recipe different from every other “witch finger” out there? It is the pretzel base. Most recipes use a cookie or a cake pop, which takes forever. Using a pretzel stick gives you that perfect, bony finger shape instantly, plus that irresistible salty crunch that balances the sweet candy melt. It is a stroke of genius that saves you time and tastes better. Honestly, this is the kind of treat that makes you close your eyes after the first bite. It is Halloween fun, reimagined as something faster, easier, and way more delicious.
What Ingredients You Will Need
This recipe uses simple, store-bought ingredients to create maximum spooky impact with minimum fuss. You probably already have most of these in your pantry, which is the whole point of a last-minute Halloween snack.
- Pretzel Sticks (1 bag, about 8-10 ounces): These are the backbone of your witch fingers. Look for the straight, thick pretzel sticks, not the thin, twisty ones. They mimic the long, bony finger shape perfectly. I personally prefer the Rold Gold brand for their sturdy texture, but any brand works well.
- Green Candy Melts (1 bag, 10-12 ounces): This is what gives your fingers that classic, creepy witch skin color. You can find these at most craft stores or in the baking aisle of your grocery store. Wilton is a reliable brand, but any brand of green candy melts will do. For a deeper, more “warty” green, you can also use a mix of green and a tiny bit of brown or yellow melt.
- Sliced Almonds (1 small bag, about 2-3 ounces): These become the witch’s fingernails. Look for raw, blanched sliced almonds for the most natural-looking nail shape. Toasted almonds will work, but they are a little darker and can look less like a nail.
- Optional: Red Decorating Gel or Icing: This is for adding a few drops of “blood” at the base of the fingernail or a little “dirt” (crushed chocolate cookies) for a more gory effect. It is totally optional, but it adds a fun, gross-out factor that kids adore.
Ingredient Selection Tips: When buying candy melts, avoid the “candy coating” wafers that are not specifically designed for melting. They can seize up and become grainy. Stick with the ones labeled “candy melts” or “melting wafers.” For the almonds, try to find slices that are relatively uniform in size and shape. This makes it easier to create consistent-looking fingernails. And here is a little secret: if you cannot find sliced almonds, you can use whole almonds and carefully cut them in half lengthwise. It takes a bit more effort, but it works in a pinch.
Equipment Needed
You do not need a professional pastry kitchen to make these. A few basic tools are all it takes to bring these spooky fingers to life.
- Microwave-Safe Bowl: For melting the candy melts. A glass or ceramic bowl works best.
- Baking Sheet: Lined with parchment paper or a silicone baking mat. This is where your witch fingers will set up.
- Small Offset Spatula or Butter Knife: For spreading the melted candy onto the pretzel sticks. A small spoon also works.
- Toothpick or Small Skewer: This is your secret weapon for creating the knuckle wrinkles and warts on the witch fingers.
- Piping Bag or Small Ziploc Bag: If you want to get fancy with the red gel or a little extra green coating for detail.
Budget-Friendly Alternatives: If you do not have an offset spatula, a regular butter knife is just fine. No piping bag? Snip a tiny corner off a Ziploc bag. And if you do not have a silicone baking mat, parchment paper is your best friend. I have made these in a tiny apartment kitchen with just a microwave and a plate, and they turned out perfectly. Do not let a lack of fancy tools stop you.
Preparation Method
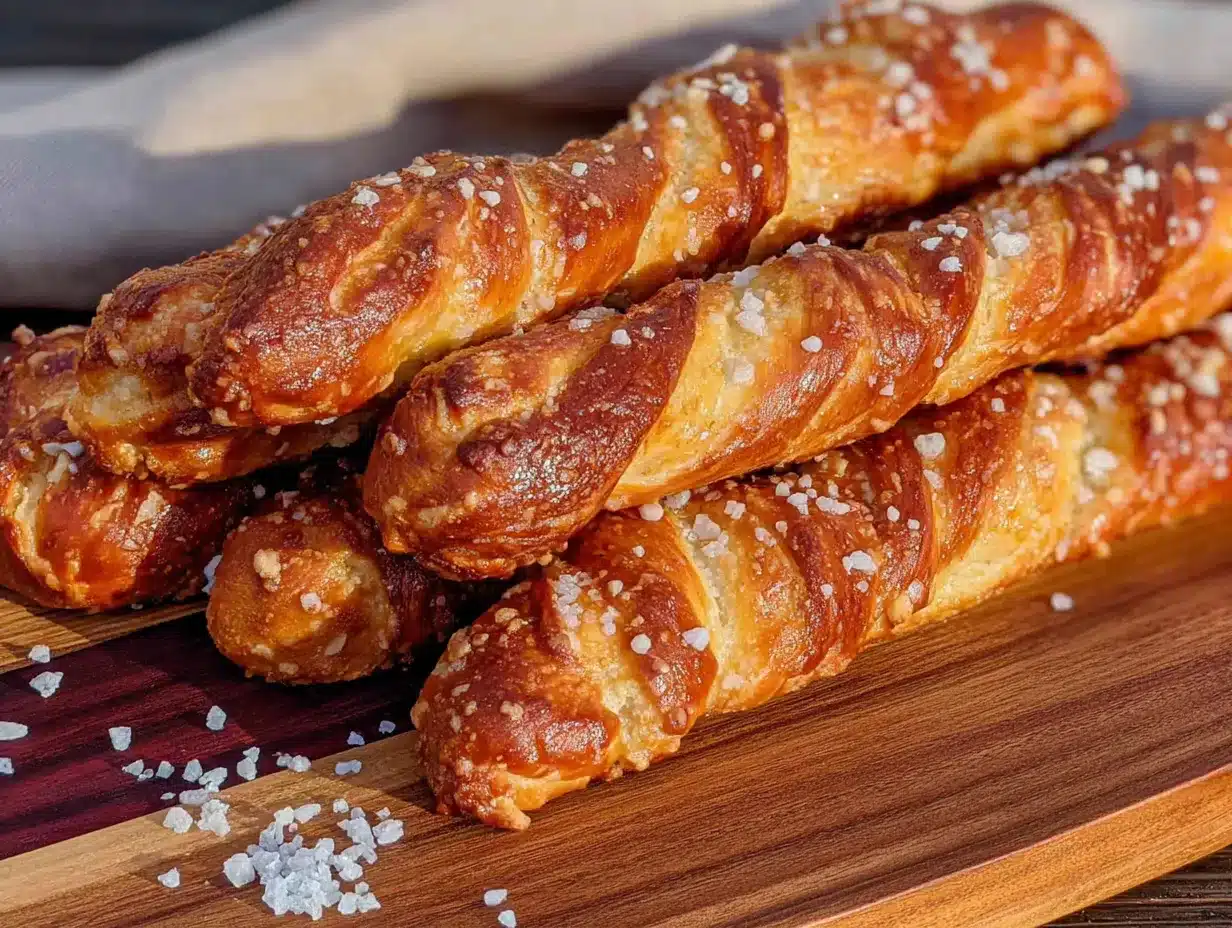
Follow these steps, and you will have a platter of creepy witch fingers in no time. The process is incredibly forgiving, so do not stress about perfection.
- Prepare Your Workspace (5 minutes): Line a large baking sheet with parchment paper or a silicone baking mat. Have your pretzel sticks and sliced almonds ready and within reach. This is a fast-moving recipe, so having everything prepped is key.
- Melt the Candy Melts (2-3 minutes): Place the green candy melts in a microwave-safe bowl. Microwave in 30-second intervals, stirring well after each interval, until completely smooth and melted. Be careful not to overheat them, as they can burn and become thick. The melted candy should be the consistency of warm honey. If it is too thick, you can add a teaspoon of coconut oil or vegetable shortening to thin it out.
- Coat the Pretzels (10 minutes): Working one at a time, hold a pretzel stick by one end. Dip the other end into the melted green candy, coating about two-thirds of the pretzel. You can use a small spoon or your offset spatula to help spread the coating evenly. Let any excess drip back into the bowl. Place the coated pretzel on the prepared baking sheet.
- Add the Fingernail (2 minutes): Immediately after placing the coated pretzel on the sheet, gently press a sliced almond onto the tip of the candy-coated end. The pointed end of the almond should stick out over the tip of the pretzel, like a long, sharp fingernail. Press down gently so it sticks.
- Create the Knuckles and Wrinkles (5 minutes): This is where the magic happens. Using a toothpick or a small skewer, gently drag lines across the candy coating to create wrinkles and knuckles. You can make one or two lines near the top for the knuckle, and a few more down the length of the “finger.” Do not press too hard; you just want to create a groove in the soft candy. You can also dab a tiny bit of extra melted candy on the surface to create “warts” or “bumps.”
- Set the Fingers (15-20 minutes): Let the witch fingers sit at room temperature until the candy coating is completely firm and set. Do not put them in the refrigerator, as this can cause the candy to “bloom” or become streaky. Patience is key here. They are ready when the coating is hard to the touch and no longer sticky.
- Optional: Add the Blood (5 minutes): Once the candy is fully set, you can add a tiny dot of red decorating gel at the base of the almond fingernail. This gives the illusion of a freshly painted (or freshly bloodied) nail. It is a small detail that makes a huge visual impact.
Sensory Cue: When you press the almond into the candy, you should feel it sink in slightly. The candy should be warm and pliable, not runny. If the candy starts to harden while you are working, simply pop the bowl back in the microwave for 10-15 seconds to re-soften it.
Cooking Tips & Techniques
After making these for a few Halloweens now, I have learned a few things the hard way. Let me save you some trouble.
- The Melt Matters: The biggest mistake people make is overheating the candy melts. They get thick and lumpy. Always melt in short bursts and stir. A little coconut oil is your best friend for a smooth, dippable consistency.
- Work in Batches: Do not try to coat all the pretzels at once. The melted candy will start to set, and you will be left with a mess. Coat 5-6 pretzels, add the almonds and wrinkles, then move on to the next batch. It keeps the workflow smooth and the fingers looking fresh.
- Perfecting the Wrinkles: The toothpick trick is the secret to making these look like real fingers. Do not just draw straight lines. Make them slightly curved and uneven, like real knuckles. A little imperfection here is actually perfect.
- Don’t Skip the Rest: Letting them set at room temperature is crucial. I once tried to speed things up by putting them in the fridge, and they got a weird, chalky-looking finish. Room temperature is the way to go for a glossy, professional look.
- Make Ahead Magic: These are a fantastic make-ahead snack. You can prepare them up to 3 days in advance. Store them in an airtight container at room temperature, layered between sheets of parchment paper. They will stay perfectly crisp and creepy.
Variations & Adaptations
Once you master the basic witch finger, the possibilities are endless. Here are a few of my favorite twists.
- The Zombie Finger: Swap the green candy melts for a mix of white and a tiny bit of gray or brown candy melt. This gives a pale, decaying zombie skin tone. Use the same almond fingernail, maybe with a little more red gel for a gory effect.
- The Mummy Finger: After coating the pretzel in white candy melt, do not add the almond right away. Instead, use a piping bag with a small tip to drizzle more white candy melt in a criss-cross pattern over the finger, like mummy bandages. Leave a small gap for the almond “eye” at the tip.
- The Gluten-Free Version: This one is simple. Just swap the regular pretzel sticks for gluten-free pretzel sticks. The rest of the recipe remains exactly the same. No one will even notice the difference.
- The Chocolate Witch Finger: For a richer flavor, use dark chocolate or milk chocolate candy melts instead of green. The dark chocolate looks almost like a burnt, earthy finger. Use a white almond for a striking contrast.
Personally, I love making a batch of the green witch fingers alongside a batch of the mummy fingers. The contrast in colors on the platter is stunning, and it gives everyone a choice between “scary” and “funny.”
Serving & Storage Suggestions
These are best served at room temperature, right off the baking sheet. The candy coating should be snappy, and the pretzel should be crunchy. Here is how to make them the star of your Halloween spread.
- Presentation: Arrange the witch fingers on a black or dark-colored platter for maximum spooky effect. You can “bury” the base of the fingers in a pile of crushed chocolate cookies (to look like dirt) or place them in a “witch’s hand” shape on a serving board. A few plastic spiders or fake spider webs around the platter add to the atmosphere.
- Complementary Dishes: These pair wonderfully with a bowl of warm caramel dip or a side of spicy pumpkin seeds. For a drink, a glass of cold apple cider or a pumpkin spice latte is the perfect companion.
- Storage: Store any leftover witch fingers in an airtight container at room temperature. They will stay fresh and crunchy for up to 5 days. Do not refrigerate them, as moisture can make the pretzel soggy.
- Freezing: You can freeze these for up to a month. Place them in a single layer in a freezer-safe container, separated by parchment paper. Thaw them at room temperature for about 30 minutes before serving.
The flavors actually develop a little over a day or two. The candy coating sets up perfectly, and the pretzel stays incredibly crisp. They are just as good on November 1st as they are on Halloween night.
Nutritional Information & Benefits
Let’s be honest: these are a treat, not a health food. But here is a quick look at what you are getting in each finger.
- Estimated Nutritional Values (per finger): Calories: 85-100, Fat: 4-5g, Carbohydrates: 12-14g, Sugar: 8-10g, Protein: 1-2g.
- Health Benefits: The almonds provide a small amount of healthy fats, vitamin E, and magnesium. The pretzel offers a quick source of energy. It is a treat, but it is not completely empty calories.
- Dietary Considerations: This recipe can easily be made gluten-free by using gluten-free pretzels. It is naturally egg-free and can be made dairy-free by ensuring your candy melts are dairy-free (most are, but always check the label).
- Potential Allergens: Contains wheat (from the pretzel), tree nuts (almonds), and soy (often in candy melts). Be sure to check labels for any specific allergies.
I love that this recipe allows for a little indulgence without a massive commitment. One or two fingers are perfectly satisfying, and they do not leave you with that heavy, over-sugared feeling you get from a giant frosted cookie.
Conclusion
These Easy Witch Finger Pretzel Snacks are more than just a Halloween treat. They are a memory in the making. They are the recipe that your kids will ask for year after year, the one that makes you look like a Halloween hero without spending all day in the kitchen. They are proof that the best things in life are often the simplest. I have made them for school parties, neighborhood gatherings, and quiet family movie nights, and they have never failed to bring a smile (or a shriek!) to everyone’s face. So go ahead, get a little messy, and make some magic. I promise you will be glad you did. And when you make them, I would love to hear about it! Drop a comment below and tell me how your family reacted. Did they scream? Did they laugh? Did they ask for more? Share your photos and your own spooky twists on this recipe. Happy Halloween, and happy snacking!
Frequently Asked Questions
Can I use a different color of candy melts?
Absolutely! While green is the classic witch color, you can use purple, orange, or even black candy melts for a different spooky vibe. White melts make great mummy fingers, as mentioned above.
My candy melts are too thick. What do I do?
This is a common problem. Simply add a teaspoon of coconut oil or vegetable shortening to the melted candy and stir vigorously. This will thin it out to a perfect dipping consistency. Do not use water, as it will cause the candy to seize up.
Can I make these without a microwave?
Yes, you can! Use a double boiler on the stovetop. Place the candy melts in a heatproof bowl set over a pot of simmering water (make sure the bowl does not touch the water). Stir until melted and smooth. It takes a little longer, but it works perfectly.
How do I get the almond to stay on the pretzel?
The key is to press the almond into the candy melt while it is still warm and soft. The candy acts as a glue. If the candy has started to set, you can dip the back of the almond into the melted candy before pressing it onto the pretzel. That will give it an extra sticky hold.
Can I make these nut-free?
Yes, you can! Simply omit the almond fingernail. Instead, you can use a small candy corn or a sunflower seed to create the nail effect. A candy corn gives a more colorful, less realistic look, while a sunflower seed is a great nut-free alternative for the fingernail shape.
Pin This Recipe!
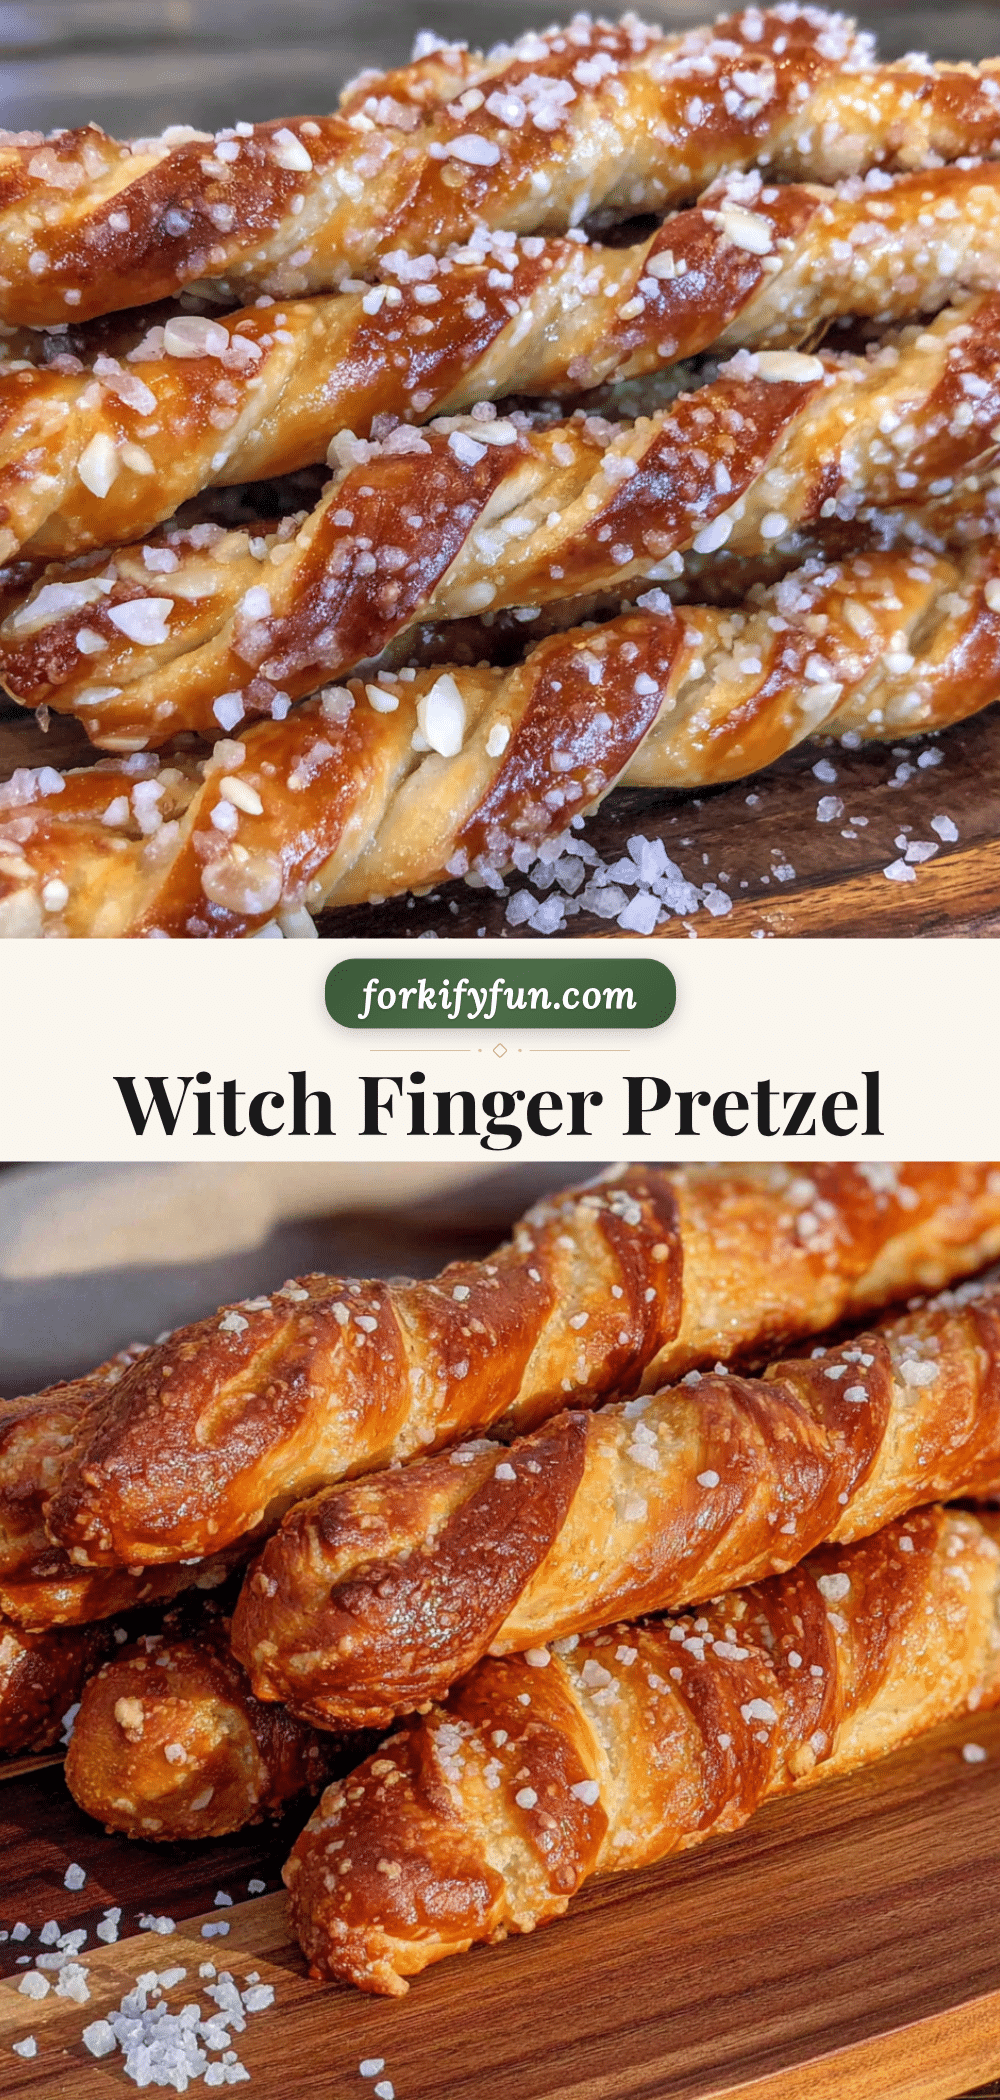
Easy Witch Finger Pretzel Snacks: Best Halloween Treat

These spooky witch finger pretzels are a quick and easy Halloween treat made with just pretzel sticks, green candy melts, and sliced almonds. They look genuinely creepy but taste like a sweet and salty dream, perfect for parties and guaranteed to be a crowd-pleaser.
- Prep Time: 20 minutes
- Cook Time: 0 minutes
- Total Time: 40 minutes (including setting time)
- Yield: 24 servings (approximately 24 fingers, depending on pretzel count) 1x
- Category: Dessert, Snack
- Cuisine: American
Ingredients
- 1 bag (8-10 ounces) pretzel sticks (straight, thick variety like Rold Gold)
- 1 bag (10-12 ounces) green candy melts (e.g., Wilton brand)
- 1 small bag (2–3 ounces) sliced almonds (raw, blanched preferred)
- Optional: Red decorating gel or icing for blood effect
- Optional: Crushed chocolate cookies for dirt effect
Instructions
- Prepare Your Workspace: Line a large baking sheet with parchment paper or a silicone baking mat. Have pretzel sticks and sliced almonds ready.
- Melt the Candy Melts: Place green candy melts in a microwave-safe bowl. Microwave in 30-second intervals, stirring well after each, until completely smooth (about 2-3 minutes). If too thick, stir in 1 teaspoon coconut oil or vegetable shortening.
- Coat the Pretzels: Working one at a time, hold a pretzel stick by one end. Dip the other end into melted candy, coating about two-thirds. Use a small spoon or offset spatula to spread evenly. Let excess drip off, then place on prepared baking sheet.
- Add the Fingernail: Immediately press a sliced almond onto the tip of the coated end, pointed end sticking out like a fingernail. Press gently to adhere.
- Create Knuckles and Wrinkles: Using a toothpick or small skewer, gently drag curved, uneven lines across the candy coating to create knuckle wrinkles. Dab tiny bits of extra melted candy for warts or bumps.
- Set the Fingers: Let witch fingers sit at room temperature until candy coating is completely firm and set (15-20 minutes). Do not refrigerate.
- Optional: Add Blood: Once set, add a tiny dot of red decorating gel at the base of the almond fingernail for a gory effect.
Notes
Do not overheat candy melts; melt in short bursts. Work in batches of 5-6 to prevent candy from setting. Let fingers set at room temperature for a glossy finish, not in the fridge. Can be made up to 3 days ahead and stored in an airtight container at room temperature. For nut-free version, omit almonds and use candy corn or sunflower seeds instead.
Nutrition
- Serving Size: 1 witch finger pretz
- Calories: 85100
- Sugar: 810
- Sodium: 150200
- Fat: 45
- Saturated Fat: 23
- Carbohydrates: 1214
- Fiber: 0.5
- Protein: 12
Keywords: Halloween treats, witch fingers, pretzel snacks, easy Halloween recipe, spooky snacks, no-bake dessert, candy melts, kids Halloween food