The neighborhood cookie exchange was in six hours and I’d completely forgotten. Everyone else would be bringing their grandmother’s secret recipes or those elaborate French macarons that take three days. I had a half-eaten bag of candy canes from Christmas, a bar of dark chocolate I’d been saving, and a block of white chocolate that was probably past its prime. Honestly, I almost called in sick. But then I remembered a trick my aunt used to do — just melt, spread, and break. No baking, no fuss, no stress. I threw it together in a panic, literally cracking the candy canes with the bottom of a frying pan because I couldn’t find a rolling pin. The kitchen looked like a peppermint bomb had gone off. When I walked into that party with my shoddily wrapped tray, I saw the spread: perfectly piped cookies, layered cakes, homemade caramels. I felt like I’d brought a store-bought box. Then people started eating. That simple peppermint bark disappeared first. Someone actually asked me for the recipe before I’d even taken my coat off. And that’s the thing — this easy peppermint bark with white and dark chocolate isn’t fancy. It’s not complicated. But it’s the kind of thing that makes people close their eyes and smile. Maybe you’ve been there, showing up with something simple while everyone else went all out. Trust me, this is the one you want in your back pocket.
Why You’ll Love This Recipe
Let me tell you why this easy peppermint bark with white and dark chocolate has become my secret weapon for every holiday gathering. I’ve tested this recipe about a dozen times — tweaking the chocolate ratios, trying different peppermint toppings, even experimenting with melting methods. What I’m sharing today is the absolute best version.
- Ready in 15 Minutes : From start to finish, you’re looking at about 15 minutes of active work. The hardest part is waiting for it to set in the fridge.
- Only 3 Main Ingredients : Dark chocolate, white chocolate, and candy canes. That’s it. No special trips to fancy grocery stores.
- Perfect for Holiday Parties : This is the dish that makes you look like a hero without breaking a sweat. It travels well, looks gorgeous on a tray, and everyone loves it.
- Always Gets Rave Reviews : I’ve brought this to cookie swaps, office parties, and family gatherings. It never fails to impress people who think you spent hours on it.
- Completely Foolproof : Even if you’ve never melted chocolate before, you can nail this. No candy thermometers, no tricky techniques.
What makes this different from other peppermint bark recipes? It’s the layering technique. I melt the dark chocolate just right so it stays snappy, and I use a specific ratio of white chocolate that keeps it from being too sweet. The crushed candy canes get pressed in at exactly the right moment so they stay crunchy instead of dissolving into the chocolate. This isn’t just another version — it’s the one that’ll make people ask for the recipe.
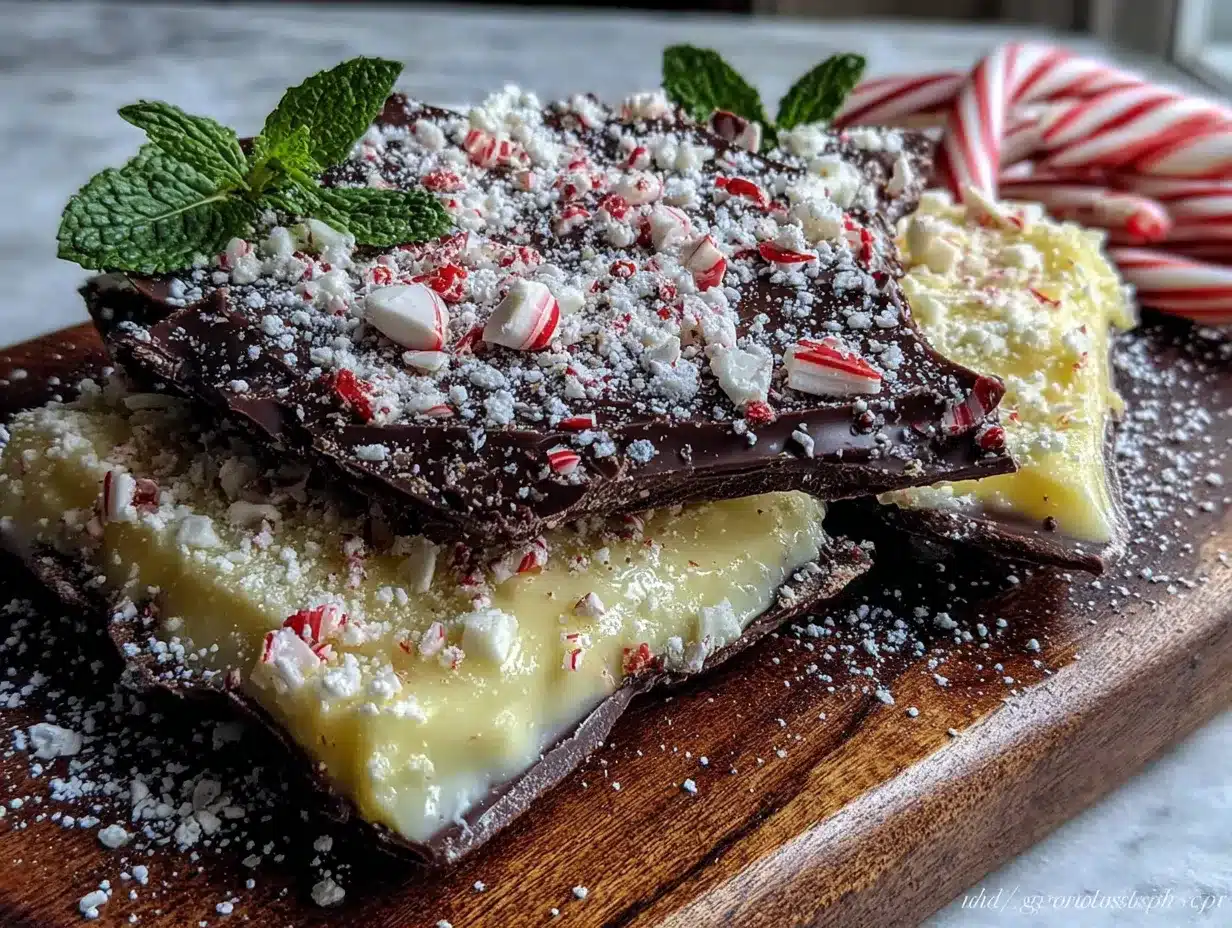
This easy peppermint bark with white and dark chocolate is the kind of treat that makes you close your eyes after the first bite. The dark chocolate hits first, then the creamy white chocolate, then that burst of peppermint. It’s comfort food reimagined — faster, simpler, but with the same soul-soothing satisfaction. Perfect for impressing guests without stress, or turning a simple holiday gathering into something memorable.
What Ingredients You Will Need
This recipe uses simple, pantry-friendly ingredients to deliver that classic holiday flavor without any fuss. Here’s what you’ll need to make the best easy peppermint bark with white and dark chocolate.
- Dark Chocolate : 12 ounces, chopped (I prefer Ghirardelli or Lindt for the smoothest melt — look for 60-70% cacao for the perfect balance of richness without bitterness)
- White Chocolate : 12 ounces, chopped (use a good quality brand like Baker’s or Ghirardelli — cheap white chocolate can seize up or taste waxy)
- Candy Canes : 6-8 regular sized, crushed (about 1/2 cup crushed — classic peppermint works best, but you can use starlight mints in a pinch)
- Coconut Oil or Shortening : 1 teaspoon, optional (adds shine and helps the chocolate melt more smoothly — I use it every time now after a few lumpy disasters)
- Flaky Sea Salt : A pinch, optional (trust me on this one — it makes the dark chocolate pop and cuts the sweetness beautifully)
Ingredient Selection Tips : When choosing your chocolate, avoid chocolate chips if you can. They contain stabilizers that prevent them from melting smoothly. Instead, buy chocolate bars or baking chocolate and chop them yourself. For the candy canes, look for ones that are still fresh — stale candy canes are harder to crush and don’t have that bright peppermint punch.
Substitution Guidance : If you’re dairy-free, use dairy-free dark chocolate and a dairy-free white chocolate alternative. The texture will be slightly different, but it still works beautifully. You can swap the candy canes for peppermint candies or even crushed starlight mints. For a gluten-free option, just check your candy canes — most are naturally gluten-free, but always verify the label.
Equipment Needed
You don’t need a fancy kitchen to make this easy peppermint bark with white and dark chocolate. Here’s what you’ll need:
- Baking Sheet : A standard 9×13 or 11×17 rimmed baking sheet works perfectly. Line it with parchment paper or foil for easy removal.
- Double Boiler or Microwave-Safe Bowls : I use the microwave method because it’s faster, but a double boiler gives you more control. If using the microwave, use glass bowls.
- Rubber Spatula : For spreading the chocolate evenly. A small offset spatula works even better if you have one.
- Rolling Pin or Meat Mallet : For crushing the candy canes. A heavy skillet works too — I’ve used a wine bottle in a pinch.
- Ziploc Bag : Put the candy canes inside before crushing to contain the mess. Learned this one the hard way.
- Sharp Knife : For chopping the chocolate into even pieces. A serrated knife works well too.
Budget-Friendly Options : Don’t have a double boiler? A heatproof bowl set over a pot of simmering water works just fine. No offset spatula? The back of a spoon works in a pinch. I’ve made this recipe with the bare minimum and it still turns out amazing.
Preparation Method
- Prepare Your Workspace : Line your baking sheet with parchment paper or aluminum foil. Make sure the paper extends up the sides slightly — this makes lifting the bark out much easier later. Set aside.
- Crush the Candy Canes : Place the candy canes in a sturdy Ziploc bag. Seal it, then wrap it in a kitchen towel (this prevents the bag from breaking). Use a rolling pin, meat mallet, or heavy skillet to crush them into small pieces. You want a mix of fine dust and small chunks — the dust adds color, the chunks add crunch. Aim for pieces about the size of a pea or smaller. Set aside.
- Melt the Dark Chocolate : If using a microwave, place the chopped dark chocolate in a microwave-safe bowl. Microwave in 30-second intervals, stirring thoroughly after each interval. It usually takes about 1-2 minutes total. Stop heating when about 75% of the chocolate is melted — the residual heat will melt the rest as you stir. If using a double boiler, melt over simmering water, stirring constantly. Add 1/2 teaspoon of coconut oil if using — it makes the chocolate shinier and easier to spread.
- Spread the Dark Chocolate Layer : Pour the melted dark chocolate onto the center of your prepared baking sheet. Use your spatula to spread it into an even rectangle, about 1/4 inch thick. Don’t worry about making it perfect — rustic edges look charming. Work quickly before the chocolate starts to set. Place the baking sheet in the refrigerator for about 10 minutes, or until the chocolate is firm to the touch but not rock hard.
- Melt the White Chocolate : While the dark chocolate layer sets, melt the white chocolate using the same method. White chocolate is more delicate — use 20-second intervals in the microwave and stir gently. Add the remaining 1/2 teaspoon of coconut oil if using. Be careful not to overheat white chocolate — it can seize up and become grainy. If it starts looking lumpy, add a teaspoon of coconut oil and stir vigorously.
- Add the White Chocolate Layer : Remove the baking sheet from the fridge. Pour the melted white chocolate over the set dark chocolate layer. Gently spread it into an even layer, being careful not to disturb the dark chocolate underneath. Work quickly but gently.
- Add the Candy Cane Topping : Immediately sprinkle the crushed candy canes evenly over the white chocolate layer. Press them in gently with your fingers or the back of a spoon so they stick. If you’re using flaky sea salt, sprinkle a tiny pinch over the top now — it sounds weird but it’s incredible.
- Set the Bark : Place the baking sheet back in the refrigerator for at least 30 minutes, or until the bark is completely firm. It should be solid to the touch and break cleanly when snapped.
- Break into Pieces : Once fully set, lift the bark out of the pan using the parchment paper. Place it on a cutting board. Use your hands to break it into irregular pieces — this gives it that homemade, rustic look. You can also use a sharp knife for cleaner edges if you’re giving it as gifts.
- Serve or Store : Arrange the pieces on a platter and serve immediately, or store in an airtight container in the refrigerator until ready to use. The bark will keep beautifully for up to two weeks — if it lasts that long.
Cooking Tips & Techniques
I’ve made this easy peppermint bark with white and dark chocolate more times than I can count, and I’ve learned a few things the hard way. Here are my best tips for getting it right every time.
Don’t Overheat the Chocolate : This is the number one mistake people make. Chocolate burns easily, especially in the microwave. Always use low power and short intervals. If your chocolate looks grainy or lumpy, you’ve overheated it. Next time, add a teaspoon of coconut oil before melting — it helps stabilize the chocolate.
Let the Layers Set Properly : I once got impatient and poured the white chocolate on top while the dark layer was still slightly warm. They swirled together into a muddy mess. Wait until the dark chocolate is completely firm before adding the white layer. The fridge is your friend here.
Crush Candy Canes Strategically : Don’t crush them into a uniform powder. You want a variety of textures — some fine dust for color, some small chunks for crunch. And for the love of peppermint, use a bag. I still find candy cane dust in weird corners of my kitchen months later.
Room Temperature Matters : If your kitchen is hot and humid, the chocolate might not set properly. Work in a cool room if possible, and don’t be shy about using the refrigerator. If the chocolate looks streaky or bloomed (white streaks), it’s still safe to eat — it just won’t look as pretty.
Use Good Chocolate : I learned this one after making a batch with cheap chocolate chips that never fully set. The bark stayed soft and sticky. Invest in good quality chocolate bars — the difference in texture and flavor is night and day. Trust me, your taste buds will thank you.
Variations & Adaptations
One of the best things about this easy peppermint bark with white and dark chocolate is how easy it is to customize. Here are some of my favorite variations:
Dark Chocolate Only Version : Skip the white chocolate layer entirely and just make a thick dark chocolate bark with crushed candy canes on top. It’s less sweet and more intense — perfect for dark chocolate lovers.
Milk Chocolate Swap : Replace the dark chocolate with milk chocolate for a creamier, sweeter bark. This is great for kids or anyone who finds dark chocolate too bitter. Just note that milk chocolate sets a bit softer, so keep it refrigerated.
Add-Ins for Extra Crunch : Sprinkle crushed pretzels, toasted almonds, or coconut flakes over the top along with the candy canes. The salty-sweet combination is absolutely addictive. I made a batch with crushed pretzels and it disappeared in minutes.
Peppermint Oreo Bark : Crush up some peppermint Oreos (or regular Oreos with a drop of peppermint extract) and sprinkle them over the white chocolate layer. It adds an extra cookie crunch that’s incredible.
Vegan Version : Use dairy-free dark chocolate and a vegan white chocolate alternative. The texture will be slightly different, but it still works beautifully. I’ve made this for vegan friends and they couldn’t tell the difference.
Spicy Peppermint Bark : Add a pinch of cayenne pepper or cinnamon to the dark chocolate before spreading. The heat pairs surprisingly well with the cool peppermint. It’s become my secret weapon for adventurous eaters.
Serving & Storage Suggestions
This easy peppermint bark with white and dark chocolate is incredibly versatile when it comes to serving. Here’s how to make it shine:
Serving Temperature : Serve the bark cold or at room temperature. Cold bark has a satisfying snap, while room temperature bark is slightly softer and creamier. Both are delicious — it’s really a matter of preference.
Presentation Ideas : Arrange the pieces on a festive platter or in a decorative tin. For gift-giving, layer the pieces in a clear cellophane bag tied with a red ribbon. I like to sprinkle a few extra crushed candy canes around the plate for a snowy effect.
What to Serve Alongside : This bark pairs beautifully with hot cocoa, coffee, or a glass of cold milk. It also makes a lovely addition to a holiday dessert board alongside cookies, brownies, and fresh fruit.
Storage Instructions : Store the bark in an airtight container in the refrigerator for up to 2 weeks. You can also freeze it for up to 3 months — just layer the pieces between sheets of parchment paper in a freezer-safe container.
Reheating Tips : You don’t need to reheat this bark. Just let it sit at room temperature for 5-10 minutes before serving if it’s straight from the fridge. The flavors actually develop and deepen over time, so it tastes even better the next day.
Nutritional Information & Benefits
While this easy peppermint bark with white and dark chocolate is definitely a treat, it does have some surprising benefits. Here’s a rough nutritional breakdown per serving (about 1 ounce, or 2-3 pieces):
| Nutrient | Amount |
|---|---|
| Calories | 150-180 |
| Total Fat | 10-12g |
| Saturated Fat | 6-8g |
| Carbohydrates | 16-20g |
| Sugar | 14-18g |
| Protein | 2-3g |
Health Benefits : Dark chocolate is rich in antioxidants called flavonoids, which can support heart health and reduce inflammation. Peppermint has been shown to aid digestion and freshen breath. Of course, this is still a dessert, so enjoy it in moderation.
Dietary Considerations : This recipe is naturally gluten-free (check your candy canes). For a dairy-free version, use dairy-free chocolate. It’s also vegetarian-friendly. If you’re watching your sugar intake, consider using sugar-free chocolate and crushed sugar-free peppermint candies.
Conclusion
This easy peppermint bark with white and dark chocolate has saved me more times than I can count. From forgotten cookie exchanges to last-minute hostess gifts, it’s the recipe I turn to when I need something that looks impressive but takes almost no effort. The combination of rich dark chocolate, creamy white chocolate, and crunchy peppermint is just perfection.
I hope you give this recipe a try and make it your own. Maybe you’ll add extra candy canes, or skip the white chocolate layer, or sprinkle on some sea salt. That’s the beauty of this recipe — it’s forgiving, flexible, and always delicious.
I’d love to hear how yours turns out! Drop a comment below and let me know if you tried any variations, or share a photo of your bark on social media. Don’t forget to tag me so I can see your beautiful creations. Happy holidays, and happy snacking!
Frequently Asked Questions
Can I use chocolate chips instead of chopped chocolate?
You can, but the texture won’t be as smooth. Chocolate chips contain stabilizers that prevent them from melting as evenly. If you only have chips, add a teaspoon of coconut oil to help them melt more smoothly.
Why did my white chocolate seize up?
White chocolate is delicate and can seize if it gets too hot or if even a drop of water gets in. Always use completely dry bowls and utensils, and melt it slowly in short intervals. If it seizes, stir in a teaspoon of coconut oil or vegetable shortening to bring it back.
How long does peppermint bark last?
Stored in an airtight container in the refrigerator, this bark will stay fresh for up to 2 weeks. You can also freeze it for up to 3 months. Just make sure it’s well wrapped to prevent freezer burn.
Can I make this without white chocolate?
Absolutely! Just make a single layer of dark chocolate with crushed candy canes on top. It’s less sweet but equally delicious. You can also use milk chocolate instead of white chocolate for a different flavor profile.
My bark turned out soft and sticky. What went wrong?
This usually happens when the chocolate wasn’t tempered properly or if you used low-quality chocolate. Next time, use good quality chocolate bars and make sure the bark sets completely in the refrigerator. If your kitchen is warm, let it set for at least an hour.
Pin This Recipe!
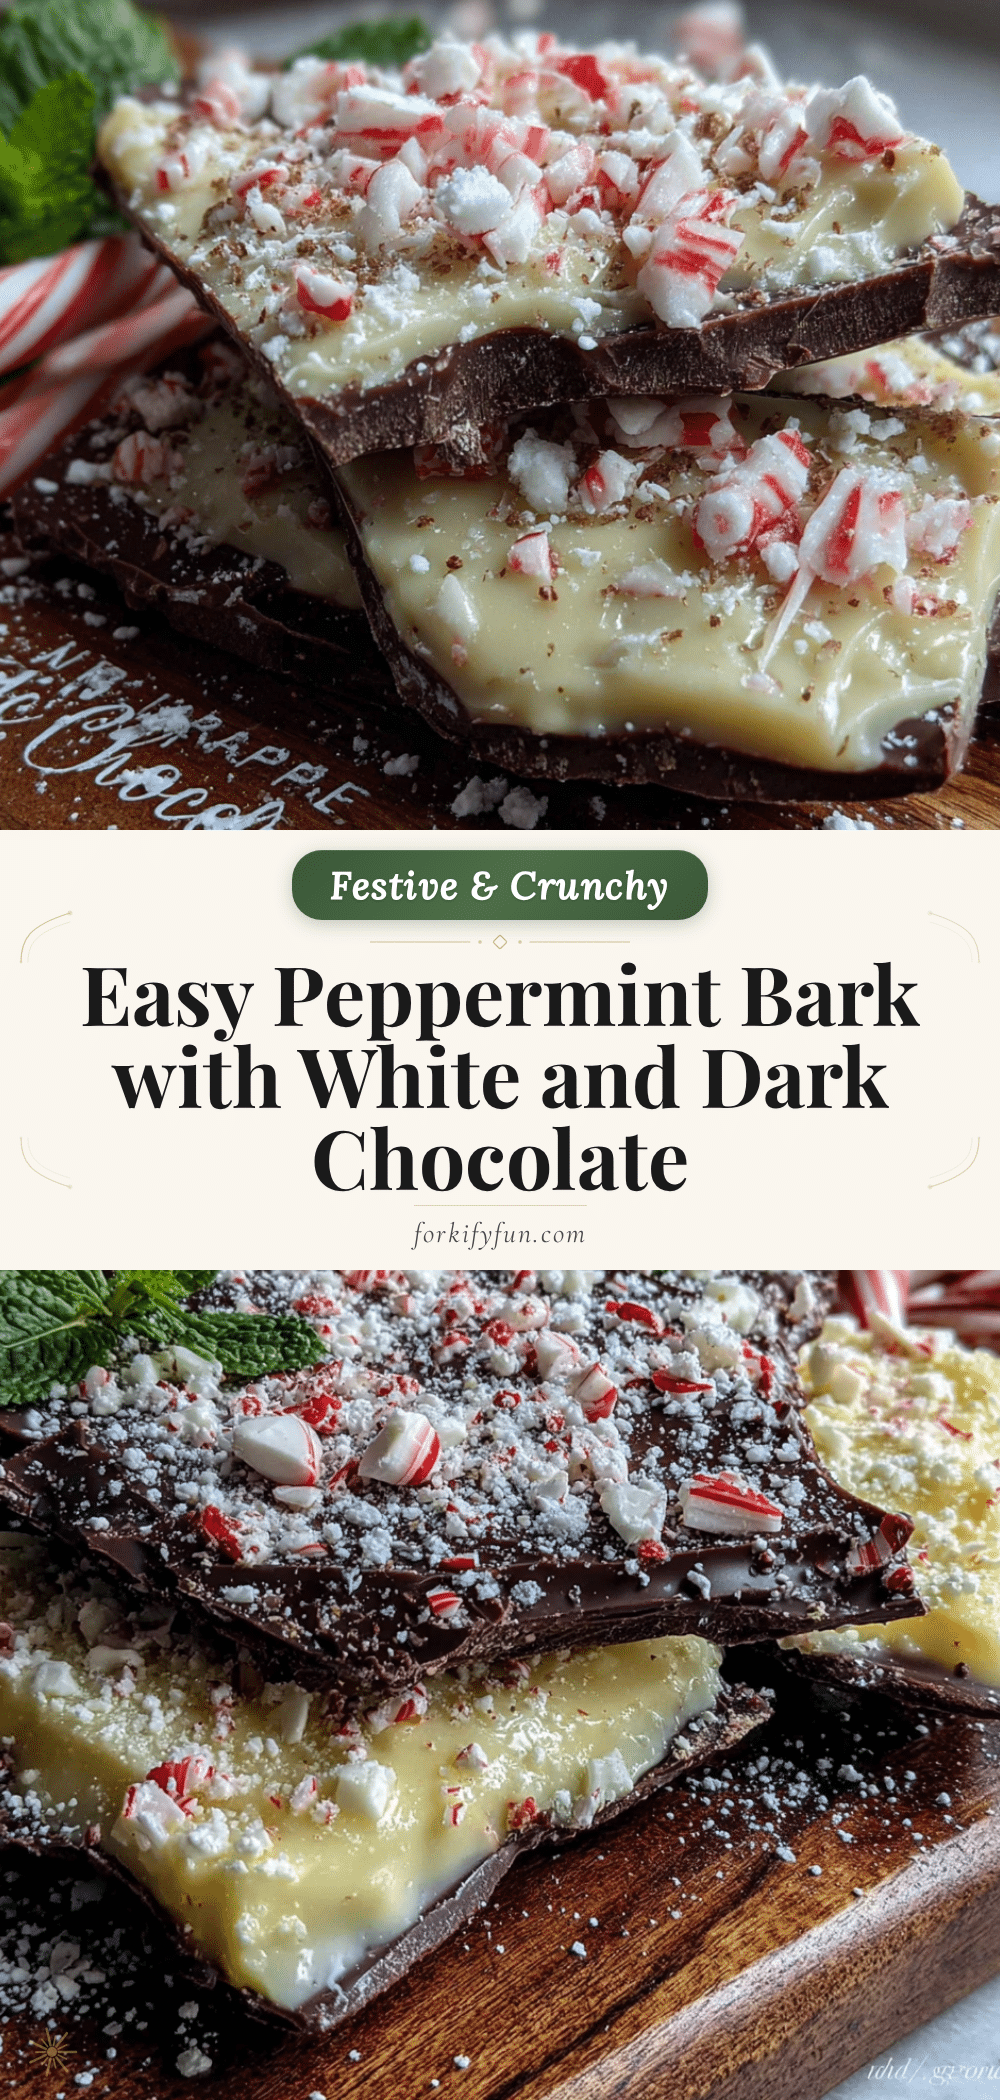
Easy Peppermint Bark Recipe: Best Homemade Treat in 15 Minutes

This easy peppermint bark with white and dark chocolate is the perfect last-minute holiday treat. Ready in just 15 minutes with only 3 main ingredients, it’s foolproof, delicious, and always gets rave reviews.
- Prep Time: 15 minutes
- Cook Time: 0 minutes
- Total Time: 45 minutes (including chilling)
- Yield: 12 servings 1x
- Category: Dessert
- Cuisine: American
Ingredients
- 12 ounces dark chocolate (60-70% cacao), chopped
- 12 ounces white chocolate, chopped
- 6–8 regular sized candy canes, crushed (about 1/2 cup)
- 1 teaspoon coconut oil or shortening (optional)
- Pinch of flaky sea salt (optional)
Instructions
- Line a baking sheet with parchment paper or aluminum foil, extending up the sides slightly.
- Place candy canes in a sturdy Ziploc bag, seal, wrap in a kitchen towel, and crush with a rolling pin or heavy skillet into small pieces (mix of fine dust and pea-sized chunks). Set aside.
- Melt dark chocolate in a microwave-safe bowl in 30-second intervals, stirring after each, until about 75% melted (1-2 minutes total). Stir until completely smooth. Add 1/2 teaspoon coconut oil if using.
- Pour melted dark chocolate onto prepared baking sheet and spread into an even rectangle about 1/4 inch thick. Refrigerate for 10 minutes until firm to the touch.
- Melt white chocolate in 20-second intervals in the microwave, stirring gently. Add remaining 1/2 teaspoon coconut oil if using. Be careful not to overheat.
- Remove baking sheet from fridge. Pour melted white chocolate over set dark chocolate layer and gently spread into an even layer.
- Immediately sprinkle crushed candy canes evenly over white chocolate. Press gently with fingers or back of a spoon. Add a pinch of flaky sea salt if using.
- Refrigerate for at least 30 minutes until completely firm.
- Lift bark out of pan using parchment paper. Break into irregular pieces with hands or cut with a sharp knife.
- Serve immediately or store in an airtight container in the refrigerator.
Notes
Use good quality chocolate bars instead of chocolate chips for smoother melting. White chocolate is delicate—melt slowly to avoid seizing. For best results, let dark chocolate layer set completely before adding white chocolate. Store in refrigerator for up to 2 weeks or freeze for up to 3 months.
Nutrition
- Serving Size: 1 ounce (about 2-3 p
- Calories: 165
- Sugar: 16
- Sodium: 15
- Fat: 11
- Saturated Fat: 7
- Carbohydrates: 18
- Fiber: 1
- Protein: 2.5
Keywords: peppermint bark, easy peppermint bark, homemade peppermint bark, Christmas candy, holiday treat, no-bake dessert, white chocolate bark, dark chocolate bark