The holiday cookie exchange was in twelve hours and I’d completely forgotten. Everyone else would be bringing those intricate little tartlets with the perfect lattice tops, or those French macarons that look like they belong in a patisserie window. I had a bag of oranges that were about to go soft and a sudden, slightly panicked idea. Honestly, I think I was just trying to avoid showing up empty-handed.
I sliced those oranges as thin as my unsteady hand would allow, threw them in the oven, and prayed. The result wasn’t just a save—it was the thing everyone wanted to know about. People were picking them off the tops of the cookies I’d brought, asking where I’d bought them. “I made them,” I said, feeling like a bit of a fraud. They were, let’s face it, the easiest thing I’d ever made. The whole situation was a little ridiculous, but that’s how this recipe for easy oven-dried orange slices was born—out of a scramble and a whole lot of luck.
The thing is, these little beauties have become my secret weapon. They make everything look fancy, from a simple glass of water to a towering birthday cake. And the best part? They take almost no effort. If you’ve ever wanted to add that professional, “wow” finish to your food without the stress, this is where you start. I’ve been making them for years now, and they’ve never let me down.
Why You’ll Love This Recipe
Let me tell you why this recipe for easy oven-dried orange slices is a total game-changer. I’ve tested this method more times than I can count, tweaking temperatures and times to get it just right. You can trust that these steps work.
- Unbelievably Simple: You only need one ingredient—oranges! No fancy tools or hard-to-find items. It’s the definition of low-effort, high-reward.
- Perfect for Last-Minute Needs: Need a garnish for a party in a few hours? These come together with mostly hands-off time. You can prep them while you’re doing other things.
- Makes Everything Look Fancy: Seriously, pop one of these on a cocktail or a plate of cookies, and it instantly looks like you tried so hard. It’s my favorite little trick.
- Long-Lasting & Versatile: They store beautifully for weeks, so you can make a big batch and have them ready for any occasion. Cocktails, desserts, gifts—they do it all.
- A Crowd-Pleaser: Everyone is always so impressed by them. They look like something from a fancy bakery, but you and I know the secret.
What makes this version different from other drying methods? It’s the low-and-slow oven technique that gives you perfectly translucent, non-burnt slices every single time. No dehydrator needed, just your regular oven and a little patience. It’s not just another recipe—it’s the one that works. This is the kind of simple trick that makes you feel like a kitchen genius, and honestly, who doesn’t want that after a long week?
What Ingredients You Will Need
This recipe uses the simplest ingredient to create something that looks and tastes amazing. The magic is all in the technique, not a long shopping list. You might already have everything you need.
- Fresh Oranges (3-4 large): This is your star. The best oranges for drying are those that are firm and heavy for their size, which means they’re juicy. Navel oranges are my go-to because they’re easy to find and have a great, sweet flavor. Blood oranges are fantastic for a dramatic, deep red color, and Cara Cara oranges give a lovely pinkish hue. Try to avoid oranges that are too soft or have thin, puffy skin—they won’t slice as cleanly. I personally like to use organic oranges if I can, especially since you’ll be eating the peel.
- Optional: Simple Syrup (for glazing): This isn’t necessary for drying, but if you want a slightly glossy, candied finish, you can brush the slices with a light simple syrup (equal parts sugar and water, simmered until dissolved) before baking. It adds a beautiful sheen and a tiny bit of extra sweetness. I usually skip this for savory cocktails, but I love it for desserts.
- Optional: Granulated Sugar (for coating): For a more intense, candy-like finish, you can dip the raw slices in a bit of granulated sugar before they go into the oven. This creates a lovely crystallized texture. It’s a nice touch if you’re using them as a garnish for a sweet treat like a cake or cupcakes.
The beauty of this recipe is its flexibility. You really don’t need much. Just pick your favorite oranges, and you’re good to go. I’ve even used a mix of different citrus—lemons, limes, and grapefruits—to create a colorful, multi-citrus garland for a party. It’s a great way to use up whatever you have in your fruit bowl.
Equipment Needed
You don’t need any fancy gadgets for this, which is part of why I love it so much. Here’s what you’ll want to have on hand:
- A Sharp Knife or Mandoline Slicer: A sharp chef’s knife works perfectly. A mandoline slicer is a game-changer for getting super even, paper-thin slices. If you use a mandoline, please watch your fingers—I have the scars to prove it’s easy to slip! A sharp knife is safer if you’re not confident with a mandoline.
- A Baking Sheet: A standard half-sheet pan is ideal. You’ll want one with a rim to catch any juices that might drip.
- Parchment Paper or a Silicone Baking Mat: This is crucial. It prevents the oranges from sticking to the pan as they release their sugars. Trust me on this—you do not want to try to peel a dried orange slice off a bare pan. It’s a sticky mess.
- Paper Towels: You’ll need these for patting the orange slices dry after slicing. Removing excess moisture helps them dry faster and more evenly.
- An Airtight Container: For storing your finished slices. A glass jar or a plastic container with a tight-fitting lid works great.
That’s it! No dehydrator, no special racks. Just simple, everyday kitchen tools. For a budget-friendly option, skip the mandoline and just use your sharpest knife. It might take a little more time, but it works just as well.
Preparation Method
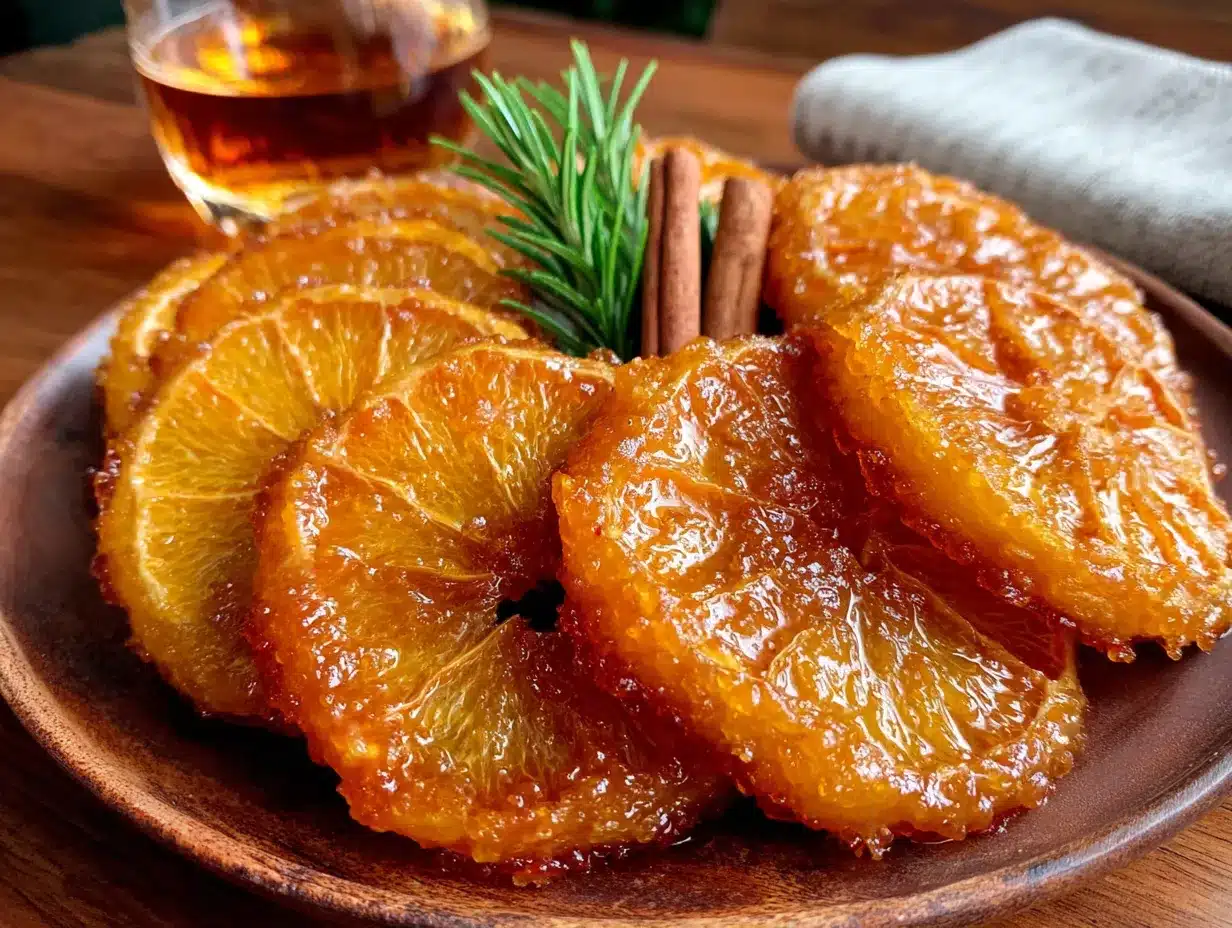
Let’s get to the fun part. This method is so simple, you’ll wonder why you ever bought dried oranges from the store. Follow these steps, and you’ll have perfect slices every time.
- Preheat Your Oven: Set your oven to 200°F (93°C). This low temperature is the secret. It gently draws the moisture out of the fruit without burning the sugars. If your oven runs hot, you can even go as low as 180°F (82°C).
- Prepare the Oranges: Wash your oranges thoroughly under cool water. You’re going to eat the peel, so you want it clean. Slice off the very top and bottom of the orange (just a tiny bit) so it sits flat on your cutting board. This makes slicing much safer and more even.
- Slice the Oranges: Using your sharp knife or mandoline, slice the oranges into even rounds. Aim for about 1/4-inch (6 mm) thick. Too thin, and they’ll burn; too thick, and they’ll take forever to dry. Try to keep them as uniform as possible for even drying. You should get about 8-10 slices per orange.
- Blot the Slices: Lay the slices out in a single layer on a few layers of paper towels. Place another paper towel on top and gently press down to blot away as much surface moisture as you can. This step is key—it speeds up the drying process significantly. You’ll see the paper towels get wet. Don’t skip this!
- Arrange on Baking Sheet: Line your baking sheet with parchment paper or a silicone mat. Place the orange slices in a single layer, making sure they don’t overlap. Overlapping will cause them to stick together and dry unevenly. You might need to use two baking sheets or work in batches.
- Bake Low and Slow: Place the baking sheet on the center rack of your preheated oven. Bake for 2.5 to 3 hours. The exact time depends on the thickness of your slices and the humidity in your kitchen. At the 2-hour mark, start checking them.
- Check for Doneness: The slices are done when they are dry to the touch but still slightly pliable. They should not be crispy or hard. You want them to have a leathery, chewy texture. The edges will be a bit darker, and the flesh will be translucent. If they snap when you bend them, you’ve gone too far. If they still feel wet and sticky, give them another 30 minutes.
- Cool Completely: Remove the baking sheet from the oven and let the orange slices cool completely on the pan. They will continue to firm up as they cool. This is an important step—don’t rush it. Once they are completely cool, they are ready to use or store.
A little note from my own experience: The first time I made these, I got distracted and left them in for almost 4 hours. They turned into little orange chips. They were still pretty, but they were too brittle to use as a garnish. So set a timer! And if you notice some slices are drying faster than others, you can remove them early and let the thicker ones keep going.
Cooking Tips & Techniques
Over the years, I’ve learned a few things the hard way so you don’t have to. Here are my best tips for perfect easy oven-dried orange slices.
The Even Slice is Everything. This is the number one rule. If your slices vary in thickness, they will finish drying at different times. Thin slices will burn before thick ones are done. Take your time with this step. A mandoline is the easiest way to get perfect, even slices, but a sharp knife and a steady hand work just fine.
Don’t Be Afraid to Rotate the Pan. Every oven has hot spots. Halfway through the baking time, rotate your baking sheet 180 degrees. This ensures all the slices dry evenly, especially if you’re baking two sheets at once. If you are using two sheets, swap their positions (top rack to bottom, bottom to top) as well.
Patience is a Virtue. I know it’s tempting to crank up the heat to speed things up. Please don’t. High heat will caramelize the sugars too quickly, leading to burnt edges and a bitter taste. The low temperature is what gives you that beautiful, jewel-like translucency. It’s a slow process, but it’s mostly hands-off.
The “Pliable” Test. This is the secret to success. When you think they might be done, take one out and let it cool for a minute. It should feel dry and leathery, not wet or sticky. It should bend without cracking. If it cracks, it’s overdone. If it’s still tacky, it needs more time. You want that perfect, chewy-dry texture.
My Biggest Failure: I once tried to dry a batch of very thick, very juicy navel oranges. I didn’t blot them well, and I was impatient. I ended up with a pan of sticky, burnt mess that I had to soak for an hour to clean. Now, I always take the extra 30 seconds to blot them well, and I never rush the process. Learn from my sticky mistake!
Variations & Adaptations
This recipe is a fantastic base for so many creative twists. Don’t be afraid to play around!
- Citrus Medley: Don’t stop at oranges! Try this same method with lemons, limes, grapefruits, or even blood oranges. Each one brings a different color and a slightly different flavor. A mix of pink grapefruit and lime slices is stunning in a cocktail.
- Spiced Orange Slices: Before baking, sprinkle the slices with a pinch of cinnamon, a tiny bit of ground clove, or some star anise powder. This gives them a wonderful, warm, holiday-spiced aroma. They’re perfect for mulled wine or winter desserts.
- Vanilla or Herb-Infused: For a more delicate flavor, you can brush the slices with a simple syrup that has been infused with a vanilla bean or a few sprigs of rosemary or thyme. This adds a subtle, sophisticated flavor that pairs beautifully with savory dishes or simple cakes.
- Candied Orange Slices: For a sweeter, more candy-like version, dip the raw slices in a bowl of granulated sugar before placing them on the baking sheet. The sugar will crystallize as they dry, creating a beautiful, crunchy coating. These are incredible on their own as a sweet treat.
- Dehydrator Method: If you have a dehydrator, you can use it for this! Arrange the slices in a single layer on the dehydrator trays and dry at 135°F (57°C) for 6-8 hours, or until they reach your desired texture. This method is even more hands-off than the oven.
My personal favorite variation is the spiced orange slices. I made a batch with cinnamon and a touch of nutmeg last Christmas, and I used them to garnish a batch of homemade hot chocolate mix I was giving as gifts. They were a huge hit!
Serving & Storage Suggestions
These easy oven-dried orange slices are incredibly versatile. Here’s how to use and store them.
Serving Ideas:
- Cocktails & Drinks: Float a slice in a glass of sparkling water, lemonade, iced tea, or your favorite cocktail (a Negroni or an Old Fashioned is perfect). They look beautiful and add a subtle citrus aroma.
- Desserts: Use them to top cakes, cupcakes, cheesecakes, tarts, or a bowl of panna cotta. They add a professional, bakery-style finish. They’re also lovely tucked into a pile of cookies on a platter.
- Savory Dishes: Don’t overlook savory applications! They are gorgeous on a cheese board, or used as a garnish for roasted chicken or fish. A slice on a plate of roasted vegetables adds a pop of color.
- Gifts: Layer them in a beautiful glass jar with a ribbon for a simple, homemade gift. You can even attach a tag with a recipe for a cocktail that uses them.
Storage Instructions:
- Room Temperature: Store your completely cooled orange slices in an airtight container at room temperature. They will stay beautiful for 2-3 weeks.
- Refrigerator: For longer storage, you can keep them in the refrigerator in an airtight container for up to 2 months. They might become a little less pliable, but they’ll still be perfect for garnishing.
- Freezer: Yes, you can freeze them! Place them in a single layer on a baking sheet and freeze until solid, then transfer them to a freezer-safe bag or container. They will keep for up to 6 months. Thaw them at room temperature before using.
A quick note: Over time, the color of the slices will naturally deepen and darken a bit. This is normal and doesn’t affect the flavor. If you want to keep them as bright as possible, store them in a cool, dark place away from direct sunlight.
Nutritional Information & Benefits
While these are used as a garnish, it’s nice to know they are a healthier option than many other decorations. They are essentially just concentrated fruit!
- Low in Calories: One dried orange slice has very few calories, especially compared to candy sprinkles or frosting decorations.
- Packed with Vitamin C: Oranges are famous for their Vitamin C content, which is great for your immune system. While some is lost during the drying process, they still retain a good amount.
- Good Source of Fiber: You’re eating the whole fruit, including the peel, which is where a lot of the fiber is. This is a good thing for your digestive health.
- Antioxidants: Oranges are rich in antioxidants like flavonoids, which help protect your cells from damage.
- Dietary Considerations: This recipe is naturally gluten-free, vegan, dairy-free, and nut-free. It’s a safe and beautiful garnish for almost any dietary need.
I personally love that I can add a beautiful, fancy touch to my food without loading it with processed sugar or artificial colors. It feels good to know exactly what’s in my garnish. Of course, if you add a sugar coating, the sugar content goes up, but the base recipe is as clean as it gets.
Conclusion
So there you have it. A simple, foolproof way to make your food look like a million bucks with almost no effort. These easy oven-dried orange slices are more than just a garnish—they’re a little secret weapon that turns the ordinary into something special. Whether you’re a seasoned cook or someone who’s just starting out, this is a recipe you can master on your first try.
I encourage you to make a big batch and keep them in your pantry. You’ll be amazed at how often you reach for them. They’re perfect for that last-minute dinner party, a quiet night in with a fancy cocktail, or just to make a Tuesday feel a little more festive. I love having them on hand because they make me feel prepared, even when I’m not.
Now, I’d love to hear from you! Have you tried making these? What’s your favorite way to use them? Drop a comment below and share your creations. And if you loved this recipe, please share it with a friend who loves to entertain. Happy drying, and remember—sometimes the simplest things are the most impressive!
Frequently Asked Questions
Can I use a microwave to dry orange slices faster?
I don’t recommend it. A microwave will cook the oranges from the inside out, making them tough and rubbery rather than gently dried and chewy. The low oven heat is what gives you that perfect, translucent, leathery texture. Stick with the oven for the best results.
My orange slices are browning too quickly. What am I doing wrong?
Your oven is likely running a little hot. The ideal temperature is 200°F (93°C). If you notice browning at the 1-hour mark, lower your oven temperature to 180°F (82°C). Also, make sure your slices are even in thickness. Thin edges will burn before the center is dry.
How do I know when the orange slices are completely dry?
The best test is the “bend test.” Let a slice cool for a minute. It should feel dry to the touch, leathery, and slightly pliable. It should bend without cracking. If it snaps, it’s overdone. If it feels sticky or wet, it needs more time. They will also firm up a bit as they cool completely.
Can I dry other citrus fruits using this same method?
Absolutely! This method works perfectly for lemons, limes, grapefruits, blood oranges, and even kumquats (though you’ll just slice them in half). Each fruit will have a slightly different drying time depending on its water content, but the process is exactly the same.
Why did my orange slices stick to the baking sheet?
This usually happens for two reasons: either you didn’t use parchment paper or a silicone mat, or the slices weren’t blotted dry enough before baking. The natural sugars in the oranges caramelize and become very sticky. Parchment paper is your best friend here. Also, make sure to blot the slices well with paper towels to remove excess surface moisture before they go into the oven.
Pin This Recipe!
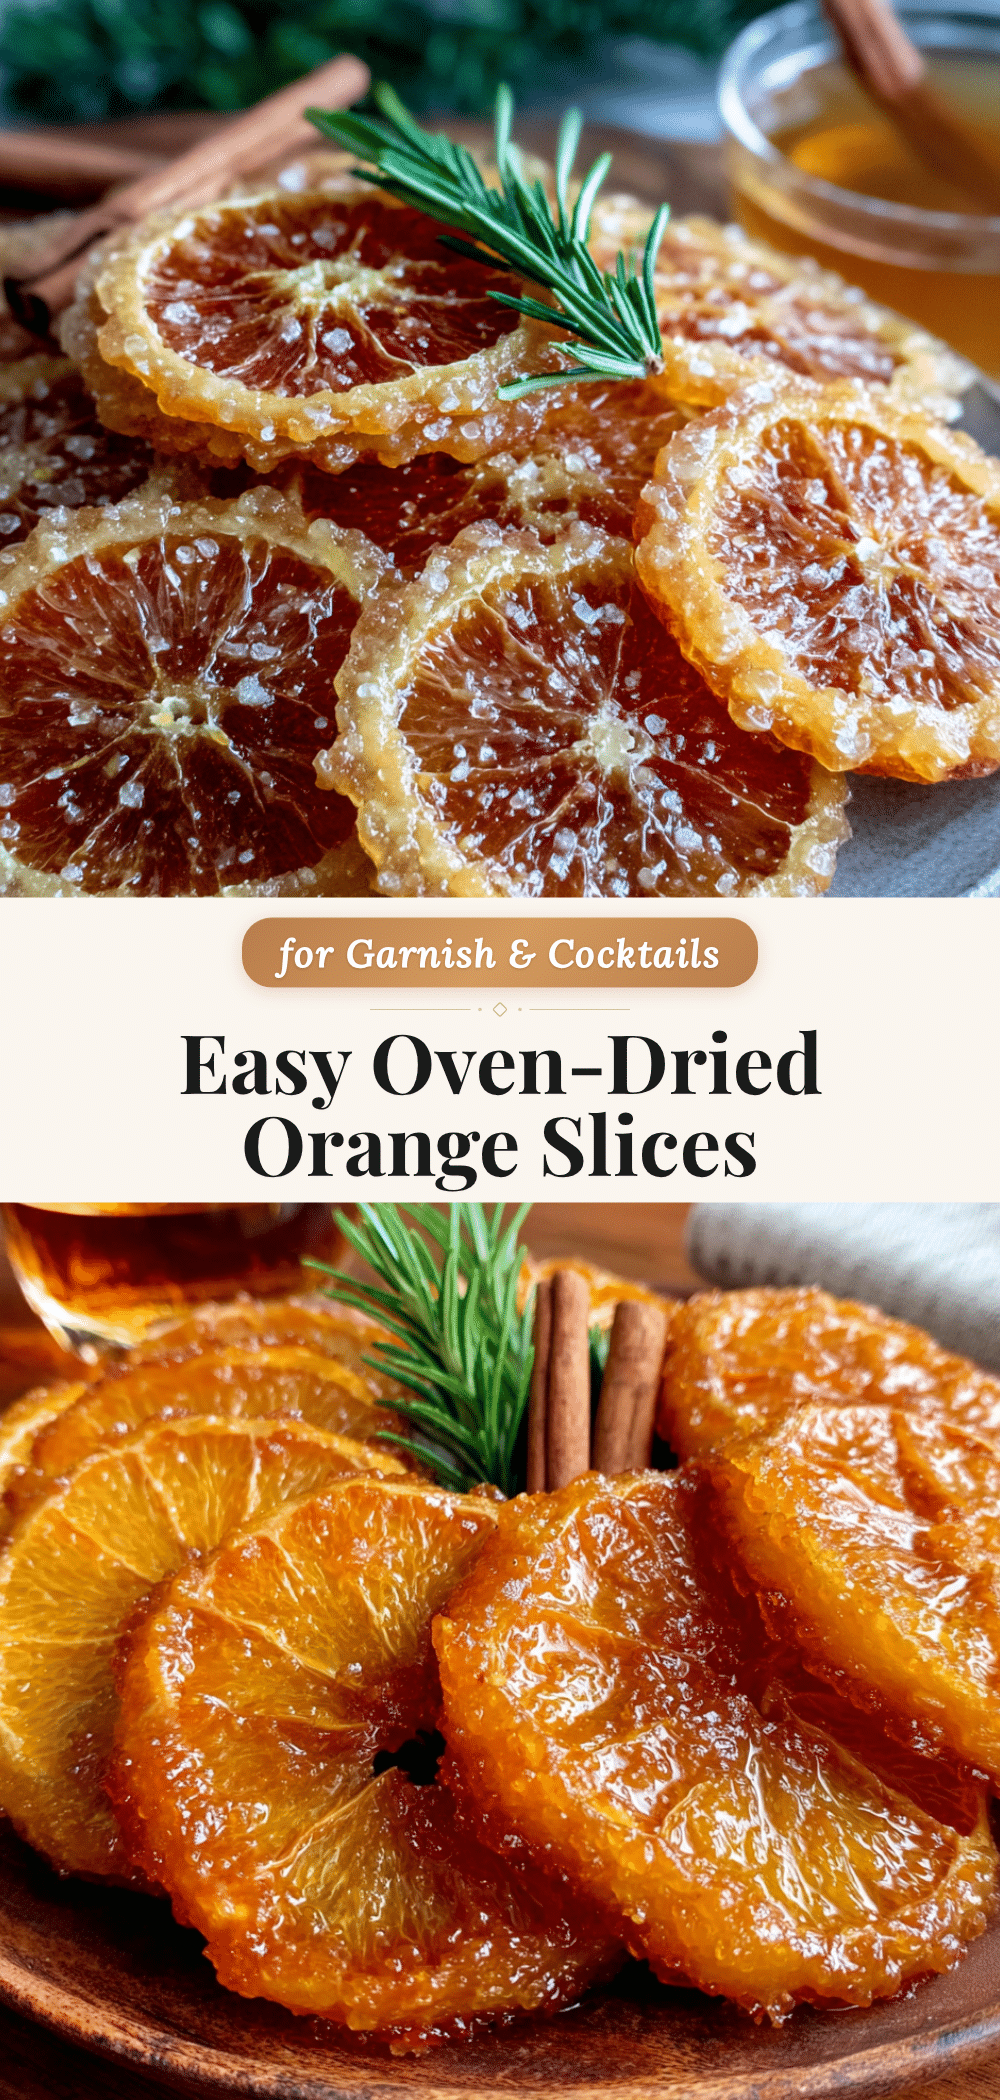
Easy Oven-Dried Orange Slices: Perfect Homemade Garnish

Transform simple oranges into beautiful, translucent dried slices that make everything look fancy. This low-effort, high-reward recipe is perfect for garnishing cocktails, desserts, and more.
- Prep Time: 15 minutes
- Cook Time: 2.5 to 3 hours
- Total Time: 2 hours 45 minutes to 3 hours 15 minutes
- Yield: 24-40 slices (depending on orange size and thickness) 1x
- Category: Garnish
- Cuisine: American
Ingredients
- 3–4 large fresh oranges (Navel, blood, or Cara Cara)
- Optional: Simple syrup (equal parts sugar and water, simmered until dissolved) for glazing
- Optional: Granulated sugar for coating
Instructions
- Preheat your oven to 200°F (93°C).
- Wash the oranges thoroughly. Slice off the very top and bottom of each orange so it sits flat on your cutting board.
- Using a sharp knife or mandoline slicer, slice the oranges into even rounds about 1/4-inch (6 mm) thick. Aim for 8-10 slices per orange.
- Lay the slices in a single layer on paper towels. Place another paper towel on top and gently press to blot away surface moisture.
- Line a baking sheet with parchment paper or a silicone baking mat. Arrange the orange slices in a single layer without overlapping.
- Bake on the center rack for 2.5 to 3 hours. At the 2-hour mark, start checking for doneness.
- The slices are done when they are dry to the touch but still slightly pliable (leathery, not crispy). They should bend without cracking.
- Remove from the oven and let cool completely on the baking sheet. They will continue to firm up as they cool.
Notes
For even drying, slice oranges uniformly. Rotate the baking sheet halfway through. If slices brown too quickly, lower oven temperature to 180°F (82°C). Do not skip blotting slices dry. Store in an airtight container at room temperature for 2-3 weeks, in the refrigerator for up to 2 months, or freeze for up to 6 months.
Nutrition
- Serving Size: 1 slice
- Calories: 15
- Sugar: 3
- Carbohydrates: 4
- Fiber: 1
Keywords: dried orange slices, oven-dried oranges, citrus garnish, homemade garnish, easy recipe, holiday garnish, cocktail garnish


