I figured a no-bake cheesecake bar for Labor Day would be a nice, light alternative to the usual heavy desserts. It took about ten minutes of staring at the graham cracker crust for that notion to fall apart completely. The crust wasn’t the problem—it was the filling, which I had somehow convinced myself would be too rich, too dense, and frankly, too much like a chore on a hot September afternoon.
I was wrong. Spectacularly wrong.
The first batch disappeared before the grill even cooled down. My brother-in-law, a man who claims he “doesn’t do sweets,” ate three. My niece, who usually picks at desserts, asked for the recipe. And I stood there, spatula in hand, realizing I’d stumbled onto something genuinely useful: a dessert that feels fancy, tastes indulgent, and requires exactly zero oven time. No standing over a hot kitchen, no worrying about cracks or water baths. Just a few bowls, a fridge, and a quiet sense of satisfaction.
These Easy No-Bake Labor Day Cheesecake Bars became the unplanned star of the party. They’re the kind of dessert you make when you want to enjoy the last long weekend of summer without spending it tethered to a stove. Honestly, they might be the best summer dessert I’ve made all year—and I didn’t even try that hard.
Sometimes the simplest things just work.
Why You’ll Love This Recipe
Let’s be real—Labor Day weekend is about relaxation, not complicated baking projects. These cheesecake bars deliver on every front without the stress. Here’s why they’ve become my go-to for summer gatherings:
- No-Bake & Stress-Free: No oven, no water bath, no worrying about cracks. Just mix, chill, and serve. Perfect for those 90-degree days when turning on the oven feels like a crime.
- Simple Ingredients: Cream cheese, heavy cream, graham crackers, butter, sugar, and vanilla. That’s it. No fancy grocery store runs or specialty items you’ll use once.
- Perfect for Labor Day: Whether you’re hosting a BBQ, heading to a potluck, or just want something easy after a long day at the beach, these bars travel well and slice cleanly.
- Crowd-Pleaser: I’ve served these to kids, adults, dessert snobs, and people who “don’t like cheesecake.” They all go back for seconds. The texture is light, creamy, and somehow not too heavy.
- Unbelievably Delicious: The secret is in the technique—whipping the cream separately and folding it in gently creates a mousse-like texture that’s way better than traditional no-bake cheesecake. It’s comfort food reimagined for summer.
What Ingredients You Will Need
This recipe uses simple, wholesome ingredients to deliver a creamy, dreamy dessert without the fuss. You probably have most of these in your kitchen right now.
For the Graham Cracker Crust
- 2 cups graham cracker crumbs (about 14-16 full sheets, crushed finely)—I use Honey Maid, but any brand works. Pro tip: pulse them in a food processor for the most even texture.
- ½ cup unsalted butter, melted—Salted butter works too; just skip the added salt in the crust.
- ¼ cup granulated sugar—Adds just enough sweetness to balance the tangy filling.
- Pinch of salt—Trust me on this. It makes the crust taste more like, well, crust.
For the Cheesecake Filling
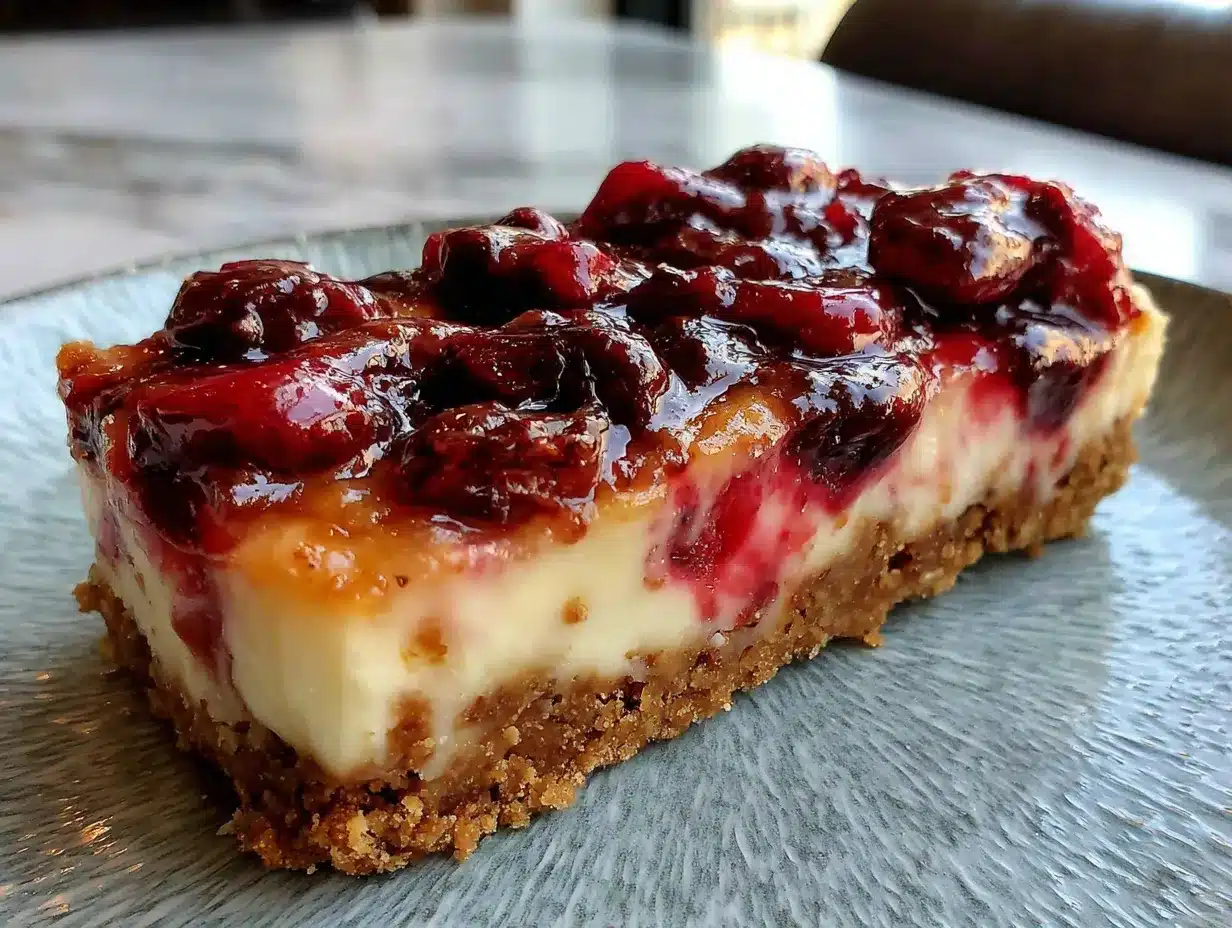
- 16 oz (450g) full-fat cream cheese, softened to room temperature—Philadelphia is my go-to for consistent results. Low-fat works but the texture won’t be as luxuriously creamy.
- ½ cup (100g) granulated sugar—You can reduce this to ⅓ cup if you prefer a less sweet filling.
- 1 teaspoon vanilla extract—Pure vanilla extract makes a noticeable difference. Imitation works in a pinch.
- 1 cup (240ml) heavy cream—Cold, straight from the fridge. This is the magic ingredient that gives the bars their airy texture.
- 2 tablespoons fresh lemon juice—Optional but recommended. It brightens the flavor and cuts through the richness beautifully.
For the Topping (Optional but Recommended)
- Fresh berries (strawberries, blueberries, raspberries)—A colorful mix looks gorgeous and adds freshness.
- 1-2 tablespoons fruit preserves (strawberry, raspberry, or blueberry)—Warm slightly and drizzle for a glossy finish.
- Mint sprigs—For that fancy touch that takes two seconds.
Equipment Needed
You don’t need a fancy kitchen for these bars. Here’s what you’ll actually use:
- 9×9-inch baking pan—An 8×8 works too; your bars will be slightly thicker. Line it with parchment paper for easy removal.
- Food processor—For crushing graham crackers into fine crumbs. A rolling pin and zip-top bag works if you want a workout.
- Electric hand mixer or stand mixer—Whipping the cream and cream cheese by hand is theoretically possible but honestly, your arm will hate you. Use a mixer.
- Large mixing bowls—At least two: one for the crust mixture, one for the filling.
- Rubber spatula—For folding the whipped cream into the cream cheese mixture without deflating it.
- Measuring cups and spoons—Accuracy matters here, especially for the cream.
- Plastic wrap or foil—For covering the pan while it chills.
Preparation Method
Step 1: Make the Crust (10 minutes)
Pulse the graham crackers in a food processor until they’re fine crumbs—no big chunks allowed. Transfer to a medium bowl and stir in the sugar and salt. Pour the melted butter over the crumbs and mix with a fork until every crumb is coated. It should look like wet sand.
Press the mixture firmly into the bottom of your parchment-lined 9×9 pan. Use the bottom of a measuring cup or a flat-bottomed glass to really compact it. Pop it in the fridge while you make the filling—this helps it set up.
Step 2: Whip the Cream (5 minutes)
In a clean, cold bowl, pour in the heavy cream. Beat on medium-high speed until stiff peaks form—about 3-4 minutes. You’re looking for peaks that hold their shape when you lift the beaters. Don’t over-whip or you’ll end up with butter. Set the bowl aside.
Step 3: Make the Cream Cheese Base (5 minutes)
In a large bowl, beat the softened cream cheese with the sugar and vanilla extract until smooth and fluffy—about 2 minutes. Scrape down the sides halfway through. If you’re using the lemon juice, add it now and beat until combined. The mixture should be silky with no lumps.
Step 4: Fold It All Together (3 minutes)
Here’s the key step: take about a third of the whipped cream and fold it into the cream cheese mixture using a rubber spatula. This lightens the base so the rest of the cream incorporates more easily. Then gently fold in the remaining whipped cream until no white streaks remain. Work slowly and deliberately—you want to keep as much air in the mixture as possible.
Step 5: Assemble and Chill (4+ hours)
Spread the filling evenly over the chilled crust. Use an offset spatula or the back of a spoon to smooth the top. Cover the pan with plastic wrap and refrigerate for at least 4 hours, but overnight is better. The filling needs time to set properly—rushing this step leads to a softer, less sliceable bar.
Step 6: Slice and Serve (5 minutes)
Lift the bars out of the pan using the parchment paper overhang. Place on a cutting board and use a sharp knife to slice into squares—I usually go for 9 large bars or 16 smaller ones. Wipe the knife clean between cuts for neat edges. Top with fresh berries and a drizzle of warm preserves if you’re feeling fancy.
Cooking Tips & Techniques
I’ve made these bars about a dozen times now, and I’ve learned a few things the hard way. Here’s what I wish someone had told me:
- Room temperature cream cheese is non-negotiable. Cold cream cheese creates lumps that no amount of beating will fully fix. Leave it on the counter for at least 30 minutes before starting. If you’re short on time, microwave it in 10-second bursts, flipping the block over each time.
- Don’t skip the lemon juice. I tried it without once, thinking it wouldn’t matter. The bars were fine, but they tasted flat. That tiny bit of acid wakes up the whole dessert.
- Chill time matters more than you think. Four hours is the absolute minimum. Eight hours is better. Overnight is ideal. The filling firms up as it chills, and the flavors meld together beautifully.
- Use a sharp knife for clean slices. Run it under hot water, wipe it dry, then slice. Wipe between cuts. This gives you those beautiful, Instagram-worthy edges.
- Press the crust firmly. A loose crust crumbles when you try to cut or eat the bars. Use the bottom of a measuring cup to really compact it into the pan.
Variations & Adaptations
These bars are endlessly adaptable. Here are a few ways I’ve changed them up depending on the occasion:
Berry Swirl Cheesecake Bars
Warm ½ cup of strawberry or raspberry preserves in a small saucepan until loose. Drop spoonfuls over the filling before chilling, then use a knife to swirl gently. The result is a beautiful marbled effect that tastes as good as it looks.
Chocolate Lover’s Version
Melt 4 oz of semi-sweet chocolate and let it cool slightly. Fold it into the cream cheese mixture along with the whipped cream. Use chocolate graham crackers for the crust. It’s rich, decadent, and dangerously easy to eat.
Lemon-Blueberry Cheesecake Bars
Increase the lemon juice to 3 tablespoons and add 1 tablespoon of lemon zest to the filling. Fold in ½ cup of fresh blueberries right before pouring into the pan. The combination of tangy lemon and sweet blueberries is pure summer.
Gluten-Free Option
Use gluten-free graham crackers or crushed gluten-free shortbread cookies for the crust. The filling is naturally gluten-free, so this swap is seamless.
Vegan-Friendly Adaptation
Use vegan cream cheese (I like Miyoko’s) and coconut cream (the solid part from a can of full-fat coconut milk, chilled overnight) instead of heavy cream. The texture will be slightly different but still delicious.
Serving & Storage Suggestions
These bars are best served cold, straight from the fridge. The texture is firm but creamy, and the flavors are clean and bright. Here’s how to handle leftovers (if you have any):
- Refrigerate: Store in an airtight container for up to 5 days. Place a sheet of parchment paper between layers to prevent sticking.
- Freeze: Wrap individual bars tightly in plastic wrap, then foil. Freeze for up to 3 months. Thaw in the fridge overnight before serving.
- Reheat: Don’t. These are meant to be served cold. If you want a warm dessert, make a cozy brown sugar peach cobbler instead.
- Flavor development: The bars actually taste better on day two. The crust softens slightly, and the filling becomes more cohesive. If you can wait, make them a day ahead.
- Presentation tip: Arrange the bars on a platter with a mix of fresh berries and a few mint sprigs. Drizzle with warm fruit preserves for a glossy, professional finish. It takes two minutes and makes them look like they came from a bakery.
Nutritional Information & Benefits
Per bar (based on 9 servings):
- Calories: 380
- Fat: 28g
- Saturated Fat: 17g
- Carbohydrates: 28g
- Sugar: 20g
- Protein: 5g
- Calcium: 8% DV
These bars are a treat, not a health food, but they do offer some nutritional benefits. Cream cheese provides calcium and protein, while heavy cream adds healthy fats that keep you satisfied. The graham cracker crust offers a small amount of fiber. If you’re watching your sugar intake, you can reduce the sugar in the filling to ⅓ cup without compromising texture. For a lighter option, consider serving alongside a fresh grilled peach caprese salad for a balanced summer meal.
Conclusion
These Easy No-Bake Labor Day Cheesecake Bars have become my unofficial end-of-summer tradition. They’re simple enough for a casual weekday dessert but impressive enough for a holiday gathering. The texture is impossibly creamy, the flavor is perfectly balanced, and the best part? You don’t have to turn on the oven.
I love how adaptable they are—swap in different berries, add a swirl of caramel, or keep them classic with a simple berry topping. They’re forgiving, flexible, and always, always delicious. If you make them for your Labor Day celebration (and I really hope you do), let me know how they turn out. Tag me in your photos, leave a comment below, or tell me about your favorite variation. I genuinely love hearing how these recipes work in your kitchen.
Here’s to one last taste of summer, with no oven required.
Frequently Asked Questions
Can I make these cheesecake bars a day ahead?
Absolutely. In fact, I recommend it. Making them a day ahead gives the filling plenty of time to set properly, and the flavors meld together beautifully overnight. Just cover the pan tightly with plastic wrap and refrigerate until you’re ready to serve.
How do I get clean, neat slices?
Use a sharp knife and run it under hot water before each cut. Wipe the blade clean between slices. This prevents the filling from dragging and gives you those beautiful, bakery-style edges. Chilling the bars for at least 4 hours (preferably overnight) also helps them slice cleanly.
Can I use low-fat cream cheese or whipped topping instead of heavy cream?
You can, but the texture won’t be the same. Low-fat cream cheese contains more water and less fat, which can make the filling slightly grainy. If you use whipped topping (like Cool Whip) instead of heavy cream, the bars will be lighter and less rich. Both work in a pinch, but full-fat cream cheese and real whipped cream give the best results.
How long do these bars last in the fridge?
Stored in an airtight container, these bars will keep for up to 5 days in the refrigerator. Place a sheet of parchment paper between layers to prevent sticking. The crust may soften slightly over time, but the flavor actually improves after a day or two.
Can I freeze these cheesecake bars?
Yes! Wrap individual bars tightly in plastic wrap, then a layer of foil. Freeze for up to 3 months. To thaw, transfer them to the refrigerator overnight. They’ll be just as creamy and delicious as the day you made them. This is perfect for making a big batch ahead of time for parties or holiday gatherings.
Pin This Recipe!
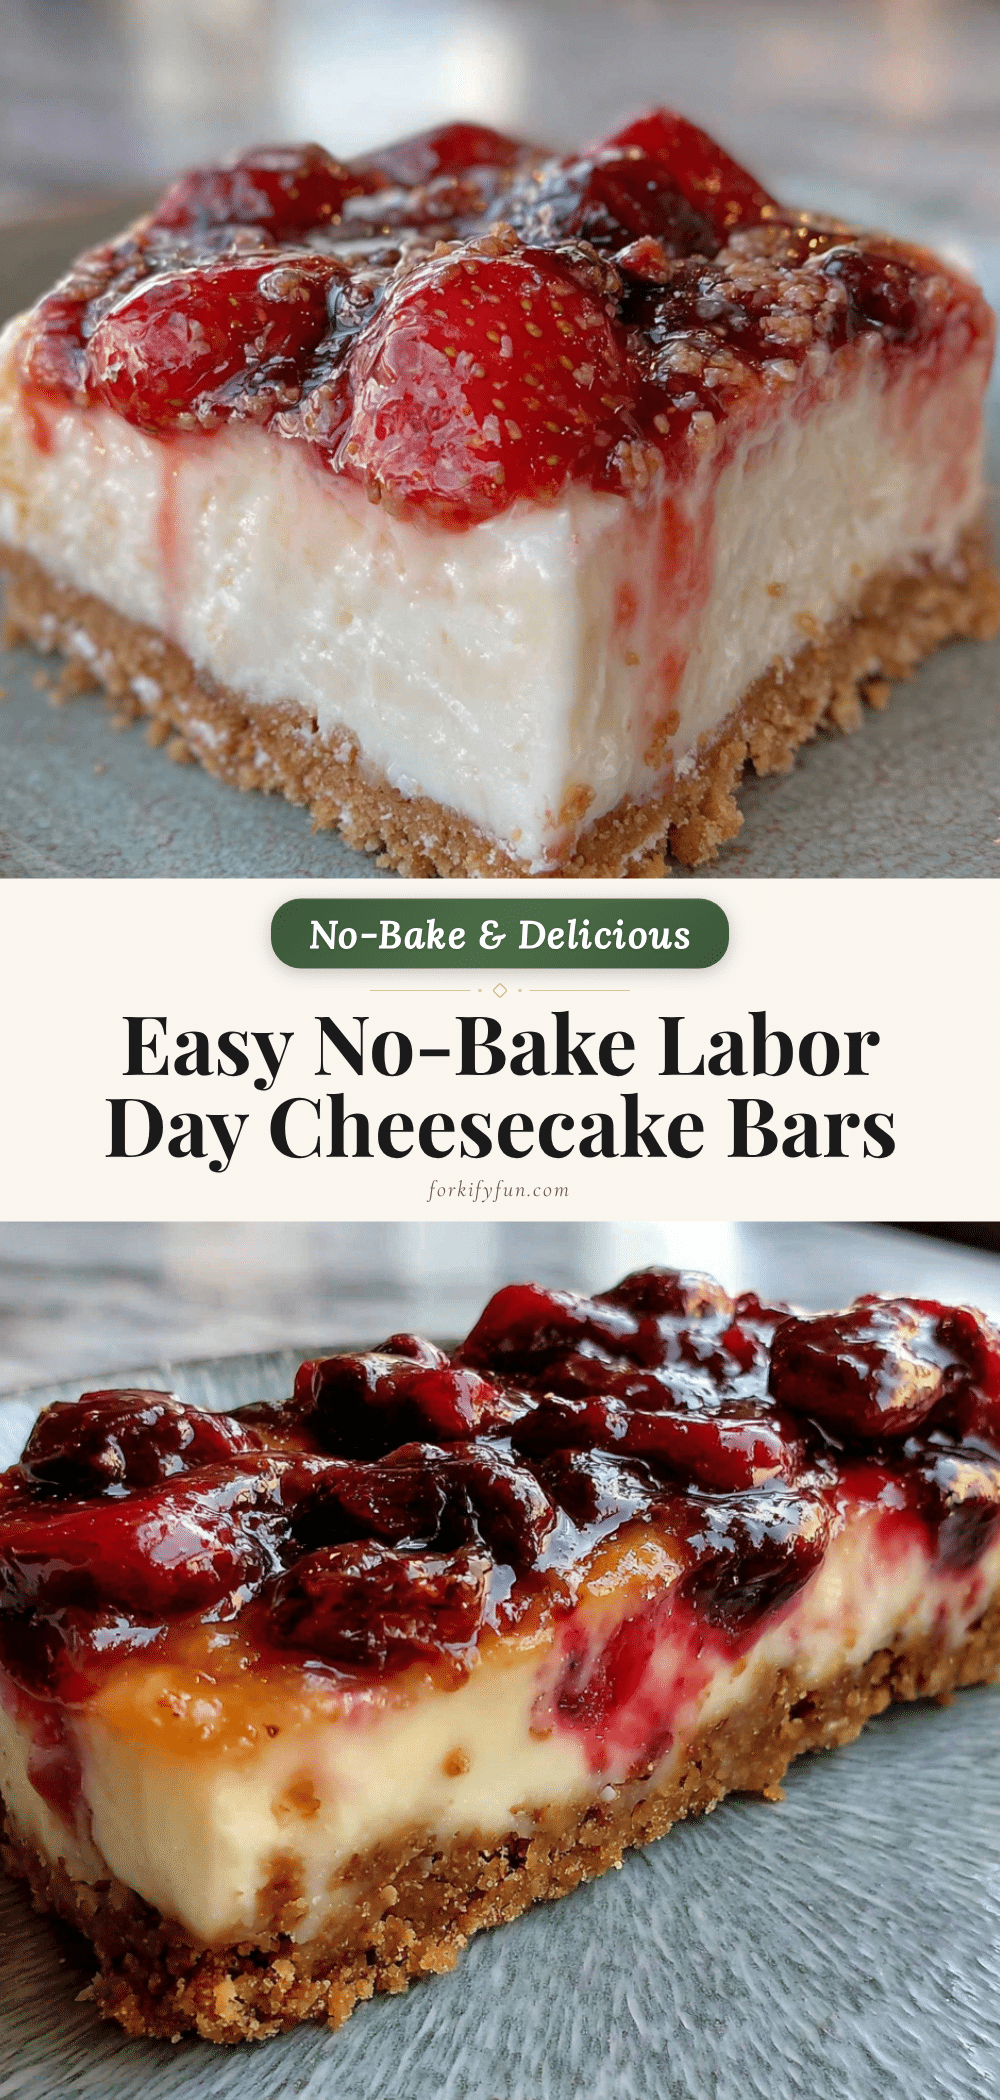
Easy No-Bake Labor Day Cheesecake Bars: Best Summer Dessert
These no-bake cheesecake bars are a light, creamy, and indulgent summer dessert that requires zero oven time. Perfect for Labor Day gatherings, they feature a graham cracker crust and a mousse-like filling that’s a crowd-pleaser.
- Prep Time: 20 minutes
- Cook Time: 0 minutes
- Total Time: 4 hours 20 minutes (includes chilling)
- Yield: 9 servings 1x
- Category: Dessert
- Cuisine: American
Ingredients
- 2 cups graham cracker crumbs (about 14–16 full sheets, crushed finely)
- ½ cup unsalted butter, melted
- ¼ cup granulated sugar
- Pinch of salt
- 16 oz (450g) full-fat cream cheese, softened to room temperature
- ½ cup (100g) granulated sugar
- 1 teaspoon vanilla extract
- 1 cup (240ml) heavy cream, cold
- 2 tablespoons fresh lemon juice (optional but recommended)
- Fresh berries (strawberries, blueberries, raspberries) for topping (optional)
- 1–2 tablespoons fruit preserves (strawberry, raspberry, or blueberry) for topping (optional)
- Mint sprigs for garnish (optional)
Instructions
- Make the crust: Pulse graham crackers in a food processor until fine crumbs. Transfer to a medium bowl and stir in sugar and salt. Pour melted butter over crumbs and mix with a fork until every crumb is coated. Press mixture firmly into the bottom of a parchment-lined 9×9-inch pan. Refrigerate while making the filling.
- Whip the cream: In a clean, cold bowl, beat heavy cream on medium-high speed until stiff peaks form, about 3-4 minutes. Set aside.
- Make the cream cheese base: In a large bowl, beat softened cream cheese with sugar and vanilla extract until smooth and fluffy, about 2 minutes. Add lemon juice if using and beat until combined.
- Fold it together: Take about a third of the whipped cream and fold it into the cream cheese mixture using a rubber spatula. Gently fold in the remaining whipped cream until no white streaks remain.
- Assemble and chill: Spread the filling evenly over the chilled crust. Cover with plastic wrap and refrigerate for at least 4 hours, preferably overnight.
- Slice and serve: Lift bars out of pan using parchment paper overhang. Place on a cutting board and slice into squares using a sharp knife. Top with fresh berries and a drizzle of warm preserves if desired.
Notes
Room temperature cream cheese is non-negotiable for a smooth texture. Don’t skip the lemon juice as it brightens the flavor. Chill time is crucial—at least 4 hours, but overnight is best. For clean slices, use a sharp knife and wipe between cuts.
Nutrition
- Serving Size: 1 bar (based on 9 se
- Calories: 380
- Sugar: 20
- Fat: 28
- Saturated Fat: 17
- Carbohydrates: 28
- Protein: 5
Keywords: no-bake cheesecake, Labor Day dessert, summer dessert, cheesecake bars, easy dessert, no-bake dessert