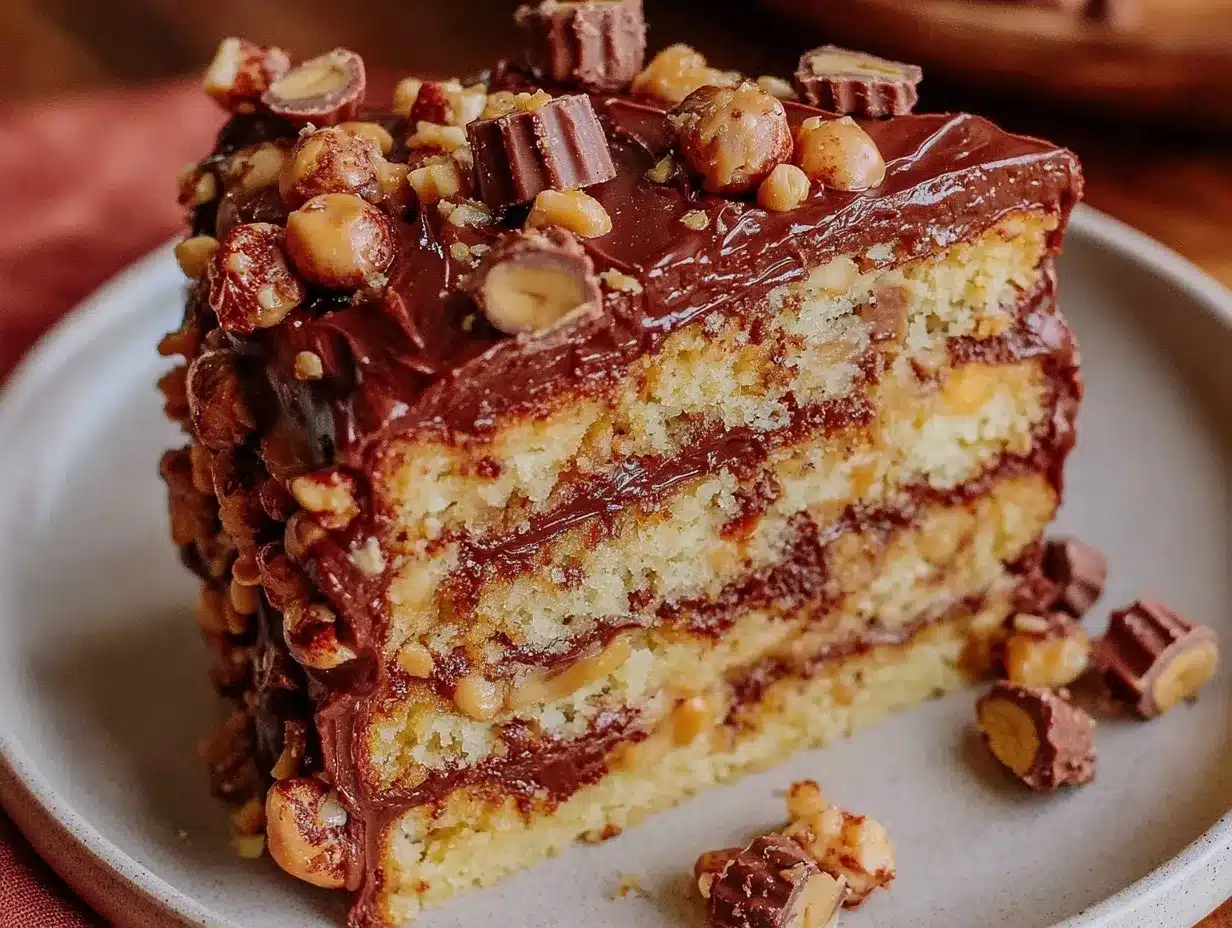
Three-time-in-a-week and still no regrets—this Decadent Reese’s Peanut Butter Cup Layer Cake with Chocolate Fudge Frosting became my late-night obsession last month. Honestly, I didn’t plan on baking this cake so many times; it just sort of happened. One evening, after a particularly long day, I pulled out a stash of Reese’s cups and thought, “Why not?” Next thing I knew, the kitchen was dusted with cocoa powder and peanut butter smudges, and the sweet scent of chocolate fudge filled the air again. The frosting never quite spread the same way twice, and each layer of cake was a little different, but that peanut butter and chocolate combo kept pulling me back.
The texture of the cake itself is a bit of a revelation—moist, tender crumb with just enough density to hold up to all that thick, glossy fudge frosting. And those peanut butter cups chopped inside? Little pockets of melty, salty-sweet surprise. I swear, every bite feels like a mini celebration. It’s not just about the flavors, really. It’s the way the cake slices hold together without crumbling, how the frosting clings perfectly to the layers, and that subtle crunch from the chopped candies. Let’s just say, after making this cake multiple times, I caught myself daydreaming about it on my morning runs.
What stuck with me most wasn’t just the indulgence, but the fact that this cake feels homemade—like something you’d proudly bring to a dinner party or slice into at a cozy weekend gathering. No fancy tricks, just good ingredients and a little patience. Somehow, this recipe found a cozy spot in my baking rotation, and I’m guessing it might in yours, too.
Why You’ll Love This Recipe
- Quick & Easy: Ready in about 1 hour and 15 minutes from start to finish, it’s perfect when you want an impressive dessert without spending all day in the kitchen.
- Simple Ingredients: No rare finds here. Most ingredients are pantry staples—flour, sugar, cocoa powder, eggs—and, of course, Reese’s Peanut Butter Cups (the star). You probably already have everything except maybe the candy cups.
- Perfect for Celebrations: Whether it’s a birthday, potluck, or just a weekend treat, this layer cake shines with its rich flavors and luscious frosting.
- Crowd-Pleaser: Kids, adults, peanut butter lovers, and chocolate fans alike rave about this cake. You’ll want to hide a slice or two for yourself.
- Unbelievably Delicious: The moist chocolate cake layers blend seamlessly with the creamy peanut butter cup chunks and that thick chocolate fudge frosting. It’s the kind of comfort food that makes you close your eyes after the first bite.
- What Makes This Recipe Different: Instead of just mixing peanut butter into frosting or batter, this recipe folds chopped Reese’s cups into the batter itself, creating delightful bursts of peanut butter and chocolate. Plus, the fudge frosting is made from scratch—rich, glossy, and just the right balance of sweet and slightly bitter cocoa.
- This cake is the kind of dessert that turns an ordinary day into a treat you look forward to—and without a ton of fuss.
What Ingredients You Will Need
This Decadent Reese’s Peanut Butter Cup Layer Cake with Chocolate Fudge Frosting relies on straightforward, wholesome ingredients to deliver that rich, satisfying flavor and texture. Most are pantry staples, and the peanut butter cups bring the magic. Feel free to swap or tweak a few ingredients depending on what you have on hand.
- For the Chocolate Cake Layers:
- All-purpose flour – 2 ½ cups (320g), sifted for smooth texture
- Granulated sugar – 2 cups (400g)
- Unsweetened cocoa powder – ¾ cup (65g), preferably Dutch-processed for depth
- Baking powder – 1 ½ tsp
- Baking soda – 1 ½ tsp
- Salt – 1 tsp
- Large eggs – 2, room temperature (helps with fluffiness)
- Buttermilk – 1 cup (240ml), adds tenderness (can substitute with milk + 1 tbsp vinegar)
- Vegetable oil – ½ cup (120ml), for moistness
- Vanilla extract – 2 tsp
- Boiling water – 1 cup (240ml), to bloom cocoa and create a moist crumb
- Reese’s Peanut Butter Cups – 1 ½ cups, chopped into small pieces (about 15 standard cups)
- For the Chocolate Fudge Frosting:
- Unsalted butter – 1 cup (225g), softened
- Powdered sugar – 3 ½ cups (440g), sifted for smooth frosting
- Unsweetened cocoa powder – ¾ cup (65g)
- Heavy cream – ⅓ cup (80ml), plus more if needed for spreadability
- Vanilla extract – 1 ½ tsp
- Salt – a pinch, to balance sweetness
Ingredient Tips: For best results, I recommend using Hershey’s cocoa powder in both the cake and frosting for a reliable chocolate flavor. Look for Reese’s cups with the classic peanut butter filling rather than minis—they hold up better in the batter. If you want a dairy-free option, swap the butter and cream in the frosting for coconut oil and coconut cream, respectively. In summer, try folding in fresh strawberries to the batter for a fruity twist!
Equipment Needed
- Two 9-inch (23cm) round cake pans – non-stick or lined with parchment paper for easy release
- Mixing bowls – at least two, one for dry ingredients and one for wet
- Electric mixer or stand mixer – for creaming butter and mixing batter smoothly (a hand whisk can work but takes more elbow grease)
- Measuring cups and spoons – for accuracy, especially with cocoa and leaveners
- Rubber spatula – ideal for folding in chopped peanut butter cups without overmixing
- Cooling racks – to cool cake layers evenly and prevent sogginess
- Offset spatula or butter knife – for spreading the chocolate fudge frosting evenly
If you don’t have cake pans, you can use an 8×12 inch rectangular pan—just adjust baking time accordingly (start checking at 30 minutes). I’ve also tried this recipe with a hand mixer and found it works just fine, though the batter might take a little longer to come together. For frosting, a simple wooden spoon can do if you don’t have a mixer, but it’s worth investing in a good electric mixer if you bake often.
Preparation Method
- Preheat your oven to 350°F (175°C). Grease and flour two 9-inch cake pans, then line the bottom with parchment paper for super easy cake removal.
- Mix dry ingredients: In a large bowl, sift together the all-purpose flour, cocoa powder, baking powder, baking soda, and salt. Set aside.
- Cream wet ingredients: In another bowl, combine granulated sugar and vegetable oil. Add eggs one at a time, beating well after each addition. Stir in vanilla extract.
- Alternate adding flour mixture and buttermilk: Begin by adding one-third of the dry ingredients to the wet, mix gently, then half the buttermilk, mix again. Repeat until all dry and wet ingredients are combined. Be careful not to overmix—stop when just combined.
- Slowly add boiling water: Pour boiling water into the batter in a slow stream, mixing gently. The batter will be thin—that’s expected and helps the cake stay moist and tender.
- Fold in chopped Reese’s Peanut Butter Cups: Using a rubber spatula, carefully fold in the chopped peanut butter cups. This step is crucial—fold gently to evenly distribute the candy without breaking it up too much.
- Divide batter between pans: Pour the batter evenly into the prepared pans. Tap pans gently on the counter to release air bubbles.
- Bake for 30-35 minutes: Bake until a toothpick inserted in the center comes out mostly clean with a few moist crumbs. Avoid overbaking to keep the cake moist.
- Cool the cakes: Let the cakes cool in the pans for 15 minutes before transferring them to wire racks to cool completely. Frosting warm cake will cause melting.
- Prepare the chocolate fudge frosting: Beat softened butter until creamy. Gradually add powdered sugar and cocoa powder, alternating with heavy cream, beating until smooth and spreadable. Add vanilla extract and a pinch of salt. Adjust consistency—add more cream if too thick, or powdered sugar if too thin.
- Assemble the cake: Place one cake layer on a serving plate. Spread a generous layer of frosting on top. Carefully place the second cake layer on top and frost the top and sides evenly with remaining frosting.
- Chill briefly: Refrigerate the cake for at least 30 minutes to set the frosting before slicing. This helps with clean, neat slices.
Quick tip: If your frosting feels a bit grainy, continue beating for a few more minutes—it smooths out beautifully. Also, when folding in the peanut butter cups, smaller pieces distribute flavor better, but don’t chop too fine or they’ll melt completely into the batter.
Cooking Tips & Techniques
One trick I learned the hard way was about the boiling water step. Pouring it in slowly while mixing prevents the batter from curdling or becoming too thin to handle. It’s the secret to that moist, tender crumb that makes this cake stand out. Also, don’t skip sifting your cocoa powder and flour; clumps can cause uneven texture.
When folding in the Reese’s, be gentle—too much stirring breaks the peanut butter cups down and turns them into a melted mess. I like to chop them into bite-sized chunks and fold carefully with a spatula. That way, you get those delightful pockets of peanut butter and chocolate rather than an even swirl.
For frosting, room temperature butter is key. If it’s too cold, the frosting will be lumpy; too warm, and it can get runny. I’ve found that beating the butter first before adding sugar and cocoa powder gives the smoothest results. If your frosting feels stiff, a teaspoon of heavy cream at a time loosens it up perfectly.
Finally, don’t rush cooling. Trying to frost warm cake layers will cause your chocolate fudge frosting to slide right off. I usually bake the layers in the morning and frost in the evening—or pop them in the fridge for 20 minutes to speed things up.
Variations & Adaptations
- Peanut Butter-Free Version: Use chopped chocolate caramel candies or chopped hazelnuts instead of peanut butter cups for those with allergies.
- Gluten-Free Option: Substitute all-purpose flour with a 1-to-1 gluten-free baking blend. The texture might be a touch different but still delicious.
- Salted Caramel Twist: Drizzle salted caramel sauce between layers before frosting for an extra decadent touch. I tried this once and it added a lovely counterpoint to the chocolate and peanut butter.
- Mini Cupcakes: Use the same batter and frosting to make mini cupcakes. Bake for about 18 minutes at 350°F (175°C), perfect for parties or portion control.
- Different Chocolate Types: Swap Dutch-processed cocoa for natural cocoa powder for a slightly tangier flavor. Or add espresso powder (1 tsp) to the batter to deepen the chocolate notes, kind of like in my copycat Starbucks Brown Sugar Shaken Espresso recipe.
Serving & Storage Suggestions
This cake is best served at room temperature so the chocolate fudge frosting is soft and luscious. Slice it with a sharp knife dipped in hot water for clean cuts without smudging. Pair it with a cold glass of milk or a simple cup of black coffee to balance the richness.
Leftovers can be stored covered in the refrigerator for up to 4 days. Bring slices to room temperature before serving to enjoy that perfect softness. You can also freeze individual slices wrapped tightly in plastic wrap and foil for up to 2 months—just thaw overnight in the fridge.
Pro tip: The flavors actually deepen after a day or two, so if you have the patience, make this cake a day ahead of your event. I sometimes pair it with a fresh fruit salad or a light yogurt topping to cut through the indulgence, similar to how I love serving my fresh no mayo avocado chicken salad sandwich for a balanced meal.
Nutritional Information & Benefits
Estimated per slice (based on 12 slices): 450 calories, 25g fat, 50g carbohydrates, 5g protein.
This cake is definitely a treat, loaded with sugars and fats from chocolate and peanut butter cups, so I don’t recommend it daily. However, peanut butter provides some protein and healthy fats, and cocoa powder contains antioxidants, making this dessert a little more indulgent than just sugar and flour alone.
For those mindful of allergens, this recipe contains dairy, eggs, gluten, and peanuts. You can adapt with dairy-free substitutes and gluten-free flours if needed.
Personally, I see this cake as a special occasion dessert—something to enjoy mindfully and savor every bite, not a daily snack. It’s a reminder that homemade treats can be both rich and satisfying without complicated shortcuts.
Conclusion
Making this Decadent Reese’s Peanut Butter Cup Layer Cake with Chocolate Fudge Frosting became a delicious cycle of trial and tiny tweaks that I didn’t mind at all. It’s the kind of cake that feels impressive but is surprisingly straightforward—perfect when you want a showstopper without fuss. I love how the peanut butter cups melt into little surprises and that fudge frosting stays rich and creamy without being overly sweet.
Feel free to customize the frosting thickness or candy mix-ins to suit your taste. Maybe add a pinch of cinnamon or swap in your favorite nut butter cups. It’s your cake, after all. If you give it a whirl, I’d love to hear how your version turned out! Baking like this—messy, fun, and a bit obsessive—is exactly why I keep coming back to the kitchen.
And hey, if you’re interested in other indulgent chocolate treats, you might want to check out my ultimate fudgy brownies recipe with creamy chocolate ganache—it’s another chocolate lover’s dream come true.
FAQs
- Can I make this cake ahead of time?
- Yes! You can bake the layers a day ahead and store them wrapped tightly at room temperature or in the fridge. Frost the cake the day you plan to serve it for the freshest texture.
- What if I don’t have buttermilk?
- Simply add 1 tablespoon of white vinegar or lemon juice to 1 cup of milk, let it sit for 5 minutes, and use as a buttermilk substitute.
- Can I use mini peanut butter cups instead of regular size?
- You can, but be aware they might melt more into the batter, making the texture less chunky. Chopping regular-size cups works better for distinct pockets of flavor.
- How do I store leftover cake?
- Store leftover cake in an airtight container in the refrigerator for up to 4 days. Bring to room temperature before serving for the best taste.
- Is the frosting suitable for piping decorations?
- This chocolate fudge frosting is thick and creamy but not stiff enough for intricate piping. For decorations, chill the frosting slightly or whip in a bit more powdered sugar to stiffen it.
Pin This Recipe!
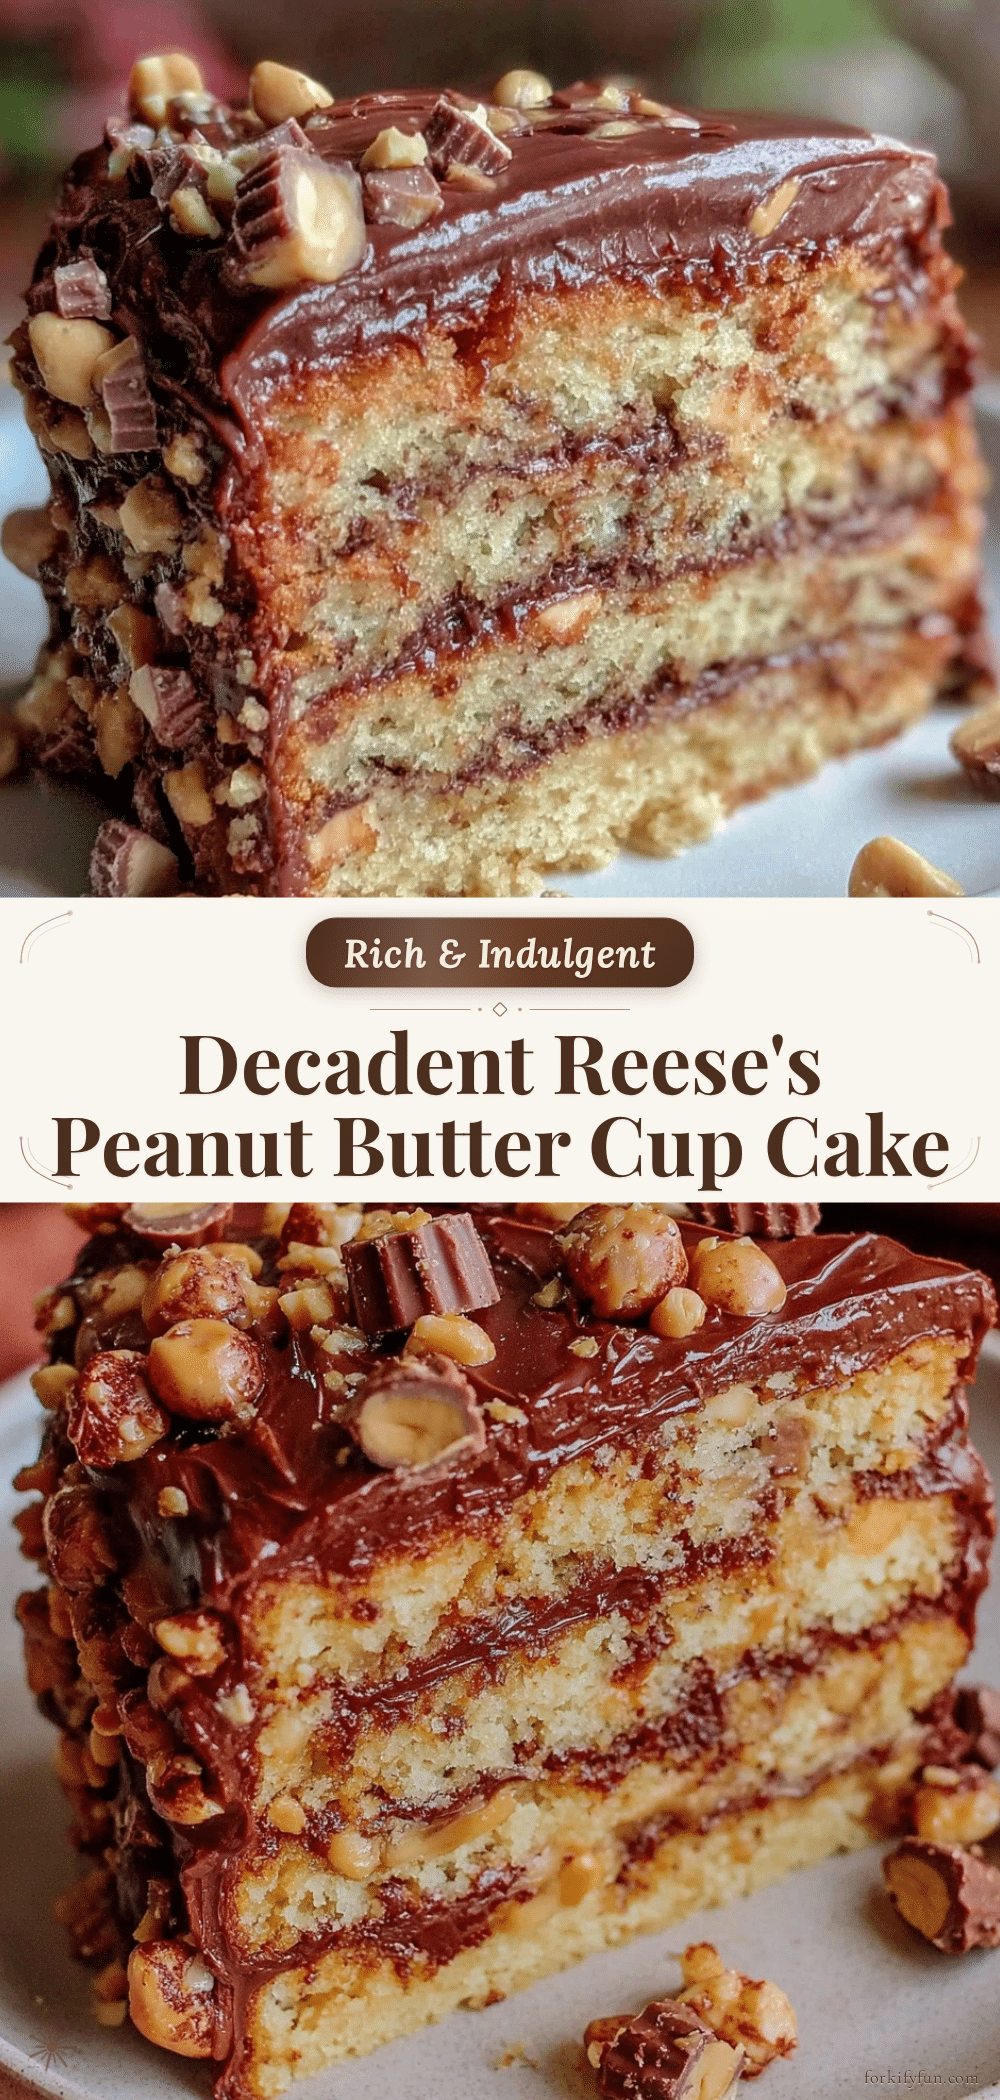
Decadent Reese’s Peanut Butter Cup Layer Cake with Chocolate Fudge Frosting
A moist and tender chocolate layer cake with chopped Reese’s Peanut Butter Cups folded into the batter, topped with a rich, glossy homemade chocolate fudge frosting. Perfect for celebrations and peanut butter lovers.
- Prep Time: 30 minutes
- Cook Time: 35 minutes
- Total Time: 1 hour 15 minutes
- Yield: 12 servings 1x
- Category: Dessert
- Cuisine: American
Ingredients
- 2 ½ cups all-purpose flour (320g), sifted
- 2 cups granulated sugar (400g)
- ¾ cup unsweetened cocoa powder (65g), preferably Dutch-processed
- 1 ½ tsp baking powder
- 1 ½ tsp baking soda
- 1 tsp salt
- 2 large eggs, room temperature
- 1 cup buttermilk (240ml) (or milk + 1 tbsp vinegar as substitute)
- ½ cup vegetable oil (120ml)
- 2 tsp vanilla extract
- 1 cup boiling water (240ml)
- 1 ½ cups chopped Reese’s Peanut Butter Cups (about 15 standard cups)
- 1 cup unsalted butter (225g), softened
- 3 ½ cups powdered sugar (440g), sifted
- ¾ cup unsweetened cocoa powder (65g)
- ⅓ cup heavy cream (80ml), plus more if needed
- 1 ½ tsp vanilla extract
- Pinch of salt
Instructions
- Preheat oven to 350°F (175°C). Grease and flour two 9-inch cake pans and line bottoms with parchment paper.
- In a large bowl, sift together flour, cocoa powder, baking powder, baking soda, and salt. Set aside.
- In another bowl, combine granulated sugar and vegetable oil. Add eggs one at a time, beating well after each addition. Stir in vanilla extract.
- Alternate adding the dry ingredients and buttermilk to the wet mixture, starting and ending with dry ingredients. Mix gently until just combined.
- Slowly pour boiling water into the batter while mixing gently; batter will be thin.
- Fold in chopped Reese’s Peanut Butter Cups carefully with a rubber spatula.
- Divide batter evenly between prepared pans and tap pans gently to release air bubbles.
- Bake for 30-35 minutes or until a toothpick inserted in the center comes out mostly clean with a few moist crumbs.
- Cool cakes in pans for 15 minutes, then transfer to wire racks to cool completely.
- To make frosting, beat softened butter until creamy. Gradually add powdered sugar and cocoa powder, alternating with heavy cream, beating until smooth and spreadable.
- Add vanilla extract and a pinch of salt to frosting. Adjust consistency with more cream or powdered sugar as needed.
- Place one cake layer on a serving plate. Spread a generous layer of frosting on top.
- Place second cake layer on top and frost the top and sides evenly.
- Refrigerate cake for at least 30 minutes to set frosting before slicing.
Notes
Use Hershey’s cocoa powder for best flavor. Chop peanut butter cups into bite-sized pieces and fold gently to avoid melting. Room temperature butter is key for smooth frosting. Cool cake layers completely before frosting to prevent melting. For dairy-free frosting, substitute butter and cream with coconut oil and coconut cream. Cake can be made a day ahead for deeper flavor. Store leftovers in refrigerator up to 4 days or freeze slices up to 2 months.
Nutrition
- Serving Size: 1 slice (1/12 of cak
- Calories: 450
- Fat: 25
- Carbohydrates: 50
- Protein: 5
Keywords: Reese's, peanut butter cup, chocolate cake, layer cake, homemade dessert, chocolate fudge frosting, easy cake recipe, celebration cake


