November light, that thin, golden sort that makes everything look soft around the edges, and all I wanted was a scone. Not a bakery scone, not a fancy one with a mile-long ingredient list. Just a warm, tender, mapley one with a glaze that ran down the sides in slow, deliberate drips. I had a can of pumpkin in the pantry and a stick of butter on the counter, and somehow, that felt like enough of a reason to start.
I have this thing about scones. They are not cookies, not muffins, not quite cake. They sit in this weird, wonderful in-between place where you can eat them for breakfast without feeling guilty or serve them with tea and look like you have your life together. These maple pumpkin scones with brown butter glaze are the ones I kept coming back to, tweaking the flour ratio, testing the glaze temperature, burning the butter once (okay, twice) until they felt exactly right.
There is a quiet honesty to a good scone. It does not try to be anything other than what it is. And these, with that deep maple sweetness and the nutty, almost toasty brown butter on top, are exactly what they are supposed to be. I think that is why I love them so much.
Why You Will Love This Recipe
I have made a lot of scones in my time. Dry ones, crumbly ones, ones that tasted more like baking powder than anything else. These maple pumpkin scones are none of those things. They are the result of trial and error, of writing notes in the margins of my recipe book, of learning exactly when to stop mixing the dough.
- Quick & Easy : From start to finish, you are looking at about 35 minutes. That is less time than it takes to decide what to watch on Netflix.
- Simple Ingredients : No weird stabilizers, no obscure extracts. Just pantry staples you probably already have if you bake with any regularity.
- Perfect for Fall Mornings : These scones pair beautifully with a hot cup of coffee or tea. They are the kind of thing you make when you want the house to smell like autumn.
- Crowd-Pleaser : I brought a batch to a friend’s brunch and watched them disappear in under ten minutes. People who claimed they did not like scones went back for seconds.
- Unbelievably Delicious : The brown butter glaze is not just a topping. It soaks into the top layer of the scone just enough to create this magical, slightly crisp, deeply flavorful crust that contrasts with the soft interior.
What makes these different from every other pumpkin scone recipe out there? Two things. First, I use a combination of cold butter and heavy cream instead of just butter. That extra fat gives the scones a tenderness that most recipes miss. Second, the brown butter glaze. It is not complicated, but it adds a nutty, caramelized depth that plain maple glaze simply cannot touch. This is not just another version of the same thing. This is the version I kept tweaking until I stopped wanting to tweak it anymore.
Honestly, these scones are the kind of thing that makes you close your eyes after the first bite. It sounds dramatic, I know. But that first warm bite with the glaze still a little soft? Yeah. That is the moment.
What Ingredients You Will Need
This recipe uses simple, wholesome ingredients to deliver bold flavor and satisfying texture without the fuss. Most of these are pantry staples, which is exactly how I like it.
For the Scones
- All-purpose flour, 2 cups (250g) : Spoon and level it. Do not scoop directly from the bag or you will end up with dense scones. I use King Arthur Flour for consistent results.
- Granulated sugar, 1/3 cup (65g) : Just enough sweetness without overwhelming the pumpkin and maple.
- Baking powder, 1 tablespoon : Make sure it is fresh. Old baking powder is the number one reason scones fail to rise properly.
- Pumpkin pie spice, 1 teaspoon : You can use store-bought or make your own with cinnamon, nutmeg, ginger, and cloves. I usually make my own because I like a little extra ginger.
- Ground cinnamon, 1/2 teaspoon : Adds warmth and depth.
- Salt, 1/2 teaspoon : Do not skip this. Salt balances the sweetness and makes the flavors pop.
- Cold unsalted butter, 1/2 cup (113g, 1 stick) : Cut into small cubes and keep it cold until the very last second. Warm butter is the enemy of flaky scones.
- Heavy cream, 1/2 cup (120ml) : Plus a little extra for brushing the tops before baking. The cream adds richness that milk just cannot replicate.
- Pure pumpkin puree, 1/3 cup (80g) : Not pumpkin pie filling. Make sure you grab the plain stuff. I prefer Libby’s for its consistent thickness.
- Pure maple syrup, 1/4 cup (60ml) : Use the real deal, not pancake syrup. Grade A dark amber works beautifully here.
- Vanilla extract, 1 teaspoon : Pure, not imitation. It makes a difference.
For the Brown Butter Glaze
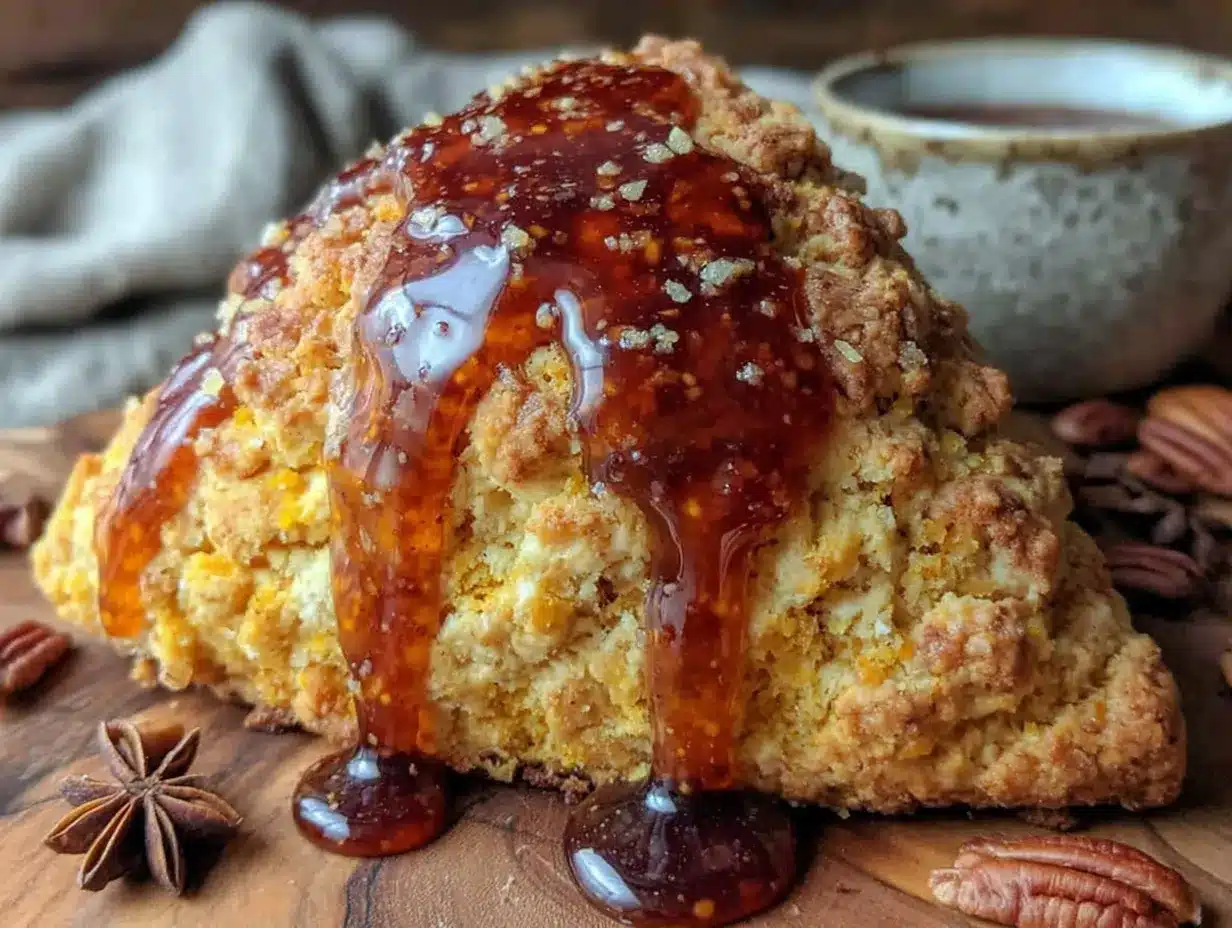
- Unsalted butter, 1/4 cup (57g, half a stick) : You will brown this, so keep an eye on it. Burnt butter is a sad, sad thing.
- Powdered sugar, 1 cup (120g) : Sifted if it is lumpy, though I rarely bother and it works fine.
- Pure maple syrup, 2 tablespoons (30ml) : Adds sweetness and that unmistakable maple flavor.
- Milk or heavy cream, 1-2 tablespoons (15-30ml) : Start with one tablespoon and add more if needed to reach a drizzling consistency.
- Pinch of salt : Trust me on this one.
If you are gluten-sensitive, you can substitute a good 1-to-1 gluten-free flour blend. I have tested this with Bob’s Red Mill and it works, though the texture is slightly more delicate. For a dairy-free version, use cold coconut oil instead of butter and full-fat canned coconut milk instead of heavy cream. The flavor shifts a little, but it is still delicious.
Equipment Needed
You do not need a fancy kitchen to make these scones. Here is what you will actually use:
- Large mixing bowl : For combining dry ingredients.
- Pastry cutter or two forks : To cut the butter into the flour. You can also use your fingertips if you work quickly, but a pastry cutter is easier and keeps the butter colder.
- Small saucepan : For browning the butter. Light-colored pans work best so you can see the color change.
- Baking sheet : Line it with parchment paper for easy cleanup.
- Bench scraper or sharp knife : For cutting the scone dough into wedges.
- Whisk : For the glaze.
- Cooling rack : So the bottoms do not get soggy.
I have made these with a cheap baking sheet from the grocery store and they turned out fine. Do not overthink the equipment. If you have a bowl and an oven, you are basically ready.
Preparation Method
Preheat your oven to 400°F (200°C). Line a baking sheet with parchment paper and set it aside.
- Mix the dry ingredients : In a large bowl, whisk together the flour, sugar, baking powder, pumpkin pie spice, cinnamon, and salt. Make sure the baking powder is evenly distributed, nobody wants a pocket of baking powder in their scone.
- Cut in the butter : Add the cold cubed butter to the flour mixture. Using a pastry cutter or two forks, cut the butter into the flour until the mixture resembles coarse meal with pea-sized butter pieces. Some bigger chunks are fine. In fact, they are good. Those chunks create flaky layers when they melt in the oven.
- Combine the wet ingredients : In a separate small bowl or measuring cup, whisk together the heavy cream, pumpkin puree, maple syrup, and vanilla extract until smooth. The mixture will look a little thick and that is exactly right.
- Bring it together : Pour the wet mixture into the dry mixture. Stir with a fork or spatula just until the dough comes together. It will look shaggy and a little dry in spots. That is okay. Overmixing is the fastest way to tough scones.
- Shape the dough : Turn the dough out onto a lightly floured surface. Gently bring it together with your hands, patting it into a circle about 3/4 inch thick. Do not use a rolling pin. Just use your hands. It is more forgiving and you will feel if the dough is too sticky or too dry.
- Cut the scones : Using a bench scraper or a sharp knife, cut the circle into 8 wedges like you are cutting a pizza. Transfer the wedges to the prepared baking sheet, spacing them about 2 inches apart.
- Brush and bake : Brush the tops of the scones with a little extra heavy cream. This helps them develop that beautiful golden crust. Bake for 14-16 minutes, or until the scones are lightly golden on the bottom and just barely golden on top. They should feel firm to the touch but still soft in the center. Transfer to a cooling rack.
- Make the brown butter glaze : While the scones cool, make the glaze. Place the butter in a small saucepan over medium heat. Swirl the pan occasionally as the butter melts, foams, and then begins to turn golden. You will smell a nutty aroma, that is how you know it is working. Once the butter turns a deep amber color and you see brown specks forming at the bottom, remove it from the heat immediately. It can go from perfect to burnt in about 15 seconds, so do not walk away.
- Finish the glaze : Whisk the powdered sugar, maple syrup, and a pinch of salt into the browned butter. Add milk or cream one tablespoon at a time until the glaze reaches a thick but drizzling consistency. It should flow slowly off the whisk.
- Glaze the scones : Let the scones cool for at least 10 minutes before glazing. If they are too hot, the glaze will just slide right off. Drizzle the glaze generously over the tops, letting it run down the sides. Let the glaze set for about 5 minutes before serving.
One thing I learned the hard way: if your dough feels too sticky when you are shaping it, dust your hands with a little flour instead of adding more flour to the dough. It keeps the scones tender.
Cooking Tips & Techniques
I have made these scones probably a dozen times by now, and I have made every mistake you can imagine. Here is what I learned so you do not have to learn it the hard way.
Keep everything cold. This is the single most important tip for flaky scones. Cold butter creates steam pockets in the oven, which gives you those tender, flaky layers. If your kitchen is warm, pop the shaped scones in the freezer for 10 minutes before baking. It makes a real difference.
Do not overwork the dough. I know it is tempting to keep kneading until it looks smooth and perfect, but stop. Shaggy is good. Overworked dough develops gluten, and too much gluten makes scones tough and rubbery. You are not making bread here.
Watch the butter like a hawk. Browning butter is one of those things that seems simple until you burn it. Use a light-colored pan so you can actually see what is happening. Swirl it constantly once it starts foaming. The moment you see those brown specks and smell that nutty aroma, pull it off the heat. If you are unsure, err on the side of under-browning. You can always cook it a little longer, but you cannot un-burn it.
Let the scones cool before glazing. I know you are excited. I know they smell amazing. But if you glaze them while they are still hot, you will end up with a puddle of glaze on your baking sheet and bare scones. Wait at least 10 minutes. Use that time to make the glaze.
Multitask strategically. While the scones are baking, clean up your mixing bowl and get your glaze ingredients ready. That way, the moment they come out of the oven, you can start browning the butter while they cool. It makes the whole process feel seamless.
Variations & Adaptations
One of the best things about this recipe is how easy it is to adapt. Here are some variations I have tried and loved.
Pumpkin Chocolate Chip Scones : Fold 1/2 cup of dark chocolate chips into the dough right before shaping. The bitterness of the chocolate plays beautifully against the sweet maple and pumpkin. I did this on a whim one rainy afternoon and it has become my second favorite version.
Maple Pecan Scones : Toast 1/2 cup of chopped pecans and fold them into the dough. The crunch adds a lovely texture contrast, and pecans are basically fall in nut form. If you want to get really fancy, sprinkle extra pecans on top of the glaze while it is still wet.
Vegan Version : Substitute the cold butter with cold coconut oil and the heavy cream with full-fat coconut cream. The texture will be slightly different, more crumbly than flaky, but the flavor is still wonderful. Use a dairy-free milk in the glaze.
Gluten-Free Version : Use a 1-to-1 gluten-free flour blend. I have tested this with Bob’s Red Mill and it works, but the dough will be more delicate. Handle it gently and do not be surprised if the scones spread a little more than usual.
Spiced Maple Glaze : Add 1/4 teaspoon of pumpkin pie spice or cinnamon to the glaze for an extra layer of warmth. I do this when I want the scones to taste even more like autumn in a single bite.
Serving & Storage Suggestions
These scones are best served warm, about 10-15 minutes after glazing, when the glaze is still a little soft and the scone itself is tender. They are perfect with a hot cup of coffee, a chai latte, or even a glass of cold milk if you are feeling nostalgic.
For presentation, I like to arrange them on a wooden board or a simple white plate with a few cinnamon sticks and star anise scattered around. It looks beautiful without being fussy.
Storage : Store leftover scones in an airtight container at room temperature for up to 2 days. After that, they start to dry out. The glaze will soften over time, which is honestly not a bad thing, it kind of soaks into the scone and becomes this lovely sweet layer.
Freezing : You can freeze the unglazed scones for up to 3 months. Wrap them individually in plastic wrap and then place them in a freezer bag. To serve, thaw at room temperature and reheat in a 300°F (150°C) oven for about 5 minutes. Glaze after reheating.
Reheating : The best way to reheat a scone is in the oven or toaster oven. Microwaving works in a pinch but can make them rubbery. If you must use the microwave, do 10-second intervals and stop as soon as they are warm.
I will be honest, the flavor actually deepens on day two. The maple and pumpkin have time to meld together, and the scones become even more aromatic. If you can resist eating them all on day one, you are a stronger person than I am.
Nutritional Information & Benefits
Here is the estimated nutritional breakdown for one scone (with glaze), based on 8 servings. Keep in mind these are estimates and will vary based on exact ingredients and portion sizes.
| Nutrient | Amount per Scone |
|---|---|
| Calories | ~380 |
| Total Fat | 20g |
| Saturated Fat | 12g |
| Carbohydrates | 46g |
| Fiber | 2g |
| Sugar | 24g |
| Protein | 4g |
| Vitamin A | 45% DV |
Pumpkin is packed with vitamin A, which supports eye health and immune function. It is also a good source of fiber, which helps keep you full and satisfied. The maple syrup provides a more natural sweetness than refined sugar, though it is still sugar, so moderation is key.
These scones are vegetarian and can be made vegan or gluten-free with the substitutions mentioned above. They contain dairy and gluten in their standard form.
I do not pretend these are health food. They are a treat. But using real ingredients and making them from scratch means you know exactly what is going into your body. That counts for something.
Conclusion
These maple pumpkin scones with brown butter glaze are everything I want in a fall recipe. They are warm, spiced, not too sweet, and deeply satisfying in a way that feels like a hug in food form. The brown butter glaze takes them from good to unforgettable, and the whole thing comes together in about 35 minutes.
I love that this recipe is flexible. You can add chocolate chips, swap in pecans, make it gluten-free, or keep it classic. It works for breakfast, brunch, or an afternoon snack with tea. It is the kind of recipe that feels special without being stressful.
If you make these scones, I would love to hear about it. Leave a comment below and tell me how they turned out, what variations you tried, or if you made any tweaks. Honestly, some of the best versions of this recipe have come from reader suggestions. And if you share a photo on Pinterest, tag me so I can see your beautiful creations.
Go ahead, preheat that oven. Your kitchen is about to smell incredible.
Frequently Asked Questions
Can I use canned pumpkin pie filling instead of pumpkin puree?
No. Pumpkin pie filling is pre-sweetened and spiced, which will throw off the sugar and spice balance in this recipe. Stick with plain pumpkin puree. If you only have pie filling, reduce the sugar and spices in the recipe, but honestly, it is easier to just buy the right thing.
Why did my scones turn out dry?
Dry scones usually come from one of three issues: too much flour, overmixing, or overbaking. Make sure you are spooning and leveling your flour, not scooping it. Mix just until the dough comes together, and pull the scones out of the oven when they are just barely golden. They will continue to bake slightly on the hot baking sheet.
Can I make the dough ahead of time?
Yes. You can shape the scones and refrigerate them on the baking sheet for up to 24 hours before baking. You may need to add a minute or two to the baking time if they go in cold. You can also freeze the shaped, unbaked scones for up to 3 months and bake them directly from frozen, adding 2-3 minutes to the baking time.
My brown butter burned. Can I still use it?
If it smells burnt and looks dark brown verging on black, unfortunately, you need to start over. Burnt butter tastes bitter and will ruin the glaze. If it is just slightly darker than you wanted, it is probably fine. The flavor will be more intense, but still delicious. Next time, use a light-colored pan and watch it closely.
Can I skip the brown butter and use regular melted butter for the glaze?
You can, but you will lose that nutty, caramelized depth that makes this glaze so special. If you are short on time, just melt the butter without browning it and add a tiny pinch of cinnamon to compensate. It will still be good, just not quite as magical.
Pin This Recipe!
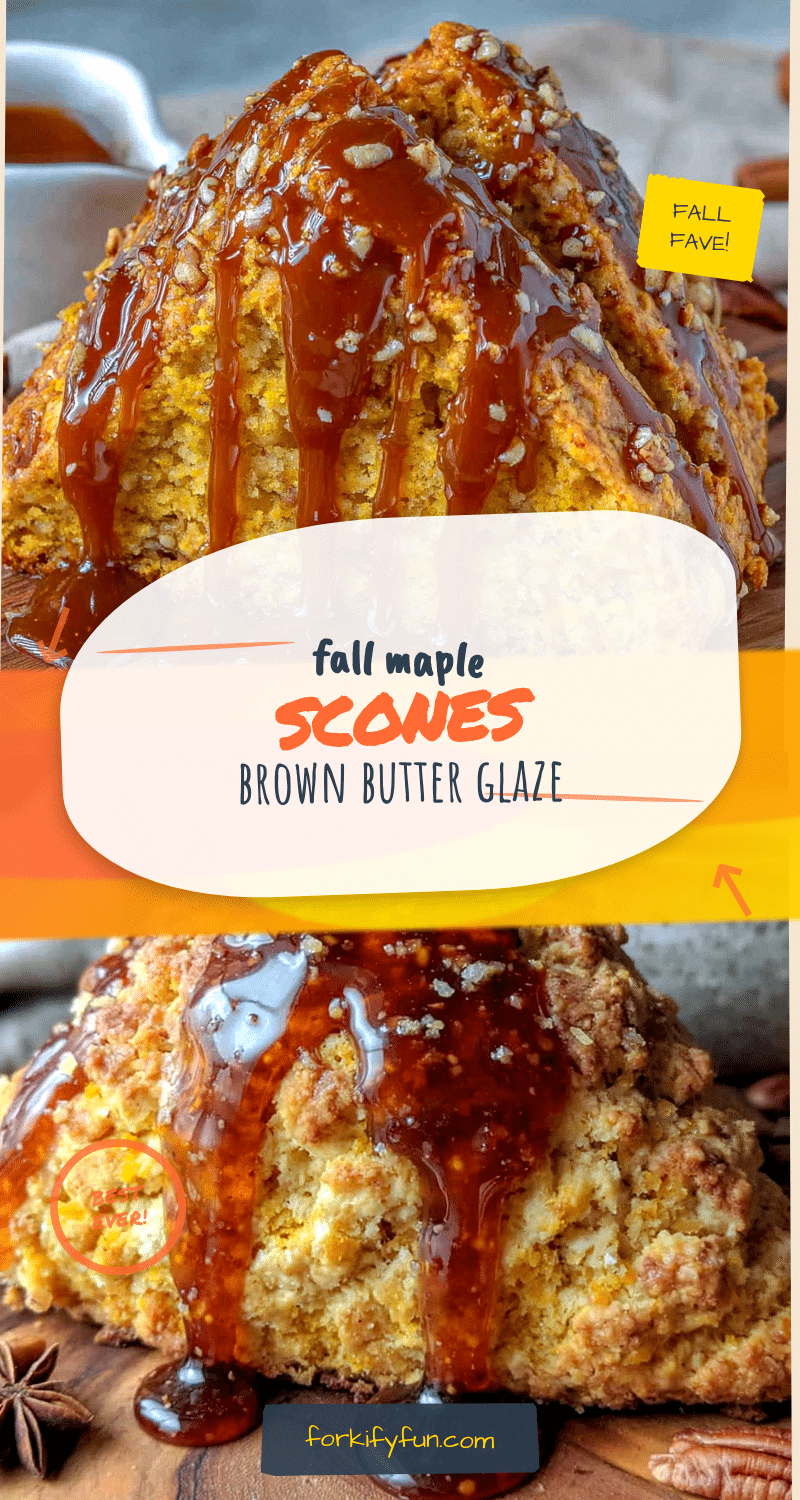
Cozy Maple Pumpkin Scones with Easy Brown Butter Glaze
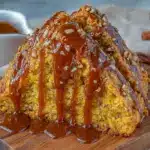
These maple pumpkin scones are tender, flaky, and topped with a nutty brown butter glaze. Ready in about 35 minutes, they are the perfect fall treat for breakfast, brunch, or an afternoon snack with tea.
- Prep Time: 15 minutes
- Cook Time: 16 minutes
- Total Time: 35 minutes
- Yield: 8 servings 1x
- Category: Breakfast
- Cuisine: American
Ingredients
- 2 cups (250g) all-purpose flour
- 1/3 cup (65g) granulated sugar
- 1 tablespoon baking powder
- 1 teaspoon pumpkin pie spice
- 1/2 teaspoon ground cinnamon
- 1/2 teaspoon salt
- 1/2 cup (113g, 1 stick) cold unsalted butter, cut into small cubes
- 1/2 cup (120ml) heavy cream, plus extra for brushing
- 1/3 cup (80g) pure pumpkin puree
- 1/4 cup (60ml) pure maple syrup
- 1 teaspoon vanilla extract
- 1/4 cup (57g, half a stick) unsalted butter (for glaze)
- 1 cup (120g) powdered sugar
- 2 tablespoons (30ml) pure maple syrup (for glaze)
- 1–2 tablespoons (15-30ml) milk or heavy cream (for glaze)
- Pinch of salt (for glaze)
Instructions
- Preheat oven to 400°F (200°C). Line a baking sheet with parchment paper.
- In a large bowl, whisk together flour, sugar, baking powder, pumpkin pie spice, cinnamon, and salt.
- Add cold cubed butter to the flour mixture. Using a pastry cutter or two forks, cut the butter into the flour until the mixture resembles coarse meal with pea-sized butter pieces.
- In a separate small bowl, whisk together heavy cream, pumpkin puree, maple syrup, and vanilla extract until smooth.
- Pour the wet mixture into the dry mixture. Stir with a fork or spatula just until the dough comes together (it will look shaggy).
- Turn the dough out onto a lightly floured surface. Gently bring it together with your hands, patting into a circle about 3/4 inch thick.
- Using a bench scraper or sharp knife, cut the circle into 8 wedges. Transfer to the prepared baking sheet, spacing about 2 inches apart.
- Brush the tops of the scones with a little extra heavy cream. Bake for 14-16 minutes, until lightly golden on the bottom and just barely golden on top. Transfer to a cooling rack.
- While the scones cool, make the glaze: Place butter in a small saucepan over medium heat. Swirl occasionally as the butter melts, foams, and turns golden. Once it turns a deep amber color with brown specks, remove from heat immediately.
- Whisk powdered sugar, maple syrup, and a pinch of salt into the browned butter. Add milk or cream one tablespoon at a time until the glaze reaches a thick but drizzling consistency.
- Let scones cool for at least 10 minutes. Drizzle glaze generously over the tops, letting it run down the sides. Let glaze set for about 5 minutes before serving.
Notes
Keep all ingredients cold for flaky scones. Do not overmix the dough. Watch the butter closely when browning to avoid burning. Let scones cool before glazing. For best results, use real maple syrup and pure pumpkin puree.
Nutrition
- Serving Size: 1 scone
- Calories: 380
- Sugar: 24
- Sodium: 320
- Fat: 20
- Saturated Fat: 12
- Carbohydrates: 46
- Fiber: 2
- Protein: 4
Keywords: maple pumpkin scones, brown butter glaze, fall scones, pumpkin scones, easy scone recipe