It was 11:47 PM on a random Wednesday, and I had a cookie craving that felt almost aggressive. You ever get that? Where the usual chocolate chip cookie just won’t cut it? I didn’t have the patience for a classic recipe that night. I wanted something deeper, something with a little edge, something that tasted like it had been thinking about life. I had butter in the fridge, a bag of chocolate chips I was hoarding, and a jar of espresso powder I’d bought for a cake I never ended up making. And then it hit me—brown the butter. Toss in the espresso. Make the cookie that keeps you up at night for the right reasons.
I pulled out my favorite mixing bowl (the one with the tiny chip on the rim, don’t judge) and just went for it. I honestly didn’t know if the brown butter would make the cookies too flat or if the espresso would overpower everything. But there’s something about cooking after midnight that silences the inner critic. You’re not trying to impress anyone. You’re just chasing a flavor. I browned the butter on medium heat, watching it foam and turn the color of hazelnuts, and the smell—honestly, it was like the kitchen let out a deep sigh. I added the espresso powder to the warm butter, let it dissolve, and I knew right then I was onto something.
The dough came together in a weird, quiet rush. I forgot to chill it (classic late-night move), scooped it anyway, and threw a tray into the oven. When they came out, the edges were crisp, the centers were soft, and that nutty, coffee-kissed flavor hit me right in the chest. I stood there in my pajamas, eating a cookie that was way too hot, burning my tongue, and I didn’t care one bit. Maybe you’ve been there—where a random kitchen experiment turns into your new favorite thing. That’s this cookie. It’s the one you’ll make at 11 PM on a Tuesday and then again on Saturday afternoon for everyone you love.
Why You’ll Love This Recipe
Let me tell you, I’ve tested a lot of cookie recipes in my time. Some turn out like hockey pucks, and others spread into one giant sugary pancake. But these Chewy Brown Butter Espresso Chocolate Chip Cookies? They hit every single note. I’m a recipe developer who obsesses over texture, and these are the real deal—chewy in the center, crisp at the edges, and packed with a flavor that keeps you coming back for “just one more.”
- Quick & Easy: From start to finish, you’re looking at about 30 minutes of active work. The dough needs a quick chill (30 minutes, max), so you can have warm cookies in under an hour. Perfect for a sudden craving or a last-minute dessert.
- Simple Ingredients: No weird specialty flours or hard-to-find extracts. Butter, sugar, eggs, flour, chocolate chips, and a jar of espresso powder. You probably have most of this in your kitchen right now.
- Perfect for Any Occasion: These cookies work for a cozy night in, a holiday cookie swap, or a fancy brunch spread. They look impressive but feel totally approachable.
- Crowd-Pleaser: I’ve brought these to parties, and they disappear faster than anything else on the table. Kids love them, adults love them, and coffee snobs give you a knowing nod.
- Unbelievably Delicious: The brown butter adds a nutty, toasty depth that regular cookies just can’t touch. The espresso doesn’t make them taste like coffee—it amplifies the chocolate, making it taste richer and more complex.
What makes these different from every other chocolate chip cookie recipe out there? It’s the technique. Browning the butter and dissolving the espresso powder into it while it’s warm is a game-changer. It’s not just a flavor addition; it’s a chemical shift. The milk solids in the butter toast, creating a deep, almost caramel-like note, while the espresso acts as a natural flavor enhancer. This isn’t just another cookie. It’s the cookie you’ll remember.
What Ingredients You Will Need
This recipe uses simple, wholesome ingredients to deliver a cookie that tastes like you spent hours in a bakery kitchen. The magic happens in the details—brown butter, good chocolate, and a pinch of espresso that changes everything.
- 1 cup (2 sticks / 226g) unsalted butter – I use Land O’Lakes or Kerrygold for the best flavor. The butter is the star here, so don’t skimp. You’ll be browning it, which concentrates the flavor.
- 2 ¼ cups (280g) all-purpose flour – Spoon and level your flour. Scooping directly from the bag packs it down and makes cookies dry. (Trust me, I learned this the hard way.)
- 1 teaspoon baking soda – Helps the cookies spread just enough and gives them that chewy texture.
- ½ teaspoon salt – Use fine sea salt. It balances the sweetness and makes the chocolate pop.
- 1 cup (200g) packed light brown sugar – Brown sugar brings moisture and that subtle molasses flavor that pairs beautifully with brown butter.
- ½ cup (100g) granulated sugar – White sugar helps with spread and gives the edges a slight crispiness.
- 2 large eggs, room temperature – Room temperature eggs mix in more evenly, creating a smoother dough. Take them out 30 minutes before you start.
- 2 teaspoons vanilla extract – Pure vanilla, not imitation. It rounds out the coffee and chocolate flavors.
- 2 tablespoons instant espresso powder – I recommend King Arthur Flour or Medaglia d’Oro. Do not use ground coffee—it will be gritty. The espresso powder dissolves into the butter for a smooth, rich taste.
- 2 cups (340g) semi-sweet chocolate chips or chunks – I love Ghirardelli or Guittard. Chop a bar into chunks for those melty pools of chocolate. Use dark chocolate if you want a less sweet cookie.
- Flaky sea salt, for finishing (optional but recommended) – A sprinkle on top before baking makes a huge difference. It cuts the sweetness and adds a little crunch.
Substitution Guidance: Need a gluten-free version? Swap the all-purpose flour for a 1:1 gluten-free baking flour (I like Bob’s Red Mill). For a dairy-free option, use a high-quality vegan butter stick, but note that it won’t brown the same way. You can skip the espresso powder if you must, but honestly, it’s what makes these cookies sing.
Equipment Needed
You don’t need a fancy bakery setup for these cookies, but a few key tools make the process smoother. Here’s what you’ll want on hand:
- Medium saucepan – For browning the butter. Use a light-colored pan so you can see the color change.
- Large mixing bowl – I prefer a stainless steel or glass bowl. Plastic can absorb smells, and we want that pure brown butter aroma.
- Whisk – For mixing the wet ingredients and breaking up any lumps.
- Rubber spatula – For folding in the chocolate chips and scraping every last bit of dough.
- Baking sheets – Two standard half-sheet pans work great. Line them with parchment paper for easy cleanup.
- Cookie scoop – A 1.5-tablespoon scoop gives you uniform cookies that bake evenly. If you don’t have one, use two spoons.
- Cooling rack – Lets air circulate under the cookies so they don’t get soggy on the bottom.
- Fine-mesh sieve – Optional, but useful if you want to dust the cookies with a little extra espresso powder or powdered sugar before serving.
I’ve made these cookies with a cheap baking sheet and a wooden spoon, and they still turned out amazing. Don’t stress if you don’t have every tool. The most important thing is a reliable oven thermometer—ovens lie, and accurate temperature is key for chewy cookies.
Preparation Method
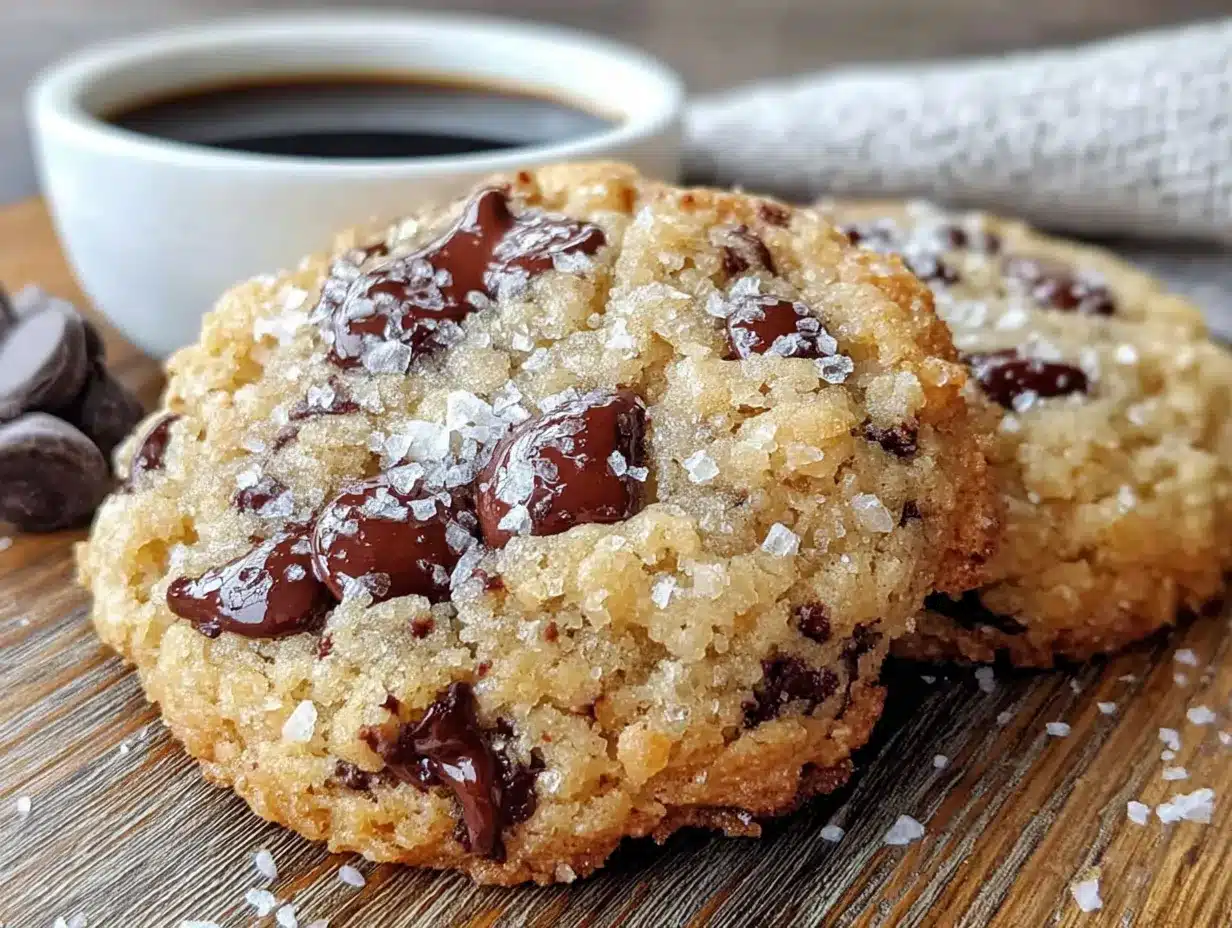
Let’s get into the nitty-gritty. Follow these steps closely, and you’ll have a tray of perfect cookies in no time.
- Brown the butter: Place the 1 cup of unsalted butter in a medium saucepan over medium heat. Melt it completely, then continue cooking, swirling the pan occasionally. The butter will foam up, then subside, and you’ll see brown specks forming at the bottom. This takes about 5-7 minutes. The moment it smells nutty and turns a golden-amber color, remove it from the heat. Don’t walk away—it can go from perfect to burnt in seconds. Pour it into a heatproof bowl to stop the cooking process.
- Dissolve the espresso: While the butter is still warm (but not boiling), add the 2 tablespoons of instant espresso powder. Whisk until completely dissolved. The mixture will look dark and glossy. Set it aside to cool for 10 minutes. It should be warm but not hot—you don’t want to cook the eggs later.
- Mix the dry ingredients: In a medium bowl, whisk together the 2 ¼ cups all-purpose flour, 1 teaspoon baking soda, and ½ teaspoon salt. Set aside.
- Combine the sugars and butter: In a large mixing bowl, add the 1 cup packed brown sugar and ½ cup granulated sugar. Pour the cooled brown butter mixture over the sugars. Whisk vigorously for about 2 minutes until the mixture looks like wet sand and is slightly thickened. This step aerates the dough and helps create that chewy texture.
- Add the eggs and vanilla: Crack the 2 room-temperature eggs into the bowl, then add the 2 teaspoons vanilla extract. Whisk until the mixture is smooth, pale, and slightly fluffy—about 1 minute. The batter should look like a thick caramel sauce.
- Fold in the dry ingredients: Switch to your rubber spatula. Add the flour mixture in two additions, folding gently after each. Stop as soon as you no longer see streaks of flour. Overmixing develops gluten, which makes cookies tough. You want a soft, shaggy dough.
- Add the chocolate: Fold in the 2 cups of chocolate chips or chunks. Make sure they’re evenly distributed. The dough will be thick and slightly sticky—that’s perfect.
- Chill the dough: Cover the bowl with plastic wrap and refrigerate for at least 30 minutes. This step is non-negotiable if you want chewy cookies. Chilling solidifies the butter, which prevents the cookies from spreading too thin in the oven. You can chill it for up to 72 hours; the flavor only gets better.
- Preheat and prep: While the dough chills, preheat your oven to 350°F (175°C). Line two baking sheets with parchment paper.
- Scoop and bake: Use your cookie scoop to portion out rounded tablespoons of dough (about 1.5 tablespoons each). Place them 2 inches apart on the prepared baking sheets. If you want that bakery-style look, press a few extra chocolate chips onto the tops of the dough balls. Sprinkle with flaky sea salt if using. Bake for 10-12 minutes. The edges should be golden and set, but the centers will look slightly underdone and puffy. They will continue to set on the baking sheet.
- Cool and enjoy: Let the cookies cool on the baking sheet for 5 minutes. This is crucial—it allows them to firm up without becoming hard. Then transfer them to a cooling rack. Eat one warm. You’ve earned it.
Cooking Tips & Techniques
I’ve made these cookies at least a dozen times, and I’ve learned a few things the hard way. Let me save you some trouble.
Watch the butter like a hawk: The first time I made brown butter cookies, I got distracted by a phone call. The butter went from brown to black in less than a minute. Burnt butter is bitter and ruins the whole batch. Keep your eyes on the pan, and when you see those brown specks form, pull it off the heat immediately. Pour it into a cool bowl to stop the cooking.
Don’t skip the chill: I know, I know—you want cookies now. But if you bake the dough straight from mixing, the butter is too warm, and the cookies will spread into thin, crispy discs. Thirty minutes in the fridge makes all the difference. If you’re in a rush, pop the dough in the freezer for 15 minutes. It works in a pinch.
Use a cookie scoop for consistency: I used to eyeball my cookie portions, and I’d end up with some tiny, overcooked ones and some giant, doughy ones. A scoop gives you uniform cookies that bake evenly. Plus, it’s faster and less messy.
The underbake trick: Pull the cookies out when the centers still look slightly puffy and soft. They’ll look underdone, but trust me—they’ll set into perfectly chewy cookies as they cool. Overbaking is the #1 reason cookies turn out dry and crumbly.
Multitasking strategy: While the dough chills, clean up your dishes and preheat the oven. It makes the process feel seamless. I also like to scoop all the dough balls onto a parchment-lined tray before baking so I can just pop them in the oven in batches.
Variations & Adaptations
This recipe is a fantastic base for experimentation. Here are a few ways I’ve played with it over the years.
- Double Chocolate Version: Replace ¼ cup of the all-purpose flour with ¼ cup of unsweetened cocoa powder. The espresso and chocolate become a mocha dream. Use white chocolate chips for a striking contrast.
- Nutty Crunch: Fold in ½ cup of toasted, chopped pecans or walnuts along with the chocolate chips. The nuttiness of the brown butter gets a textural echo. I did this for a holiday party, and they were gone in 20 minutes.
- Gluten-Free Adaptation: Swap the all-purpose flour for a 1:1 gluten-free baking blend. I’ve tested this with Bob’s Red Mill, and the texture is surprisingly close to the original. Make sure your blend contains xanthan gum for structure.
- Vegan Option: Use a high-quality vegan butter stick (like Miyoko’s) and a flax egg (1 tablespoon ground flaxseed mixed with 3 tablespoons water, rested for 5 minutes). The vegan butter won’t brown as deeply, but it still adds a nice toasty flavor. The texture will be slightly more cake-like, but still delicious.
- Spiced Variation: Add 1 teaspoon of cinnamon and ½ teaspoon of cardamom to the dry ingredients. The warm spices complement the espresso and chocolate beautifully. I made this version during fall, and it felt like a cozy sweater in cookie form.
Serving & Storage Suggestions
These cookies are best served warm, when the chocolate is still a little melty and the edges are crisp. I like to serve them with a cold glass of milk or a hot latte—the contrast is perfect. For a dessert spread, pair them with vanilla ice cream and a drizzle of caramel sauce. They also make fantastic ice cream sandwiches; just sandwich a scoop of coffee or vanilla ice cream between two cookies and freeze for an hour.
Storage Instructions: Store baked cookies in an airtight container at room temperature for up to 5 days. They’ll stay soft and chewy. To keep them extra moist, add a slice of bread to the container—the cookies will absorb the moisture from the bread. (It sounds weird, but it works.)
Freezing Instructions: You can freeze the baked cookies for up to 3 months. Wrap them individually in plastic wrap, then place them in a freezer bag. Thaw at room temperature for 15 minutes. Alternatively, freeze the unbaked dough balls on a baking sheet, then transfer them to a freezer bag. Bake directly from frozen, adding 2 minutes to the baking time. This is my go-to for last-minute cookie emergencies.
Reheating: Pop a cookie in the microwave for 10 seconds to get that just-baked warmth. For a crispier edge, reheat in a 300°F (150°C) oven for 5 minutes.
Nutritional Information & Benefits
Let’s be real—these are cookies, not health food. But they do have a few redeeming qualities. Here’s an estimated breakdown per cookie (based on 24 cookies):
- Calories: 210
- Fat: 12g
- Saturated Fat: 7g
- Carbohydrates: 26g
- Sugar: 17g
- Protein: 3g
- Fiber: 1g
The brown butter adds a small amount of vitamin A and healthy fats, while the dark chocolate provides antioxidants and a little magnesium. The espresso powder gives you a tiny caffeine boost—about 5mg per cookie, which is negligible but might make you feel more alert. If you’re watching your sugar intake, you can reduce the granulated sugar to ¼ cup, but the texture will be slightly less crisp. These cookies are not gluten-free or vegan (unless adapted), but they are nut-free if you skip the nuts in the variations. As always, enjoy them in moderation as part of a balanced diet. I believe in eating the cookie and then eating a salad—no guilt, just balance.
Conclusion
These Chewy Brown Butter Espresso Chocolate Chip Cookies are the kind of recipe that becomes a staple. They’re not just another cookie; they’re the one you’ll make when you want to impress someone, comfort yourself, or just enjoy a really good dessert. The brown butter adds a nutty depth, the espresso makes the chocolate taste richer, and the texture is that perfect chewy-crisp balance that’s hard to find. I’ve made them for friends, for family, and for myself on quiet nights, and they’ve never let me down.
I hope you give them a try and make them your own. Maybe add a little extra salt, or swap in dark chocolate chunks, or double the espresso because you’re feeling bold. That’s the beauty of a good recipe—it’s a starting point, not a rulebook. I’d love to hear how they turn out for you. Leave a comment below and tell me about your own late-night kitchen experiments or your favorite variation. And if you share them on social media, tag me—I want to see your beautiful cookies!
Happy baking, my friend. May your butter always brown perfectly and your cookies always be chewy.
Frequently Asked Questions
Can I use regular coffee instead of espresso powder?
I wouldn’t recommend it. Regular ground coffee won’t dissolve properly and will leave a gritty texture in your cookies. Instant espresso powder is specifically designed to dissolve in liquid and gives a smooth, concentrated flavor. If you don’t have espresso powder, you can skip it, but the cookies won’t have that same depth.
Why did my cookies turn out flat?
Flat cookies usually mean the butter was too warm or the dough wasn’t chilled long enough. Make sure you cool the brown butter before mixing it with the eggs, and always chill the dough for at least 30 minutes. Also, check that your baking soda is fresh—old baking soda loses its leavening power.
Can I make the dough ahead of time?
Absolutely! The dough can be refrigerated for up to 72 hours. In fact, the flavor deepens as it sits. You can also freeze the dough balls for up to 3 months. Just bake them straight from frozen, adding a couple of minutes to the baking time.
How do I get that bakery-style look with the chocolate on top?
After you scoop the dough balls, press a few extra chocolate chips or chunks onto the tops. This ensures you see beautiful chocolate pools on the surface after baking. It’s a small step that makes a big visual difference.
Can I reduce the sugar in this recipe?
You can reduce the granulated sugar to ¼ cup, but keep the brown sugar at 1 cup. Brown sugar adds moisture and helps with the chewy texture. Reducing sugar too much will affect the spread and texture of the cookies. If you’re looking for a lower-sugar option, try using a sugar substitute like monk fruit sweetener, but the results may vary.
Pin This Recipe!
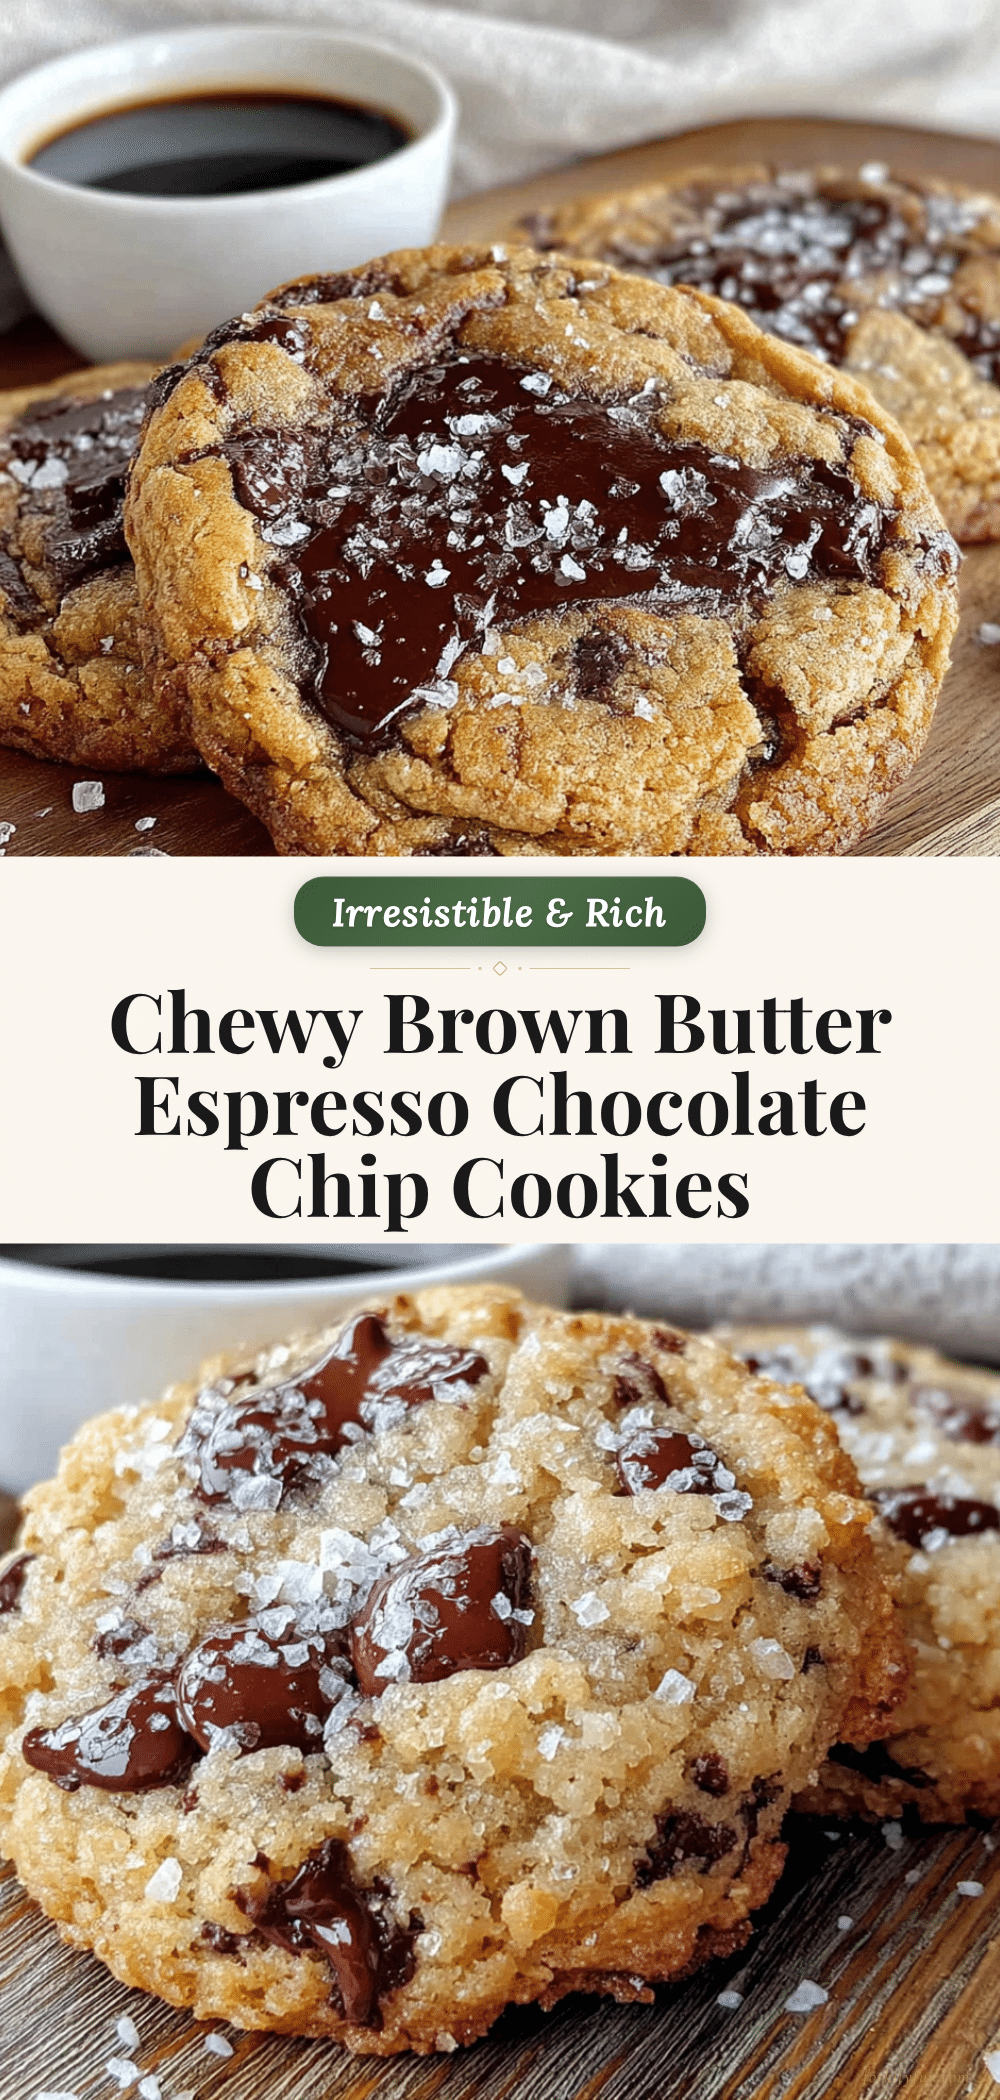
Chewy Brown Butter Espresso Chocolate Chip Cookies Recipe

These chewy brown butter espresso chocolate chip cookies are the perfect late-night treat. With nutty brown butter, rich espresso, and melty chocolate, they deliver a deep, complex flavor that will keep you coming back for more.
- Prep Time: 30 minutes
- Cook Time: 12 minutes
- Total Time: 1 hour 12 minutes
- Yield: 24 cookies 1x
- Category: Dessert
- Cuisine: American
Ingredients
- 1 cup (2 sticks / 226g) unsalted butter
- 2 ¼ cups (280g) all-purpose flour
- 1 teaspoon baking soda
- ½ teaspoon fine sea salt
- 1 cup (200g) packed light brown sugar
- ½ cup (100g) granulated sugar
- 2 large eggs, room temperature
- 2 teaspoons pure vanilla extract
- 2 tablespoons instant espresso powder
- 2 cups (340g) semi-sweet chocolate chips or chunks
- Flaky sea salt, for finishing (optional)
Instructions
- Brown the butter: Place the 1 cup of unsalted butter in a medium saucepan over medium heat. Melt it completely, then continue cooking, swirling the pan occasionally. The butter will foam up, then subside, and you’ll see brown specks forming at the bottom. This takes about 5-7 minutes. The moment it smells nutty and turns a golden-amber color, remove it from the heat. Pour it into a heatproof bowl to stop the cooking process.
- Dissolve the espresso: While the butter is still warm (but not boiling), add the 2 tablespoons of instant espresso powder. Whisk until completely dissolved. The mixture will look dark and glossy. Set it aside to cool for 10 minutes. It should be warm but not hot—you don’t want to cook the eggs later.
- Mix the dry ingredients: In a medium bowl, whisk together the 2 ¼ cups all-purpose flour, 1 teaspoon baking soda, and ½ teaspoon salt. Set aside.
- Combine the sugars and butter: In a large mixing bowl, add the 1 cup packed brown sugar and ½ cup granulated sugar. Pour the cooled brown butter mixture over the sugars. Whisk vigorously for about 2 minutes until the mixture looks like wet sand and is slightly thickened.
- Add the eggs and vanilla: Crack the 2 room-temperature eggs into the bowl, then add the 2 teaspoons vanilla extract. Whisk until the mixture is smooth, pale, and slightly fluffy—about 1 minute.
- Fold in the dry ingredients: Switch to your rubber spatula. Add the flour mixture in two additions, folding gently after each. Stop as soon as you no longer see streaks of flour.
- Add the chocolate: Fold in the 2 cups of chocolate chips or chunks. Make sure they’re evenly distributed.
- Chill the dough: Cover the bowl with plastic wrap and refrigerate for at least 30 minutes.
- Preheat and prep: While the dough chills, preheat your oven to 350°F (175°C). Line two baking sheets with parchment paper.
- Scoop and bake: Use your cookie scoop to portion out rounded tablespoons of dough (about 1.5 tablespoons each). Place them 2 inches apart on the prepared baking sheets. If desired, press a few extra chocolate chips onto the tops of the dough balls. Sprinkle with flaky sea salt if using. Bake for 10-12 minutes. The edges should be golden and set, but the centers will look slightly underdone and puffy.
- Cool and enjoy: Let the cookies cool on the baking sheet for 5 minutes. Then transfer them to a cooling rack.
Notes
Watch the butter carefully to avoid burning. Do not skip chilling the dough for at least 30 minutes. For bakery-style look, press extra chocolate chips on top before baking. Cookies can be stored in an airtight container at room temperature for up to 5 days. Freeze baked cookies for up to 3 months or unbaked dough balls for up to 3 months.
Nutrition
- Serving Size: 1 cookie
- Calories: 210
- Sugar: 17
- Sodium: 120
- Fat: 12
- Saturated Fat: 7
- Carbohydrates: 26
- Fiber: 1
- Protein: 3
Keywords: brown butter cookies, espresso chocolate chip cookies, chewy cookies, chocolate chip cookies, coffee cookies


