My brother showed up at my door thirty minutes before kickoff with a six-pack and a look that said, “I didn’t eat lunch.” The fridge held half an onion, a block of cheddar, and some ground beef I’d planned to turn into meatballs the next day. The pantry wasn’t much better — a bag of tortilla chips, a can of Ro-Tel, and a jar of pickled jalapeños. Game day food needed to happen fast, and I was not about to order pizza.
So I did what any slightly panicked home cook would do — I started browning the beef while yelling questions about how spicy he wanted the queso. Fifteen minutes later, we were on the couch with a sheet pan piled high with the best loaded football nachos I’ve ever made. The kind where every single chip has something on it. No naked chips at the bottom. That’s a non-negotiable for me.
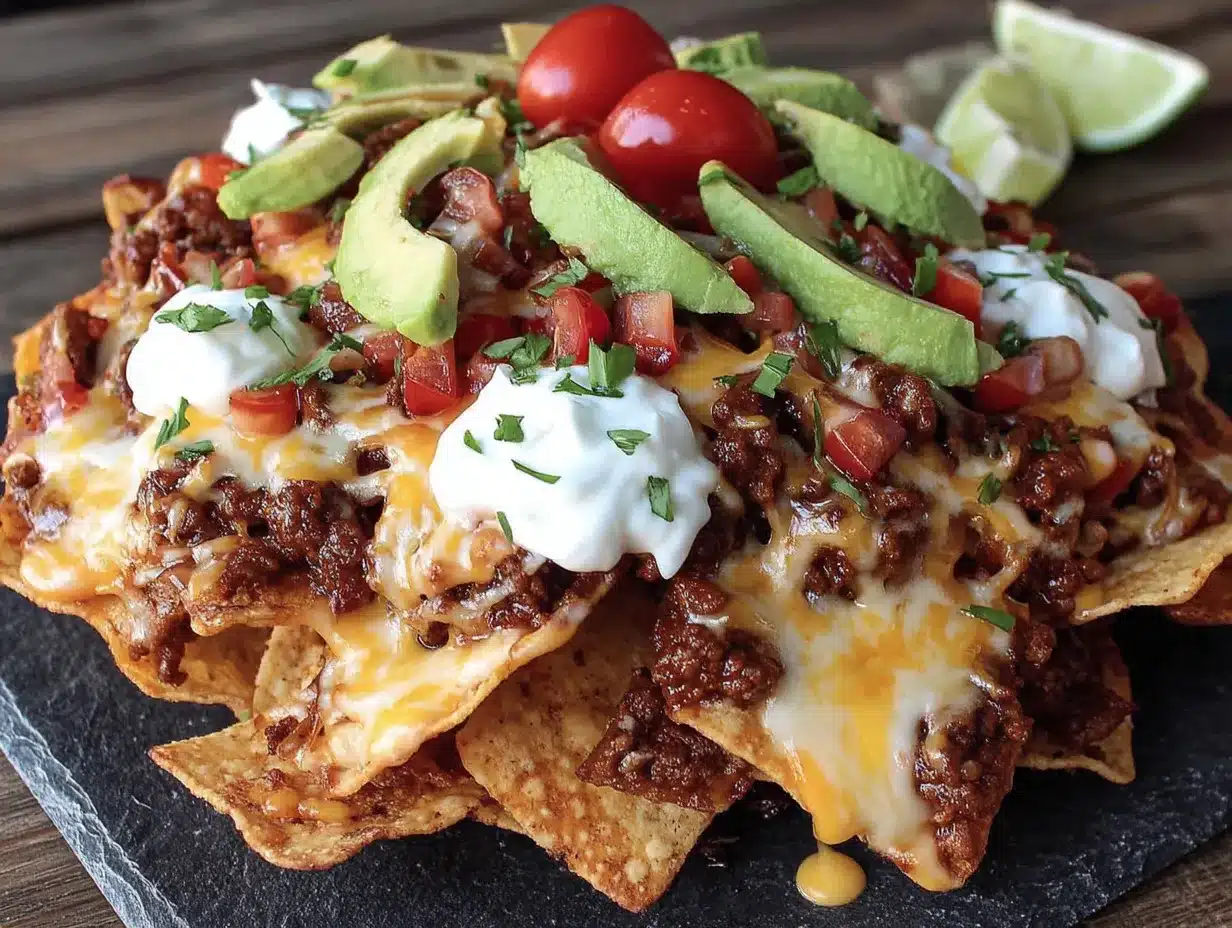
This recipe for the Best Loaded Football Nachos with Ground Beef & Queso wasn’t planned, but honestly, it should have been. It’s everything you want when you’re watching the game — cheesy, meaty, a little bit spicy, and dangerously easy to keep eating. The queso comes together in one pot while the beef simmers with chili spices, and the whole thing bakes into a glorious, messy tray of perfection. I’ve made it for every game night since, and it never lasts past halftime.
Why You’ll Love This Recipe
These aren’t your average nachos. I’ve tested this recipe at least six times to get the balance right — enough queso to coat every chip, beef that’s seasoned but not overpowering, and toppings that add freshness without making everything soggy. Here’s why this version stands out:
- Quick & Easy : From fridge to table in under 30 minutes. Perfect for when you’re scrambling before kickoff.
- Simple Ingredients : Ground beef, cheese, chips, and pantry spices. No fancy grocery store runs needed.
- Perfect for Game Day : This is the kind of food that disappears during commercials. Great for parties, playoffs, or a quiet Sunday with the family.
- Crowd-Pleaser : Kids love the cheesy factor, adults love the heat from the jalapeños. Everyone wins.
- Unbelievably Delicious : The homemade queso is silky, the beef is smoky, and the crunch of the chips holds up even after baking. It’s next-level comfort food.
What makes this recipe different is the layering. Most nacho recipes just dump everything on top and hope for the best. I layer chips, cheese, beef, more chips, more cheese — so every bite is loaded. Plus, the queso is made from scratch with real cheese, not that processed stuff. It melts smoother and tastes way better. Trust me, once you make queso this way, you won’t go back.
This is the kind of dish that makes you close your eyes after the first bite. It’s salty, rich, and satisfying in a way that feels like a warm blanket on a cold day. Perfect for impressing friends without stress, or turning a regular Sunday into something memorable.
What Ingredients You Will Need
This recipe uses simple, everyday ingredients to deliver bold flavor and satisfying crunch. Most of these are pantry staples or easy to find at any grocery store. I’ve included a few substitution notes to make this work for different diets or preferences.
For the Ground Beef
- 1 lb ground beef (80/20 works best for flavor; drain excess fat after cooking)
- 1 tablespoon chili powder (I prefer McCormick for a balanced heat)
- 1 teaspoon cumin (adds earthy warmth)
- 1 teaspoon smoked paprika (gives that subtle campfire flavor)
- 1/2 teaspoon garlic powder
- 1/2 teaspoon onion powder
- 1/2 teaspoon salt
- 1/4 teaspoon black pepper
- 1/2 cup water (helps the spices bloom and keeps the beef moist)
For the Queso
- 2 tablespoons unsalted butter
- 2 tablespoons all-purpose flour (creates a roux for a smooth, stable cheese sauce)
- 1 cup whole milk (or 2%; avoid skim for the best texture)
- 8 oz block sharp cheddar cheese, shredded (pre-shredded cheese has anti-caking agents that make queso grainy — shred your own!)
- 4 oz block Monterey Jack cheese, shredded (for extra creaminess)
- 1 (10 oz) can Ro-Tel tomatoes & green chilies, drained (adds tang and mild heat)
- 1/4 teaspoon cayenne pepper (optional, for extra kick)
For the Nachos
- 1 large bag (13-16 oz) restaurant-style tortilla chips (look for sturdy chips that won’t break under the weight; I like Tostitos Scoops for maximum topping capture)
- 1 cup shredded Mexican blend cheese (for layering between chips)
- 1/2 cup pickled jalapeños (adds acidity and heat)
- 1/2 cup black beans, drained and rinsed (optional, for extra fiber and heartiness)
For Toppings
- 1/2 cup sour cream
- 1/2 cup pico de gallo or fresh salsa
- 1 avocado, diced (or guacamole)
- 1/4 cup fresh cilantro, chopped
- 1 lime, cut into wedges
If you want to lighten things up, you can swap the ground beef for ground turkey or a plant-based crumble. For a spicier version, use hot Ro-Tel and add an extra pinch of cayenne. The queso can also be made with pepper jack instead of Monterey Jack for more heat.
Equipment Needed
You don’t need a lot of fancy tools for these nachos, which is part of the beauty. Here’s what you’ll need:
- Large skillet (for browning the beef and making the queso; I use a 12-inch non-stick)
- Half-sheet pan (standard 18×13 inch baking sheet — fits perfectly for nachos)
- Medium saucepan (if you prefer to make queso separately while the beef cooks)
- Whisk (for smoothing out the queso roux)
- Cheese grater (please shred your own cheese — it makes a real difference)
- Cutting board and knife (for prepping toppings)
- Spatula or wooden spoon
If you don’t have a half-sheet pan, a large oven-safe skillet or a 9×13 baking dish works fine. Just spread the chips in a single layer as much as possible. I’ve also made these on a grill-safe pan when I wanted to cook outside during a summer game — worked like a charm.
One tip: invest in a good whisk for the queso. I learned the hard way that lumps in cheese sauce are not fixable once they form. A whisk helps you incorporate the milk into the roux smoothly, and that’s the secret to a silky finish.
Preparation Method
Let’s get cooking. This whole process takes about 25 minutes from start to finish, and most of it happens simultaneously. I’ll walk you through each step so you don’t end up with sad, soggy nachos.
Step 1: Brown the Beef (5-7 minutes)
Heat your large skillet over medium-high heat. Add the ground beef and break it up with a spatula. Cook until browned, about 5 minutes, stirring occasionally. Drain off excess fat, leaving about a tablespoon in the pan for flavor. Reduce heat to medium.
Add the chili powder, cumin, smoked paprika, garlic powder, onion powder, salt, and pepper. Stir to coat the beef evenly. Pour in the 1/2 cup water and let it simmer for 2 minutes, until the liquid reduces slightly. The beef should look moist and smell incredible at this point. Set it aside in a bowl.
Step 2: Make the Queso (8-10 minutes)
In the same skillet (or in a medium saucepan if you prefer), melt the butter over medium heat. Whisk in the flour and cook for 1 minute, stirring constantly. This is your roux — it should smell nutty and look like a thick paste.
Slowly pour in the milk while whisking continuously. Keep whisking until the mixture thickens, about 2-3 minutes. It should coat the back of a spoon. Reduce heat to low.
Add the shredded cheddar and Monterey Jack cheese, a handful at a time, whisking until fully melted before adding more. This prevents lumps. Once all cheese is incorporated, stir in the drained Ro-Tel and cayenne pepper. The queso should be smooth, creamy, and slightly thick. Remove from heat.
Step 3: Layer the Nachos (3 minutes)
Preheat your oven to 375°F (190°C). Spread half the tortilla chips on your sheet pan in an even layer. Sprinkle half the Mexican blend cheese over the chips. Spoon half the seasoned ground beef over that. Drizzle about half the queso over everything.
Now add the remaining chips, followed by the rest of the Mexican cheese, the remaining beef, and the rest of the queso. Sprinkle pickled jalapeños and black beans (if using) on top. This double-layering method ensures every chip gets some love — no naked chips at the bottom.
Step 4: Bake the Nachos (8-10 minutes)
Place the sheet pan in the preheated oven and bake for 8-10 minutes, until the cheese is fully melted and bubbly. Keep an eye on it — you want the cheese melted but the chips should still be crunchy, not burnt around the edges.
Remove from the oven and let it rest for 2 minutes. This helps the toppings set slightly so they don’t slide off when you serve.
Step 5: Add Fresh Toppings (2 minutes)
Right before serving, dollop sour cream over the hot nachos. Sprinkle with pico de gallo, diced avocado, and fresh cilantro. Squeeze lime wedges over the top for brightness. Serve immediately while the queso is still warm and stretchy.
Cooking Tips & Techniques
I’ve made a lot of nachos in my day, and I’ve definitely made some mistakes along the way. Here’s what I’ve learned so you don’t have to repeat my failures.
Don’t skip the roux. I know it’s tempting to just melt cheese and call it queso, but a proper roux stabilizes the sauce and prevents it from breaking or turning greasy. That extra 2 minutes of whisking is worth it.
Shred your own cheese. Pre-shredded cheese is coated with cellulose and starches to prevent clumping, which means it doesn’t melt as smoothly. I learned this the hard way when my first batch of queso came out grainy. Spend the 3 minutes grating a block — your nachos will thank you.
Layer strategically. The biggest nacho mistake is piling everything on top and expecting the bottom chips to magically get toppings. They won’t. Layering chips, cheese, beef, and queso ensures every chip is loaded. It’s a game changer.
Watch the baking time. Overbaked nachos mean burnt edges and soggy centers. 8-10 minutes at 375°F is the sweet spot. If your oven runs hot, check at 7 minutes.
Multitask like a pro. While the beef is browning, shred your cheese and open the Ro-Tel. While the queso is thickening, layer your chips. This recipe moves fast, and having everything ready before you start makes it stress-free.
Variations & Adaptations
This recipe is super flexible. Here are some ways to make it your own:
Vegetarian Version: Swap the ground beef for two cans of black beans or a plant-based crumble. Season them the same way. The queso is already vegetarian-friendly.
Spicy Upgrade: Use hot Ro-Tel, add a diced jalapeño to the beef while it simmers, and sprinkle with chili flakes before serving. My brother loves this version — he says it’s the only way to eat nachos.
Loaded Supreme: Add cooked chorizo or crumbled bacon along with the beef. Top with sliced black olives and pickled red onions. This is my go-to when I’m feeling extra indulgent.
Healthier Twist: Use ground turkey or chicken, low-fat cheese, and baked tortilla chips. Load up on fresh toppings like lettuce, tomatoes, and bell peppers to add crunch without calories.
Different Cheese Blends: Try pepper jack for heat, gouda for smokiness, or a mix of white cheddar and mozzarella for a different flavor profile. I once made a batch with smoked gouda queso and it was incredible — perfect for tailgating.
If you’re in the mood for something lighter but still crave that game-day energy, you might also enjoy these flavorful cilantro lime shrimp tacos with mango slaw and chipotle crema — they’re fresh, fast, and perfect for a crowd.
Serving & Storage Suggestions
These nachos are best served hot, straight from the oven, while the queso is still stretchy and the chips are crunchy. I like to put the sheet pan right on the table with bowls of extra toppings so everyone can customize their plate. It’s a fun, shareable way to eat.
For drinks, a cold beer (lager or IPA) pairs perfectly. Margaritas or a spicy michelada also work great. If you’re serving a crowd, set up a nacho bar with extra queso, salsa, and guacamole on the side.
Storage: Nachos don’t store well once assembled — the chips get soggy. But you can store the components separately. Keep the seasoned beef in an airtight container in the fridge for up to 4 days. The queso also keeps for 3-4 days in the fridge; reheat it gently on the stove with a splash of milk to restore creaminess.
Reheating: To revive leftover nachos (if you have any), spread them on a sheet pan and reheat at 350°F for 5-7 minutes. Add fresh toppings after reheating. Avoid the microwave — it turns chips into sad, chewy messes.
If you’re planning a big game-day spread, this flavorful Texas cowboy caviar with charred corn and avocado cream makes an excellent side dish or dip to serve alongside the nachos.
Nutritional Information & Benefits
Let’s be real — nachos aren’t health food, but they don’t have to be a guilty pleasure either. Here’s the approximate nutritional breakdown per serving (based on 6 servings):
- Calories: 520
- Protein: 28g
- Fat: 32g
- Carbohydrates: 34g
- Fiber: 4g
- Sugar: 5g
The ground beef provides high-quality protein and iron, while the black beans add fiber and plant-based protein. The cheese offers calcium, and the fresh toppings like avocado and pico de gallo contribute healthy fats and vitamins. If you’re watching sodium, use low-sodium chips and reduce the salt in the beef seasoning.
For a lighter option, swap the beef for lean ground turkey and use reduced-fat cheese. You can also load up on fresh veggies like diced bell peppers and tomatoes to increase the nutritional value without sacrificing flavor.
If you’re looking for another crowd-pleasing dish that’s a bit lighter, try this creamy dill cucumber salad with Greek yogurt dressing — it’s refreshing and pairs beautifully with the richness of nachos.
Conclusion
These Best Loaded Football Nachos with Ground Beef & Queso are everything you want in a game-day snack — cheesy, meaty, crunchy, and completely satisfying. The homemade queso is the star, but the double-layering technique is what makes every single chip worth eating. No more fighting over the loaded ones at the top.
I love this recipe because it’s forgiving. You can adjust the spice level, swap proteins, or pile on extra toppings based on what you have. It’s become my go-to for every game, party, or lazy Sunday when I want something that feels like a celebration. Plus, it comes together in under 30 minutes, which means more time enjoying the game and less time in the kitchen.
I’d love to hear how yours turn out! Leave a comment below and let me know your favorite toppings or any twists you tried. Share this recipe with your fellow football fans, and don’t forget to tag me when you make it. Happy eating, and go team!
Frequently Asked Questions
Can I make the queso ahead of time?
Yes! The queso can be made up to 3 days in advance. Store it in an airtight container in the fridge. Reheat gently on the stove over low heat, adding a splash of milk to restore the creamy texture. Avoid the microwave if possible — it can make the cheese sauce grainy.
What’s the best chip for loaded nachos?
Restaurant-style tortilla chips are ideal because they’re sturdy and can hold up to heavy toppings. I prefer Tostitos Scoops or any thick, scoop-shaped chip. Thin chips will break under the weight of the beef and queso, so go for something with structure.
Can I make this recipe gluten-free?
Absolutely. The queso uses all-purpose flour for the roux, but you can substitute with a gluten-free all-purpose flour blend or cornstarch. Use 1 tablespoon of cornstarch mixed with 2 tablespoons of cold milk instead of the flour. The rest of the ingredients are naturally gluten-free — just check your tortilla chip labels to be sure.
How do I prevent soggy nachos?
The key is layering and not overbaking. Spread chips in a single layer as much as possible, and don’t drown them in queso before baking. Bake just until the cheese melts — 8-10 minutes at 375°F. Also, add fresh toppings like sour cream and pico de gallo after baking, not before, to keep the chips crunchy.
Can I cook these nachos on a grill?
Yes! If you’re tailgating or want to keep the kitchen cool, you can make these on a grill. Use a grill-safe sheet pan or a cast-iron skillet. Preheat the grill to medium heat (about 375°F), assemble the nachos, and cook with the lid closed for 8-10 minutes. Watch closely to prevent burning on the bottom.
Pin This Recipe!
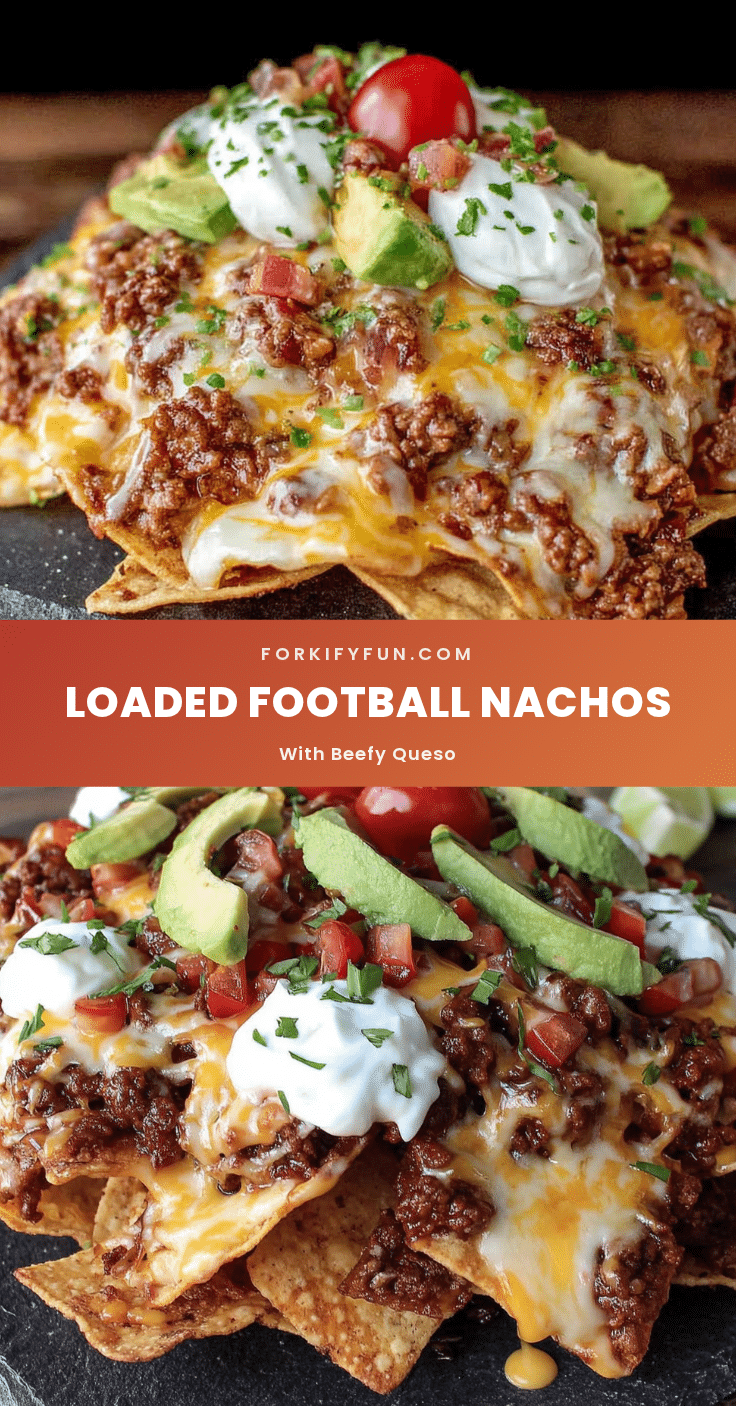
Best Loaded Football Nachos with Ground Beef & Queso
These loaded nachos feature seasoned ground beef, homemade queso, and a double-layering technique that ensures every chip is topped. Ready in under 30 minutes, they’re the perfect game-day snack.
- Prep Time: 15 minutes
- Cook Time: 10 minutes
- Total Time: 25 minutes
- Yield: 6 servings 1x
- Category: Appetizer
- Cuisine: Mexican-American
Ingredients
- 1 lb ground beef (80/20 works best for flavor; drain excess fat after cooking)
- 1 tablespoon chili powder
- 1 teaspoon cumin
- 1 teaspoon smoked paprika
- 1/2 teaspoon garlic powder
- 1/2 teaspoon onion powder
- 1/2 teaspoon salt
- 1/4 teaspoon black pepper
- 1/2 cup water
- 2 tablespoons unsalted butter
- 2 tablespoons all-purpose flour
- 1 cup whole milk (or 2%; avoid skim for the best texture)
- 8 oz block sharp cheddar cheese, shredded
- 4 oz block Monterey Jack cheese, shredded
- 1 (10 oz) can Ro-Tel tomatoes & green chilies, drained
- 1/4 teaspoon cayenne pepper (optional, for extra kick)
- 1 large bag (13–16 oz) restaurant-style tortilla chips
- 1 cup shredded Mexican blend cheese
- 1/2 cup pickled jalapeños
- 1/2 cup black beans, drained and rinsed (optional)
- 1/2 cup sour cream
- 1/2 cup pico de gallo or fresh salsa
- 1 avocado, diced (or guacamole)
- 1/4 cup fresh cilantro, chopped
- 1 lime, cut into wedges
Instructions
- Brown the beef: Heat a large skillet over medium-high heat. Add ground beef and cook until browned, about 5 minutes, stirring occasionally. Drain excess fat, leaving about 1 tablespoon in the pan. Reduce heat to medium. Add chili powder, cumin, smoked paprika, garlic powder, onion powder, salt, and pepper. Stir to coat. Pour in 1/2 cup water and simmer for 2 minutes until slightly reduced. Set aside.
- Make the queso: In the same skillet (or a medium saucepan), melt butter over medium heat. Whisk in flour and cook for 1 minute, stirring constantly. Slowly pour in milk while whisking continuously. Cook until thickened, about 2-3 minutes. Reduce heat to low. Add shredded cheddar and Monterey Jack cheese a handful at a time, whisking until melted before adding more. Stir in drained Ro-Tel and cayenne pepper. Remove from heat.
- Layer the nachos: Preheat oven to 375°F (190°C). Spread half the tortilla chips on a half-sheet pan. Sprinkle half the Mexican blend cheese over chips. Spoon half the seasoned beef over cheese. Drizzle about half the queso over everything. Add remaining chips, then remaining Mexican cheese, remaining beef, and remaining queso. Sprinkle pickled jalapeños and black beans (if using) on top.
- Bake the nachos: Place sheet pan in preheated oven and bake for 8-10 minutes, until cheese is melted and bubbly. Remove from oven and let rest for 2 minutes.
- Add fresh toppings: Dollop sour cream over hot nachos. Sprinkle with pico de gallo, diced avocado, and fresh cilantro. Squeeze lime wedges over the top. Serve immediately.
Notes
Shred your own cheese for the smoothest queso. Layer chips, cheese, beef, and queso to ensure every chip is topped. Avoid overbaking to keep chips crunchy. Add fresh toppings after baking.
Nutrition
- Serving Size: 1 serving (about 1/6
- Calories: 520
- Sugar: 5
- Fat: 32
- Carbohydrates: 34
- Fiber: 4
- Protein: 28
Keywords: football nachos, loaded nachos, ground beef nachos, queso, game day food, easy nachos, sheet pan nachos