Let me be straight with you — this Easy Teriyaki Venison Jerky is the kind of recipe that makes you wonder why you ever bought the store-bought stuff. I’ve tested this more times than I care to admit (including one batch I left in the dehydrator overnight — don’t ask), and this version wins every single time.
- Quick & Easy: From fridge to snack in under 6 hours, with only 15 minutes of active prep. Perfect for busy hunters or anyone who wants homemade jerky without the all-day commitment.
- Simple Ingredients: You probably have most of the marinade ingredients in your pantry right now. Soy sauce, brown sugar, garlic — nothing fancy here.
- Two Cooking Methods: Oven or dehydrator — I’ll walk you through both so you can use whatever you’ve got.
- Budget-Friendly: Venison is lean and affordable, especially if you hunt. But this recipe works just as well with beef or turkey.
- Customizable Heat: Want it spicy? Add more red pepper flakes. Prefer it mild? Leave them out. You’re in control.
- Crowd-Pleaser: I brought a bag to a football party last fall and it disappeared in ten minutes. People kept asking where I bought it.
This isn’t just another jerky recipe — it’s the one I’ve tweaked over three hunting seasons to get that perfect balance of salty, sweet, and savory. The teriyaki glaze caramelizes just enough to give you that sticky-sweet edge, while the venison stays chewy without being tough. Honestly, it’s the kind of snack that makes you close your eyes after that first bite.
What Ingredients You Will Need
This recipe uses simple pantry staples to create big flavor. The magic happens in the marinade — it tenderizes the meat while building that signature teriyaki taste.
For the Venison
- 2 pounds venison roast or backstrap — trimmed of all silver skin and visible fat (fat goes rancid in jerky and shortens shelf life)
- 1/4 cup soy sauce — I prefer low-sodium so I can control the salt level; use tamari for gluten-free
- 1/4 cup brown sugar, packed — light or dark both work; dark gives deeper flavor
- 2 tablespoons rice vinegar — unseasoned is best; apple cider vinegar works in a pinch
- 2 tablespoons honey — local honey adds nice floral notes, but any honey works
- 1 tablespoon sesame oil — toasted sesame oil is key for that authentic teriyaki taste
- 3 cloves garlic, minced — fresh is non-negotiable here; powdered just isn’t the same
- 1 tablespoon fresh ginger, grated — use a microplane if you have one; jarred ginger paste works in a pinch
- 1/2 teaspoon red pepper flakes — optional, but I love the subtle heat
- 1/4 teaspoon black pepper — freshly ground if possible
- 1/2 teaspoon onion powder — not onion salt; we’re adding enough sodium already
Optional Add-Ins
- 1 tablespoon pineapple juice — adds natural sweetness and helps tenderize; use canned or fresh
- 1 teaspoon liquid smoke — if you’re using the oven method and want that smoky flavor
- 1 tablespoon sesame seeds — for garnish before drying; they stick better than you’d think
Ingredient Tips: When buying soy sauce, I reach for Kikkoman or San-J — they have consistent quality. For the venison, make sure it’s from a clean, well-handled animal. If you’re using beef instead, go with flank steak or top round. And here’s something I learned the hard way: don’t skip trimming the silver skin. That stuff turns into shoe leather when dried.
Equipment Needed
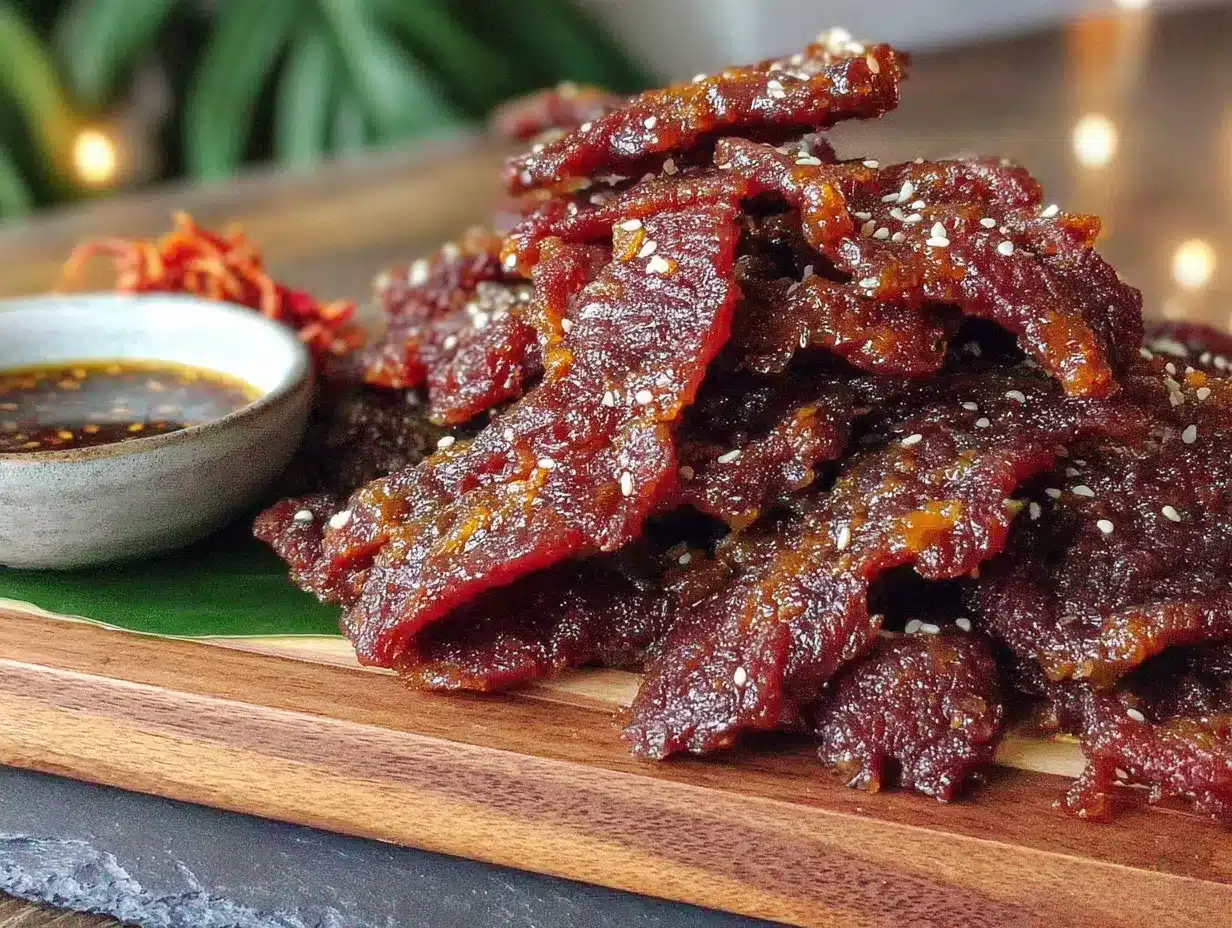
You don’t need fancy equipment for this recipe. Here’s what you’ll need:
- Sharp knife — a good chef’s knife or slicing knife makes all the difference; dull knives are dangerous and make uneven cuts
- Cutting board — preferably one with a groove to catch juices
- Mixing bowl — medium size for the marinade
- Large resealable plastic bag or glass dish — for marinating; glass is better if you’re worried about plastic leaching
- Dehydrator or oven — both methods work great; I’ll cover both
- Wire cooling racks — if using the oven; lets air circulate under the meat
- Baking sheets — line with foil for easy cleanup
- Paper towels — for patting meat dry before marinating
- Spray bottle with water — optional, for testing doneness (explained below)
If you’re buying a dehydrator for the first time, I recommend the Nesco Snackmaster or Excalibur — they’re workhorses that last for years. But honestly, your oven works perfectly fine. My first batch was made in a beat-up apartment oven and it turned out amazing.
Preparation Method
Follow these steps carefully, and you’ll have perfect jerky every time. I’ve organized them so you can multitask efficiently.
Step 1: Prepare the Venison (10 minutes)
Place your venison in the freezer for 1-2 hours until it’s firm but not frozen solid. This makes slicing so much easier — trust me, I learned this after fighting with floppy meat for years. Using a sharp knife, slice the meat against the grain into strips about 1/4-inch thick. For tender jerky, slice against the grain. For chewier jerky, slice with the grain. I prefer against the grain for this recipe — it’s easier to eat and less jaw workout.
Step 2: Make the Marinade (5 minutes)
In a medium bowl, whisk together the soy sauce, brown sugar, rice vinegar, honey, sesame oil, minced garlic, grated ginger, red pepper flakes, black pepper, and onion powder. If you’re using pineapple juice or liquid smoke, add them now. Whisk until the brown sugar is mostly dissolved — a few grains are fine. Taste it. It should be sweet, salty, and slightly tangy with a kick of garlic and ginger. Adjust seasoning if needed.
Step 3: Marinate the Meat (4-24 hours)
Place the venison strips in a large resealable plastic bag or glass dish. Pour the marinade over the meat, seal the bag (squeezing out air), and massage gently to coat every strip. Refrigerate for at least 4 hours, but 8-12 hours is ideal. Overnight works great — I often start this in the morning and dry it in the evening. Don’t go beyond 24 hours or the meat can become mushy from the acid in the rice vinegar and pineapple juice.
Step 4: Prepare for Drying (10 minutes)
Remove the meat from the marinade and pat each strip dry with paper towels. This step is crucial — excess moisture means longer drying time and potential spoilage. Discard the leftover marinade (don’t reuse it raw). Arrange the strips in a single layer on dehydrator trays or wire racks set over baking sheets. Make sure pieces aren’t touching — leave a little space for air to circulate.
Step 5: Dry the Jerky
For Dehydrator: Set your dehydrator to 160°F (71°C). Dry for 4-6 hours, checking after 4 hours. Rotate trays halfway through if your dehydrator has hot spots. The jerky is done when it bends and cracks but doesn’t break cleanly in half. It should feel dry to the touch but still pliable.
For Oven: Preheat your oven to the lowest setting — usually 170-200°F (77-93°C). Place the wire racks with meat directly on the oven racks. Prop the oven door open slightly with a wooden spoon handle to let moisture escape. Dry for 3-5 hours, checking after 3 hours. Same doneness test applies.
Sensory Cues: During drying, your kitchen will smell amazing — like a teriyaki restaurant. The meat will darken and shrink as it dries. You’ll see tiny beads of moisture on the surface during the first hour; that’s normal. If you see any slimy spots or off smells, discard immediately — that’s spoilage.
Step 6: Cool and Test (30 minutes)
Let the jerky cool completely on the trays — this final drying step is important. To test doneness, let a piece cool, then bend it. It should flex and show small cracks on the surface without breaking. If it snaps cleanly, it’s overdone. If it feels wet or spongy, it needs more time. I usually pull one piece early, let it cool, and test it before committing to the whole batch.
Cooking Tips & Techniques
After making about 30 batches of this jerky (and ruining at least 5), here’s what I’ve learned:
Slice Evenly: Uneven slices mean some pieces dry faster than others. If you’re not confident with a knife, ask your butcher to slice it for you. Some grocery stores will do this for free.
Don’t Overcrowd: I made this mistake once — stacked strips on top of each other to save time. The bottom pieces steamed instead of dried and turned into a slimy mess. Always single layer, no exceptions.
Check Early and Often: Every dehydrator and oven runs differently. Start checking at the minimum time and go from there. You can always dry longer, but you can’t undo over-drying.
Use a Meat Thermometer: For food safety, jerky should reach an internal temperature of 160°F (71°C) for beef or venison. If your dehydrator doesn’t reach that temp, preheat the meat in a 275°F oven for 10 minutes before drying.
Patience is Key: The hardest part is waiting during the marinating and drying. But rushing either step ruins the jerky. I once skipped the pat-dry step to save 5 minutes and ended up with jerky that molded in a week. Never again.
Batch Testing: Before drying a whole batch, dry one test strip. Let it cool, taste it, and adjust the marinade or drying time if needed. This single step has saved me countless pounds of meat.
Variations & Adaptations
This recipe is flexible — here are some ways to make it your own:
Spicy Teriyaki Jerky
Add 1-2 tablespoons of sriracha or gochujang to the marinade. I did this once for a party and it was gone in 20 minutes. The heat builds slowly — it’s not overwhelming.
Smoky Maple Teriyaki
Replace the brown sugar with maple syrup and add 1 teaspoon of liquid smoke. This gives a sweet, woodsy flavor that’s incredible with venison. My hunting buddy swears by this version.
Garlic Lover’s Jerky
Double the garlic and add 1 tablespoon of garlic powder. Roast the garlic cloves first for a mellower, sweeter flavor. I tried this after burning fresh garlic once — roasting prevents bitterness.
Beef or Turkey Version
Substitute flank steak, top round, or turkey breast for venison. Slice beef against the grain; slice turkey with the grain for better texture. Cooking times remain the same.
Low-Sodium Version
Use low-sodium soy sauce, reduce salt, and add extra ginger and garlic for flavor. You can also use coconut aminos for a completely soy-free option.
Serving & Storage Suggestions
Serving: This jerky is best at room temperature. Serve it straight from the bag on hiking trips, at game day parties, or as a high-protein snack after workouts. I love it with cold beer or iced green tea. For a fun presentation, arrange pieces on a wooden board with pickled vegetables and cheese.
Storage: Let the jerky cool completely before storing — trapped moisture causes mold. Store in an airtight container or resealable bag. Keep in a cool, dark place for up to 2 weeks. For longer storage, refrigerate for up to 3 months or freeze for up to 6 months. Vacuum sealing extends shelf life significantly — I’ve kept frozen jerky for a year with no quality loss.
Reheating: Jerky is meant to be eaten cold, but if you want to revive it, pop it in a 300°F oven for 3-5 minutes. This crisps it up slightly. Don’t microwave — it turns rubbery.
Flavor Development: Here’s something interesting — jerky actually gets better after a day or two in storage. The flavors meld and mellow. I always try to save some for day three, but honestly, it rarely lasts that long.
Nutritional Information & Benefits
Per 1-ounce serving (about 3-4 strips):
- Calories: 110
- Protein: 18g
- Fat: 3g
- Carbohydrates: 5g
- Sugar: 4g
- Sodium: 450mg
Health Benefits: Venison is one of the leanest meats available — it’s packed with protein, iron, and B vitamins while being low in saturated fat. This jerky makes an excellent post-workout snack for muscle recovery. The ginger in the marinade has anti-inflammatory properties, and garlic supports immune health. Just watch the sodium if you’re watching your blood pressure — this is definitely a treat, not an everyday food.
Dietary Considerations: This recipe is naturally gluten-free if you use tamari instead of soy sauce. It’s also dairy-free, egg-free, and low-carb. Not suitable for vegetarians, obviously, but my vegan friends love the beef version I make for them.
Conclusion
This Easy Teriyaki Venison Jerky has become my go-to snack for everything from road trips to holiday gifts. It’s proof that homemade jerky doesn’t have to be complicated or require special skills — just good ingredients, a little patience, and a willingness to learn from mistakes (like the time I forgot to trim the silver skin and ended up with leather strips).
I love this recipe because it connects me to the land and the hunt — every batch reminds me of cold November mornings and the satisfaction of turning wild game into something delicious. But even if you buy your meat at the store, this jerky will make you feel like a pro.
Try it this weekend. Experiment with the spices. Make a double batch because trust me, the first one won’t last long. And when you nail it — because you will — come back and tell me about it. I’d love to hear how your version turned out.
Frequently Asked Questions
Can I use frozen venison for this recipe?
Yes, but thaw it completely in the refrigerator first. Partially frozen meat is actually easier to slice thinly — just don’t try to marinate it until fully thawed.
How do I know when the jerky is done?
The bend test is your best friend. Let a piece cool completely, then bend it. It should flex and show small cracks on the surface without breaking in half. If it snaps, it’s overdone. If it feels wet or spongy, it needs more time.
Can I make this in an air fryer?
You can, but it’s tricky. Air fryers circulate heat too aggressively and often dry the outside before the inside is done. If you try it, use the lowest temperature setting (usually 160-180°F) and check every 30 minutes. I don’t recommend it for beginners.
Why is my jerky tough and chewy?
You probably sliced with the grain instead of against it, or you dried it too long. Next time, slice against the grain and start checking for doneness earlier. Also, make sure you marinated long enough — at least 4 hours.
How long does homemade jerky last?
Stored properly in an airtight container in a cool, dark place, it lasts 2 weeks. Refrigerated, it lasts 3 months. Frozen, up to 6 months. Always check for off smells or mold before eating — when in doubt, throw it out.
Pin This Recipe!
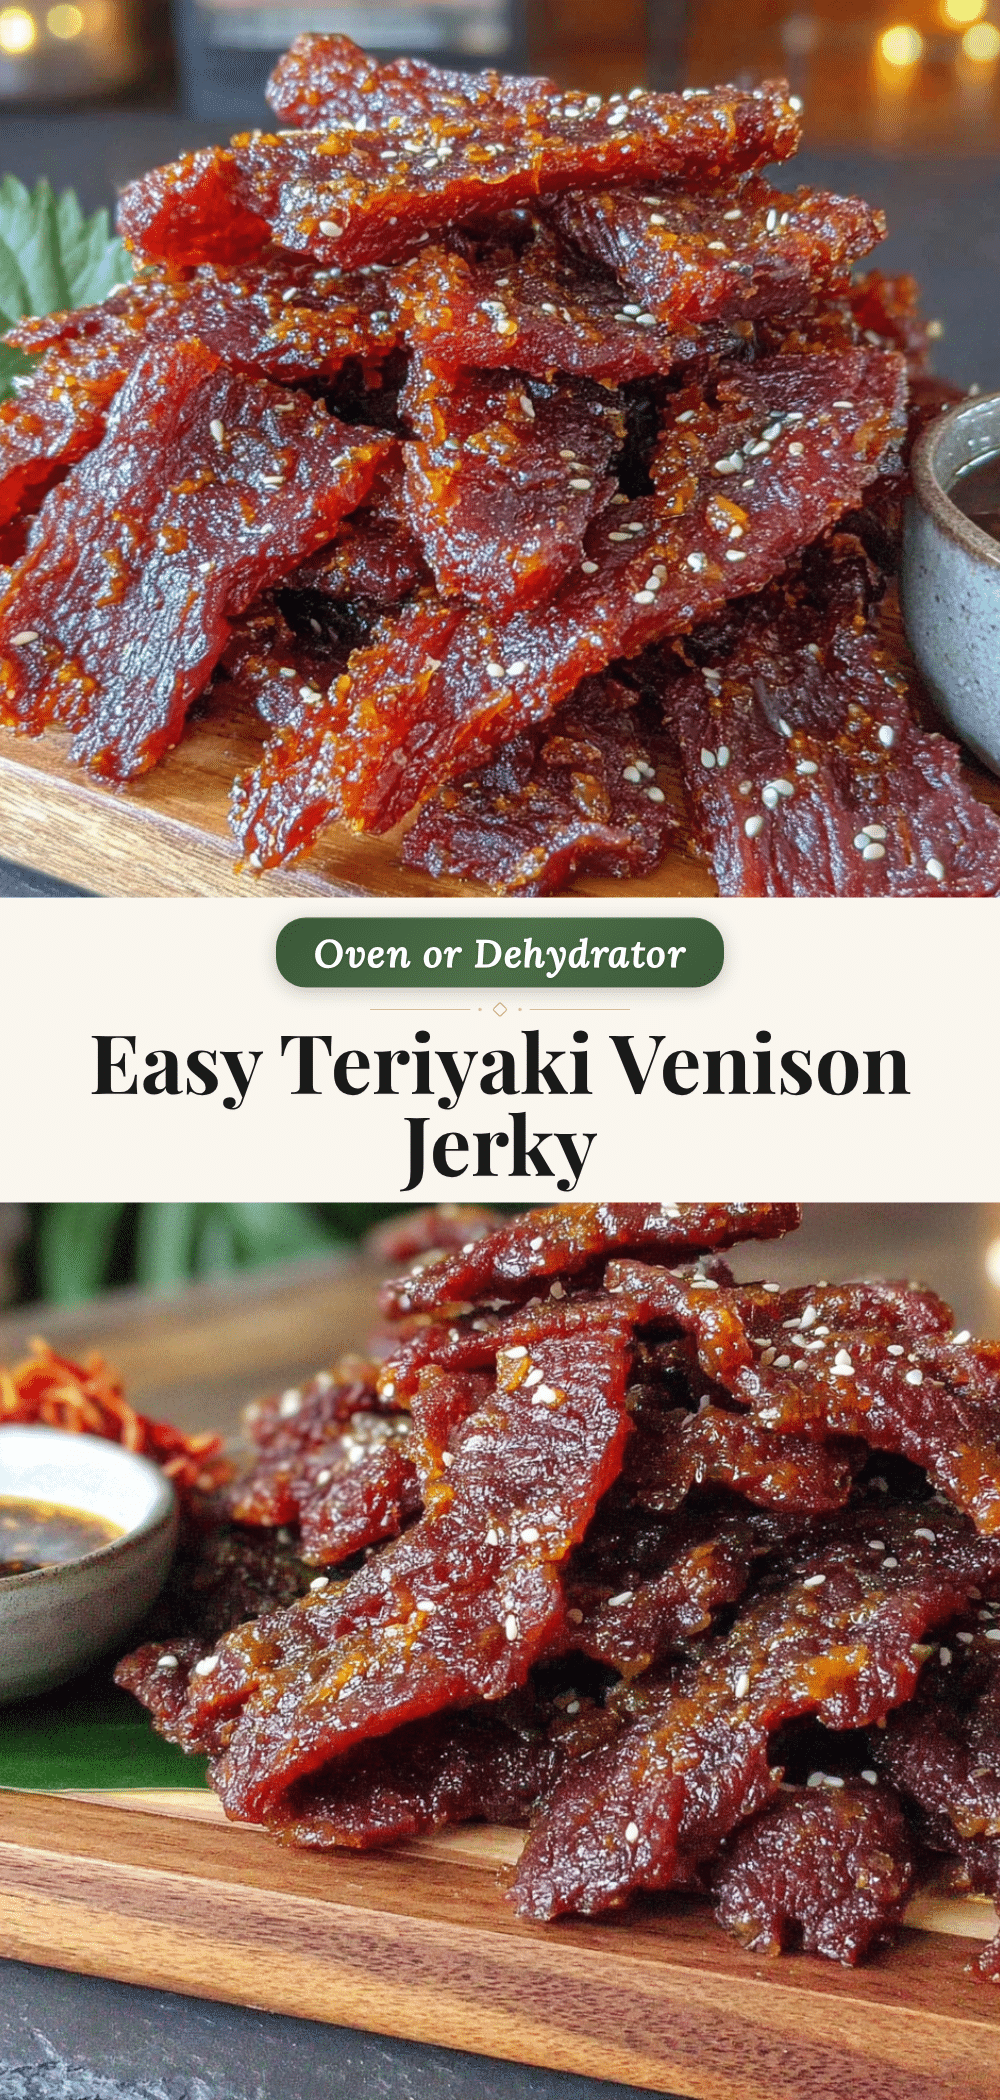
Easy Teriyaki Venison Jerky Recipe: Best Homemade
This Easy Teriyaki Venison Jerky is the perfect homemade snack, combining salty, sweet, and savory flavors with a chewy texture. With simple ingredients and two cooking methods, it’s a crowd-pleaser that’s budget-friendly and customizable.
- Prep Time: 15 minutes
- Cook Time: 4-6 hours (dehydrator) or 3-5 hours (oven)
- Total Time: 4 hours 15 minutes to 6 hours 15 minutes (plus marinating time)
- Yield: 4 servings 1x
- Category: Snack
- Cuisine: Japanese-inspired
Ingredients
- 2 pounds venison roast or backstrap, trimmed of silver skin and fat
- 1/4 cup soy sauce (low-sodium preferred; use tamari for gluten-free)
- 1/4 cup brown sugar, packed (light or dark)
- 2 tablespoons rice vinegar (unseasoned; apple cider vinegar works)
- 2 tablespoons honey
- 1 tablespoon sesame oil (toasted)
- 3 cloves garlic, minced
- 1 tablespoon fresh ginger, grated
- 1/2 teaspoon red pepper flakes (optional)
- 1/4 teaspoon black pepper (freshly ground)
- 1/2 teaspoon onion powder
- 1 tablespoon pineapple juice (optional)
- 1 teaspoon liquid smoke (optional, for oven method)
- 1 tablespoon sesame seeds (optional, for garnish)
Instructions
- Place venison in the freezer for 1-2 hours until firm but not frozen solid. Using a sharp knife, slice against the grain into 1/4-inch thick strips.
- In a medium bowl, whisk together soy sauce, brown sugar, rice vinegar, honey, sesame oil, minced garlic, grated ginger, red pepper flakes, black pepper, and onion powder. Add pineapple juice or liquid smoke if using. Whisk until brown sugar is mostly dissolved.
- Place venison strips in a large resealable plastic bag or glass dish. Pour marinade over meat, seal bag (squeezing out air), and massage to coat. Refrigerate for at least 4 hours, ideally 8-12 hours, but no more than 24 hours.
- Remove meat from marinade and pat each strip dry with paper towels. Discard leftover marinade. Arrange strips in a single layer on dehydrator trays or wire racks set over baking sheets, ensuring pieces do not touch.
- For dehydrator: Set to 160°F (71°C) and dry for 4-6 hours, rotating trays halfway through. For oven: Preheat to lowest setting (170-200°F / 77-93°C), place racks directly on oven racks, prop door open slightly with a wooden spoon, and dry for 3-5 hours. Jerky is done when it bends and cracks but does not break cleanly in half.
- Let jerky cool completely on trays (about 30 minutes). Test doneness by bending a cooled piece; it should flex and show small cracks without breaking. If it snaps, it’s overdone; if wet or spongy, dry longer.
Notes
Slice evenly for consistent drying. Do not overcrowd trays. Check jerky early and often to avoid over-drying. For food safety, jerky should reach an internal temperature of 160°F (71°C). Pat meat dry before drying to prevent spoilage. Jerky improves after a day or two of storage.
Nutrition
- Serving Size: 1 ounce (about 3-4 s
- Calories: 110
- Sugar: 4
- Sodium: 450
- Fat: 3
- Saturated Fat: 1
- Carbohydrates: 5
- Protein: 18
Keywords: teriyaki venison jerky, homemade jerky, venison jerky recipe, easy jerky, deer jerky, teriyaki jerky


