My brother asked why I couldn’t just roast the green beans instead of blanching them first. I started to explain why that wouldn’t work—something about texture and even cooking—then stopped. Honestly, I had no good reason. I’d just always done it that way because that’s how the cookbook said to do it. So, on a random Tuesday night, with a bag of green beans and a head of garlic staring me down, I threw them on a sheet pan with some oil and almonds. The result was so good I actually felt a little embarrassed. The beans were perfectly tender with crispy, caramelized edges, the garlic was sweet and mellow, and the almonds? Toasty little flavor bombs. My brother just looked at me with that smug “I told you so” grin. I’ve been making them his way ever since. This Crispy Garlic Green Bean Almondine is now my go-to move when I need a side dish that looks fancy but is secretly the easiest thing on the table. It’s the kind of recipe that makes you look like you spent hours in the kitchen when really, you just tossed everything on a pan and let the oven do the work. If you’re hosting a dinner party or just want to impress someone with minimal effort, this is it.
Why You’ll Love This Recipe
Let me tell you why this particular version of green bean almondine has become my secret weapon for every gathering. I’ve tested this recipe at least a dozen times—for Thanksgiving, for casual Sunday dinners, and for fancy dinner parties where I needed to look like I had my life together. It delivers every single time.
- Quick & Easy: Comes together in under 25 minutes, most of which is hands-off oven time. Perfect for those moments when guests are about to arrive and you realize you forgot to make a vegetable.
- Simple Ingredients: No fancy grocery trips needed. Green beans, garlic, almonds, butter, and a few pantry staples—that’s it. You probably have everything right now.
- Perfect for Hosting: This dish steals the show at potlucks, holiday dinners, and casual get-togethers. It looks elegant enough for a formal dinner but feels right at home on a picnic table.
- Crowd-Pleaser: I’ve served this to picky eaters, health-conscious friends, and even my uncle who claims he “doesn’t do vegetables.” Everyone goes back for seconds.
- Unbelievably Delicious: The combination of crispy roasted edges, sweet toasted almonds, and fragrant garlic creates a texture and flavor that’s next-level comfort food. It’s the kind of side dish that makes the main course jealous.
What makes this recipe different from the rest? It’s the roasting method. Most green bean almondine recipes have you blanch the beans, then sauté everything in a pan. That’s fine, but it takes more hands-on time and multiple dishes. By roasting everything together on one sheet pan, you get deeper flavor, better texture, and way less cleanup. Plus, the garlic gets sweet and jammy instead of sharp and pungent. It’s comfort food reimagined—healthier, faster, but with the same soul-soothing satisfaction. Perfect for impressing guests without stress, or turning a simple meal into something memorable.
What Ingredients You Will Need
This recipe uses simple, wholesome ingredients to deliver bold flavor and satisfying texture without the fuss. Most of these are pantry staples, which means you can whip up this dish any night of the week.
- Fresh green beans, 1 pound (450g) – Look for beans that are bright green and snap when you bend them. I prefer standard green beans, but haricots verts (the thin French variety) work beautifully too and cook a bit faster.
- Garlic cloves, 4-5 large cloves (about 20g) – Use fresh garlic here, not the pre-minced stuff from a jar. The garlic roasts and becomes sweet and buttery. I like to leave the cloves whole or halved so they don’t burn.
- Sliced almonds, 1/3 cup (30g) – I recommend using raw sliced almonds for this. They toast up perfectly in the oven alongside the beans. If all you have is whole almonds, give them a rough chop first.
- Extra virgin olive oil, 2 tablespoons (30ml) – A good quality olive oil makes a difference here. It helps everything get crispy and adds its own fruity flavor.
- Unsalted butter, 2 tablespoons (28g) – We add this at the end for richness. If you’re dairy-free, you can skip it or use a vegan butter alternative.
- Lemon juice, 1 tablespoon (15ml) – Fresh squeezed is non-negotiable here. The brightness cuts through the richness and wakes up all the flavors. Bottled lemon juice just doesn’t have the same zip.
- Salt, 1/2 teaspoon (3g) – I use kosher salt for better control. If you’re using table salt, start with 1/4 teaspoon and adjust from there.
- Black pepper, 1/4 teaspoon (0.5g) – Freshly ground is best. It adds a subtle warmth that plays nicely with the garlic and almonds.
- Red pepper flakes, optional, 1/4 teaspoon (0.5g) – This is my little secret. A tiny pinch adds a gentle heat that makes the dish more interesting without being spicy. Feel free to leave it out if you’re sensitive to heat.
Ingredient Selection Tips: For the best texture, choose green beans that are firm and snap easily. If the beans are limp or bendy, they’re past their prime. I’ve found that organic beans often have better flavor, but conventional ones work just fine. For the almonds, I prefer the brand Blue Diamond sliced almonds because they toast evenly without burning. If you’re making this for a crowd, you can easily double the recipe—just use two sheet pans so the beans have room to breathe.
Equipment Needed
One of the things I love about this recipe is that it doesn’t require any special equipment. Here’s what you’ll need:
- Large rimmed baking sheet (sheet pan) – A 13×18 inch half-sheet pan is ideal. The rim is important because the butter and oil can pool a bit. If you don’t have a rimmed pan, a large baking dish will work in a pinch.
- Parchment paper or aluminum foil – This makes cleanup a breeze. I prefer parchment because nothing sticks to it, but foil works too. Just give it a light spray of cooking oil.
- Chef’s knife and cutting board – For trimming the green beans and prepping the garlic. A sharp knife makes trimming beans much faster.
- Measuring spoons – For the olive oil, lemon juice, and seasonings. Eyeballing works for some things, but getting the oil-to-butter ratio right matters here.
- Small bowl – For mixing the butter and lemon juice together while the beans roast.
- Tongs or spatula – For tossing the beans halfway through roasting and for serving.
Budget-Friendly Options: If you don’t have a rimmed baking sheet, you can use a 9×13 inch baking dish. The beans will be a bit more crowded, so they might steam rather than roast. Just give them an extra 5 minutes and they’ll still be delicious. I’ve also made this on a regular cookie sheet with the edges folded up—it works, just be careful of drips.
Preparation Method
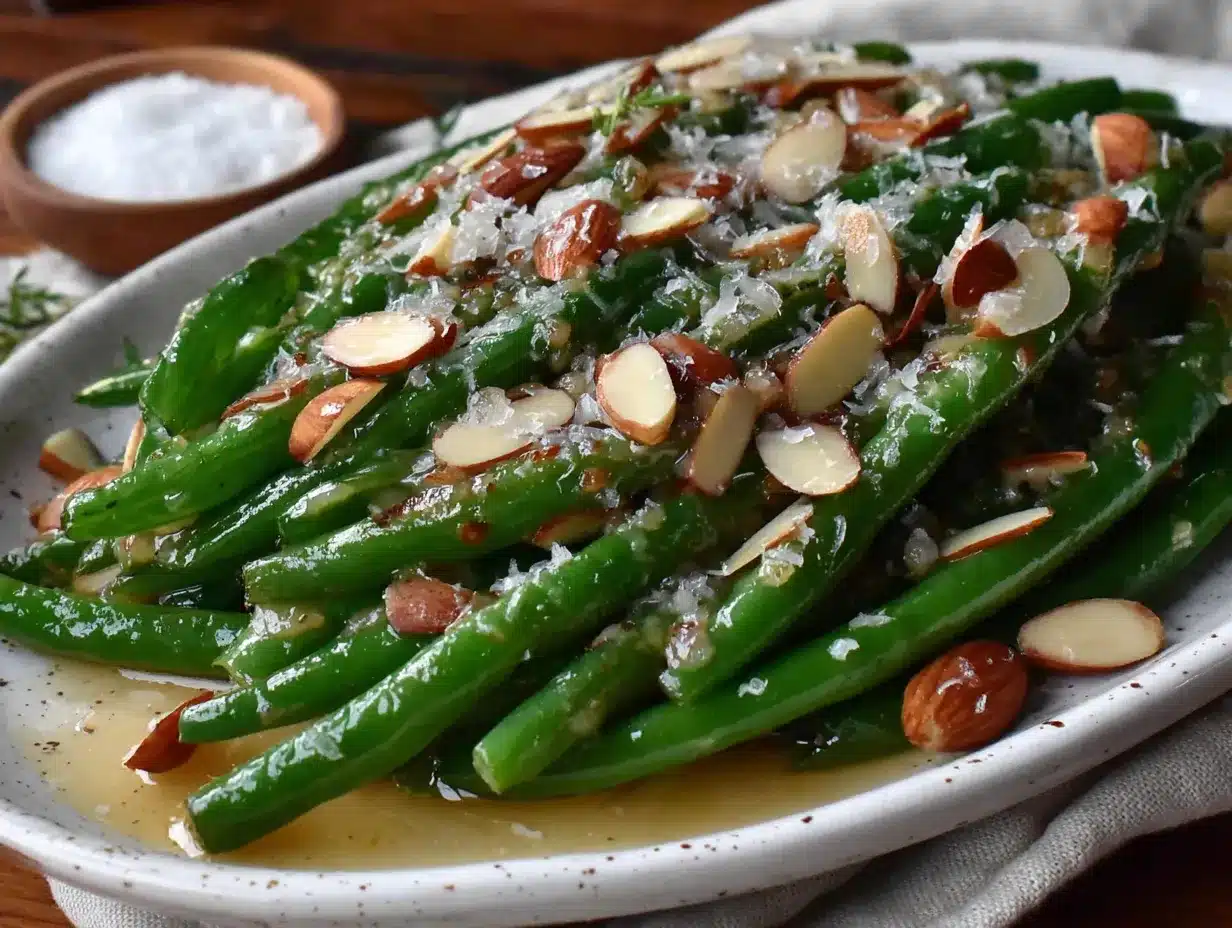
This is where the magic happens. Follow these steps, and you’ll have a side dish that looks like it came from a fancy restaurant.
- Preheat your oven to 425°F (220°C). Getting the oven hot is key here. We want the beans to roast, not steam. While the oven heats up, line your baking sheet with parchment paper or foil for easy cleanup.
- Prep the green beans. Wash the beans and trim off the stem ends. You don’t need to trim the tail ends—they’re perfectly edible and look nice. If you’re feeling fancy, you can snap them in half, but I prefer leaving them whole for a more dramatic presentation. Pat the beans completely dry with a clean kitchen towel. This is important—wet beans won’t get crispy.
- Prep the garlic. Peel the garlic cloves and leave them whole if they’re small, or cut them in half if they’re large. You want pieces that are roughly the same size so they cook evenly. Don’t mince the garlic—it will burn in the oven.
- Toss everything together. On your prepared baking sheet, combine the green beans, garlic cloves, and sliced almonds. Drizzle with the 2 tablespoons of olive oil, then sprinkle with the salt, black pepper, and red pepper flakes if using. Use your hands to toss everything together until the beans are evenly coated. Spread everything in a single layer—crowding the pan will lead to steaming instead of roasting.
- Roast for 12 minutes. Place the pan in the preheated oven and set a timer. After 12 minutes, pull the pan out and use tongs to toss the beans. This ensures even cooking and helps the almonds toast on all sides. The beans should be starting to shrivel and brown in spots.
- Roast for another 8-10 minutes. Return the pan to the oven and roast until the beans are tender and have deep brown, crispy spots. The almonds should be golden brown and fragrant. The garlic should be soft and caramelized. Total roasting time is about 20-22 minutes, but keep an eye on it—ovens vary.
- Make the finishing butter. While the beans are finishing, melt the 2 tablespoons of butter in a small bowl in the microwave (about 20 seconds). Stir in the fresh lemon juice. This mixture will be drizzled over the hot beans right when they come out of the oven.
- Finish and serve. As soon as the beans come out of the oven, drizzle the butter-lemon mixture over the top and toss gently to coat. The heat from the beans will melt the butter and help it soak into the crispy edges. Transfer to a serving platter and serve immediately while everything is still warm and crispy.
Troubleshooting Tip: If your beans are looking dry or burnt around the edges before they’re tender, your oven might run hot. Try reducing the temperature to 400°F (200°C) and roasting for a few extra minutes. Conversely, if the beans are tender but not crispy, crank the heat up to 450°F (230°C) for the last 3 minutes.
Cooking Tips & Techniques
Over the years, I’ve learned a few tricks that make this recipe absolutely foolproof. Let me share them with you.
Dry those beans! This is the most important step. If your beans are wet when they go into the oven, they’ll steam instead of roast. I pat them dry with a clean kitchen towel, then let them sit on the counter for a few minutes to air dry while I prep other things. Trust me on this one—I learned the hard way after making a soggy batch for a dinner party.
Don’t skip the single layer. I know it’s tempting to pile everything on one pan to save dishes, but crowded beans release steam and end up mushy. If you’re doubling the recipe, use two pans. If you only have one pan, roast the beans in batches. The extra 10 minutes is worth it for that perfect crispy texture.
Watch the almonds. Sliced almonds go from perfectly toasted to burnt in about 30 seconds. I check on the pan at the 15-minute mark and give it a good shake. If the almonds are getting too dark but the beans aren’t done yet, I’ll pull the pan out and sprinkle the almonds on top of the beans for the last few minutes. This protects them from direct heat.
Timing is everything for hosting. Here’s my strategy for dinner parties: I prep the beans and garlic ahead of time and store them in a ziplock bag in the fridge. About 25 minutes before I want to serve, I toss everything on the pan and pop it in the oven. While the beans roast, I finish the main dish and set the table. It’s the perfect timing—the beans come out hot and crispy right when everything else is ready.
My biggest failure: The first time I made this for a Thanksgiving potluck, I forgot to add the salt. The beans were perfectly crispy but completely bland. Now I always taste a bean before I serve it—if it needs salt, I sprinkle a little flaky sea salt on top right before serving. That mistake taught me to always season in layers.
Variations & Adaptations
This recipe is incredibly flexible. Here are some of my favorite ways to change it up.
Dietary Variations: For a vegan version, swap the butter for another tablespoon of olive oil or use a plant-based butter. For a nut-free version, replace the almonds with pumpkin seeds (pepitas) or sunflower seeds. They toast up just as nicely and add a similar crunch. For a lower-carb option, this recipe is already pretty low in carbs—just skip the almonds and add extra garlic.
Seasonal Twists: In the spring, I add thin asparagus spears alongside the green beans for a gorgeous mixed vegetable dish. In the summer, I toss in cherry tomatoes during the last 5 minutes of roasting—they burst and create a little sauce. In the fall, I swap the almonds for pecans and add a pinch of cinnamon for a warm, cozy flavor.
Flavor Variations: Try adding a tablespoon of soy sauce or tamari to the butter-lemon mixture for an umami kick. Or swap the lemon juice for balsamic vinegar for a tangy, slightly sweet finish. For a spicy version, add an extra pinch of red pepper flakes and a drizzle of honey. I once made a version with toasted sesame oil instead of olive oil and added sesame seeds—it was incredible with Asian-inspired mains.
Different Cooking Methods: If you don’t want to turn on the oven, you can make this on the stovetop. Heat a large skillet over medium-high heat, add the olive oil, then sauté the beans and garlic for 5-6 minutes until crisp-tender. Add the almonds and cook for another minute, then finish with the butter and lemon juice. It’s faster but doesn’t get quite as crispy. For the air fryer, cook at 375°F (190°C) for 8-10 minutes, shaking the basket halfway through.
Serving & Storage Suggestions
This dish is best served hot, right out of the oven, when the edges are still crispy and the butter is glossy. I like to transfer the beans to a warm serving platter and garnish with a few extra toasted almonds on top for visual appeal. A sprinkle of flaky sea salt and a few lemon zest curls make it look restaurant-worthy.
What to Serve Alongside: This green bean almondine pairs beautifully with roasted chicken, grilled steak, or pan-seared salmon. It’s also fantastic with holiday mains like roast turkey or prime rib. For a vegetarian meal, serve it alongside a hearty grain bowl or stuffed mushrooms. A crisp white wine like Sauvignon Blanc or a light Pinot Grigio complements the lemony, garlicky flavors perfectly.
Storage Instructions: If you have leftovers (unlikely, but possible), store them in an airtight container in the refrigerator for up to 3 days. The beans will lose their crispiness, but they’ll still be delicious. I actually love cold leftovers straight from the fridge—they make a great addition to salads.
Reheating Tips: To bring back some of the crispiness, reheat the beans in a single layer on a baking sheet at 400°F (200°C) for 5-7 minutes. Avoid the microwave—it will make them soggy. If you’re in a hurry, you can reheat them in a dry skillet over medium-high heat, tossing frequently, for about 3 minutes.
Flavor Development: Honestly, this dish is best fresh. The magic is in the contrast between the crispy edges and the tender interior. That said, the flavors do meld together nicely overnight. The garlic becomes even more mellow, and the lemon butter soaks into the beans. It’s different, but still good.
Nutritional Information & Benefits
Here’s the nutritional breakdown for one serving (about 1/6 of the recipe):
| Nutrient | Amount |
|---|---|
| Calories | 145 |
| Total Fat | 12g |
| Saturated Fat | 3.5g |
| Cholesterol | 10mg |
| Sodium | 210mg |
| Total Carbohydrates | 9g |
| Dietary Fiber | 4g |
| Sugars | 3g |
| Protein | 4g |
Health Benefits: Green beans are packed with vitamin C, vitamin K, and fiber, which support immune health and digestion. Almonds provide healthy monounsaturated fats and vitamin E, which is great for skin health. Garlic is known for its anti-inflammatory properties and can help support heart health. This dish is naturally gluten-free, low-carb, and suitable for most dietary patterns. If you’re watching your sodium, you can reduce the salt to 1/4 teaspoon or use a salt-free seasoning blend.
Dietary Considerations: This recipe contains dairy (butter) and tree nuts (almonds). For a dairy-free version, use olive oil or vegan butter. For a nut-free version, replace almonds with pumpkin seeds. It’s naturally gluten-free and vegetarian.
Conclusion
This Crispy Garlic Green Bean Almondine has become my most-requested side dish for a reason. It’s the perfect balance of simple ingredients and impressive results—exactly what you want when you’re hosting friends and family. The crispy edges, the sweet roasted garlic, the toasty almonds, and that bright lemon finish come together in a way that feels special without requiring hours in the kitchen.
I love this recipe because it reminds me that sometimes the best cooking comes from letting go of the rules. My brother’s suggestion to skip the blanching turned out to be genius, and now I can’t imagine making green beans any other way. I hope you’ll try it and make it your own. Maybe you’ll add a pinch of something unexpected, or serve it with your favorite main dish. Whatever you do, I’d love to hear about it.
Have you tried this recipe? Let me know in the comments how it turned out! Did you add any twists? What did you serve it with? Your feedback helps other readers and inspires me to keep creating. And if you loved it, please share this post with your friends—they deserve a great side dish too. Happy cooking!
Frequently Asked Questions
Can I use frozen green beans for this recipe?
I don’t recommend frozen green beans for this recipe. Frozen beans contain a lot of water, which will release during roasting and prevent them from getting crispy. If frozen beans are all you have, thaw them completely and pat them very dry before roasting. They’ll still be tasty, but they won’t have the same crispy texture.
How do I trim green beans quickly?
Line up a handful of beans on your cutting board with the stem ends aligned. Use your chef’s knife to cut off all the stems at once. This is much faster than trimming each bean individually. You can also snap the stems off by hand if you prefer—just bend the bean near the stem end and it will snap naturally.
Can I make this recipe ahead of time for a party?
You can prep the ingredients ahead, but I recommend roasting the beans just before serving. The crispy texture is best fresh out of the oven. You can trim the beans, peel the garlic, and measure out the almonds up to 2 days in advance. Store everything in separate containers in the refrigerator, then roast when your guests arrive.
What if I don’t have sliced almonds?
No problem! You can use any nut you have on hand. Chopped walnuts, pecans, or pine nuts all work beautifully. Even sunflower seeds or pumpkin seeds make a great substitute. Just keep in mind that different nuts toast at different rates, so keep an eye on them during roasting.
How can I make this dish spicier?
Add more red pepper flakes to the roasting mix—start with 1/2 teaspoon and adjust to your taste. You can also add a finely chopped fresh chili pepper, like a serrano or Thai bird chili, along with the garlic. For a different kind of heat, drizzle a little sriracha or chili crisp over the finished dish before serving.
Pin This Recipe!
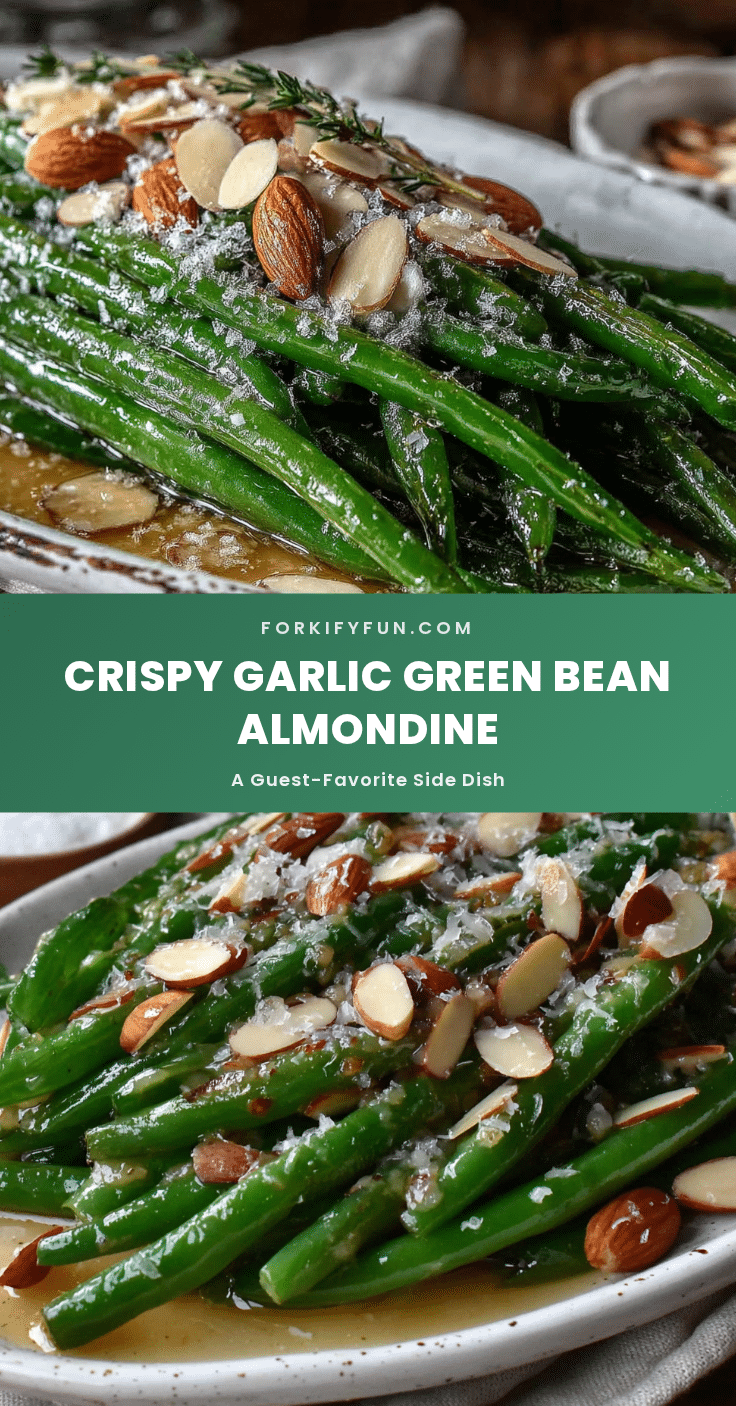
Crispy Garlic Green Bean Almondine – Best Easy Side Dish

This Crispy Garlic Green Bean Almondine is a quick and easy side dish that looks fancy but is secretly the easiest thing on the table. Roasted green beans with garlic and almonds create a perfectly tender, crispy, and flavorful dish that’s perfect for any occasion.
- Prep Time: 10 minutes
- Cook Time: 20 minutes
- Total Time: 30 minutes
- Yield: 6 servings 1x
- Category: Side Dish
- Cuisine: American
Ingredients
- 1 pound (450g) fresh green beans
- 4–5 large garlic cloves (about 20g)
- 1/3 cup (30g) sliced almonds
- 2 tablespoons (30ml) extra virgin olive oil
- 2 tablespoons (28g) unsalted butter
- 1 tablespoon (15ml) fresh lemon juice
- 1/2 teaspoon (3g) kosher salt
- 1/4 teaspoon (0.5g) freshly ground black pepper
- 1/4 teaspoon (0.5g) red pepper flakes (optional)
Instructions
- Preheat your oven to 425°F (220°C). Line a large rimmed baking sheet with parchment paper or aluminum foil.
- Wash the green beans and trim off the stem ends. Pat the beans completely dry with a clean kitchen towel.
- Peel the garlic cloves and leave them whole if small, or cut them in half if large.
- On the prepared baking sheet, combine the green beans, garlic cloves, and sliced almonds. Drizzle with olive oil, then sprinkle with salt, black pepper, and red pepper flakes (if using). Toss everything together until evenly coated. Spread in a single layer.
- Roast for 12 minutes. Remove the pan from the oven and toss the beans with tongs.
- Return the pan to the oven and roast for another 8-10 minutes, until the beans are tender with deep brown, crispy spots and the almonds are golden brown.
- While the beans are finishing, melt the butter in a small bowl in the microwave (about 20 seconds). Stir in the fresh lemon juice.
- As soon as the beans come out of the oven, drizzle the butter-lemon mixture over the top and toss gently to coat. Serve immediately.
Notes
For best results, ensure green beans are completely dry before roasting to achieve crispiness. If doubling the recipe, use two sheet pans to avoid crowding. Watch the almonds closely as they can burn quickly. For a dairy-free version, substitute butter with additional olive oil or vegan butter. For a nut-free version, replace almonds with pumpkin seeds or sunflower seeds.
Nutrition
- Serving Size: 1 serving (about 1/6
- Calories: 145
- Sugar: 3
- Sodium: 210
- Fat: 12
- Saturated Fat: 3.5
- Carbohydrates: 9
- Fiber: 4
- Protein: 4
Keywords: green bean almondine, crispy green beans, roasted green beans, garlic green beans, easy side dish, holiday side dish, vegetarian side dish


