There used to be a little diner off Highway 61 called The Copper Kettle that made a green bean casserole so good it ruined me for all others. When they closed in 2019 — a “For Lease” sign taped crooked in the window — I honestly felt a little lost. That casserole was the reason I sat through my aunt’s endless stories at our post-Thanksgiving dinners there. After 11 tries — two of which ended up watery enough to qualify as soup — I finally cracked it. Let me tell you, the victory dance in my kitchen that day was something to behold.
This is that casserole. The one that makes people pause mid-conversation, fork hovering, to ask “What did you put in this?” It’s the dish I now bring to every potluck and holiday gathering, the one that disappears before the ham even gets carved. And honestly? It’s not complicated at all. Just a handful of smart choices and one little trick that makes all the difference.
Maybe you’ve been there — searching for that one recipe that tastes like the memory you’re chasing. The one that makes your guests close their eyes after the first bite. Well, this is it. And I’m pretty sure you’re going to love it as much as I do.
Why You’ll Love This Recipe
This isn’t your average green bean casserole. I’ve tested this version for three different holiday dinners and two casual potlucks, and it’s never let me down. Here’s why this one stands out from the rest:
- Perfect for Hosting: You can assemble it entirely the day before your gathering. Just pop it in the oven while you’re greeting guests and pouring drinks. No last-minute scrambling needed.
- Crowd-Pleasing Magic: I’ve watched picky eaters go back for seconds, and vegetable skeptics ask for the recipe. The creamy sauce and crunchy topping win over just about everyone.
- Simple Ingredients: Nothing fancy here. You likely have most of these in your pantry right now. No special trips to gourmet grocery stores required.
- Unbelievably Delicious: The combination of tender green beans, rich mushroom sauce, and those crispy onions on top is pure comfort food perfection. It’s the kind of dish that makes you forget you’re eating vegetables.
- Stress-Free Showstopper: This casserole looks impressive on a buffet table but comes together with minimal effort. It’s my go-to when I want to look like I spent hours in the kitchen without actually doing so.
What makes this recipe different? It’s the technique. Instead of dumping everything into a dish and hoping for the best, there’s a small but crucial step that prevents that dreaded watery casserole. And the flavor? It’s deep, savory, and absolutely addictive. This isn’t just another version — it’s the one you’ll come back to year after year.
What Ingredients You Will Need
This recipe uses simple, honest ingredients that work together to create something truly special. Most are pantry staples, which makes this perfect for last-minute hosting.
For the Casserole Base
- 1 ½ pounds fresh green beans, trimmed and cut into 2-inch pieces (frozen works too, see notes below)
- 2 tablespoons unsalted butter (I prefer Kerrygold for its rich flavor)
- 8 ounces cremini mushrooms, sliced (baby bellas add deeper flavor than white button)
- 1 medium yellow onion, finely diced
- 3 cloves garlic, minced
- ¼ cup all-purpose flour (use gluten-free blend if needed)
- 1 ½ cups whole milk (2% works, but whole milk makes it creamier)
- 1 cup low-sodium chicken or vegetable broth
- 1 teaspoon kosher salt
- ½ teaspoon black pepper
- ¼ teaspoon ground nutmeg (trust me on this — it’s the secret)
- 1 cup sour cream (full-fat gives the best texture)
- 1 ½ cups shredded sharp cheddar cheese, divided
For the Topping
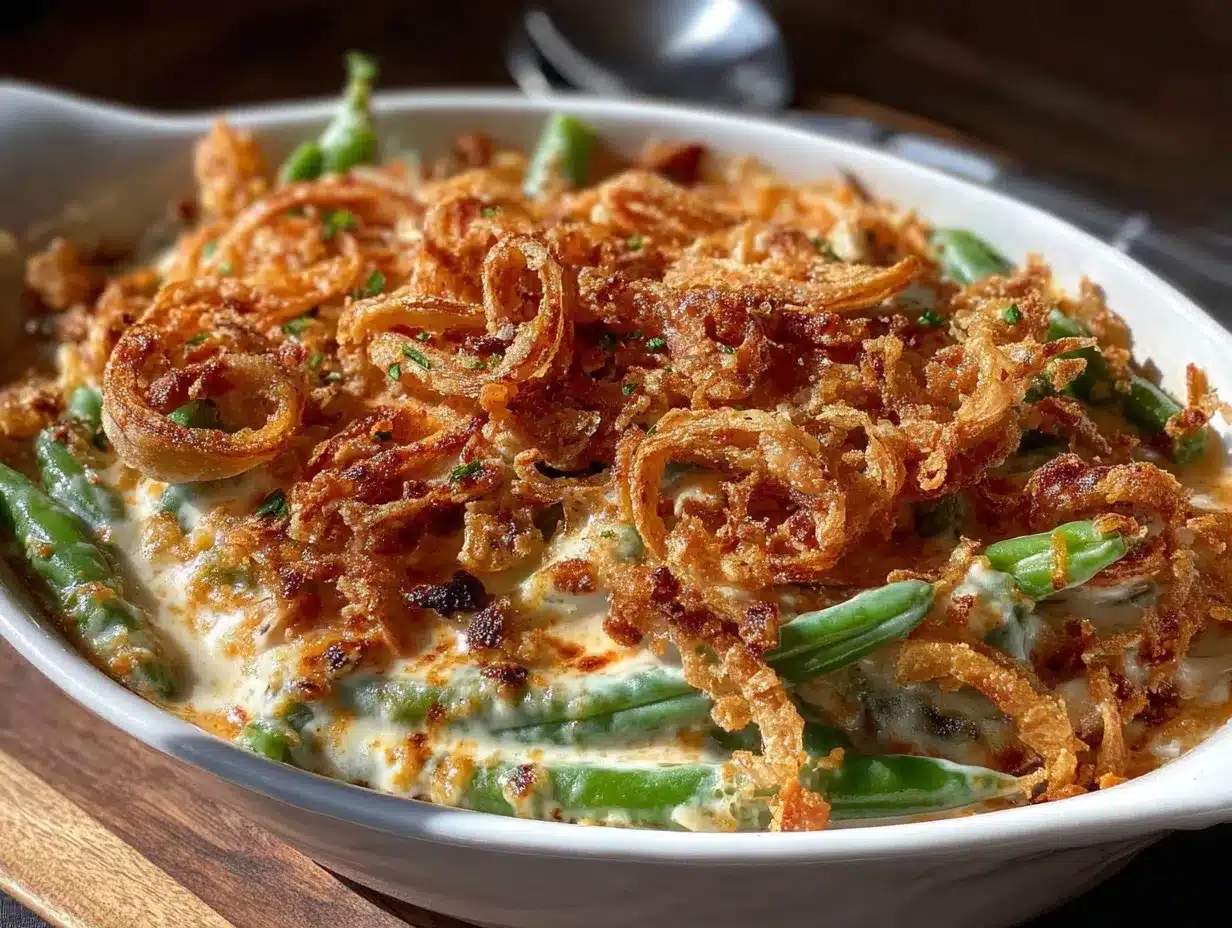
- 1 ½ cups crispy fried onions (store-bought is fine, French’s is my go-to)
- ½ cup panko breadcrumbs
- 2 tablespoons melted butter
Ingredient Notes: If using frozen green beans, thaw them completely and pat them dry with paper towels. Extra moisture is the enemy of a good casserole. For the mushrooms, don’t wash them under running water — wipe them clean with a damp paper towel instead. They absorb water like sponges, and that extra liquid will make your sauce thin.
I recommend using block cheddar and grating it yourself. Pre-shredded cheese has anti-caking agents that prevent it from melting smoothly. It’s a small extra step that makes a noticeable difference in the final texture.
Equipment Needed
You don’t need a fancy kitchen to pull this off. Here’s what you’ll need:
- Large pot for blanching the green beans
- Large skillet or sauté pan for making the sauce
- 9×13-inch baking dish (a 3-quart casserole dish works too)
- Colander for draining the beans
- Large bowl for mixing everything together
- Whisk for making the roux without lumps
- Chef’s knife and cutting board
- Measuring cups and spoons
If you don’t have a 9×13 dish, you can use a 10-inch cast iron skillet for a more rustic presentation. Just make sure it’s oven-safe. I’ve also used disposable aluminum pans when bringing this to potlucks — works perfectly and no dish to wash later.
Preparation Method
Let me walk you through this step by step. Trust the process, especially the blanching step — it’s the key to avoiding a soggy casserole.
- Preheat your oven to 375°F (190°C). Position the rack in the middle of the oven. While it’s heating, fill a large pot with water and bring it to a boil over high heat.
- Blanch the green beans. Once the water is boiling, add a generous pinch of salt, then drop in the green beans. Cook them for exactly 3 minutes — you want them bright green and tender-crisp. Drain immediately in a colander and run cold water over them to stop the cooking. Shake the colander well to remove excess water. This step is non-negotiable if you want a casserole that holds its shape instead of swimming in liquid.
- Sauté the aromatics. In your large skillet, melt the 2 tablespoons of butter over medium heat. Add the diced onion and cook for 4 minutes until translucent. Add the sliced mushrooms and cook for another 5-6 minutes until they’ve released their liquid and started to brown. You’ll hear a nice sizzle — that’s a good sign. Add the minced garlic and cook for 30 seconds until fragrant.
- Make the roux. Sprinkle the flour over the mushroom mixture. Stir constantly for 1 minute — this cooks out the raw flour taste. The mixture will look thick and pasty. That’s exactly what you want.
- Build the sauce. Slowly pour in the milk while whisking continuously. Then add the broth, salt, pepper, and nutmeg. Keep whisking until the sauce thickens, about 3-4 minutes. It should coat the back of a spoon. Remove from heat and stir in the sour cream and 1 cup of the shredded cheddar. Taste it — yes, go ahead. Adjust the salt and pepper if needed.
- Combine everything. In a large bowl, toss the blanched green beans with the sauce until every bean is coated. Transfer the mixture to your baking dish and spread it evenly.
- Add the toppings. In a small bowl, mix the crispy fried onions, panko breadcrumbs, and melted butter. Sprinkle this mixture evenly over the top of the casserole. Then scatter the remaining ½ cup of shredded cheddar over everything.
- Bake and rest. Bake for 20-25 minutes until the casserole is bubbly around the edges and the topping is golden brown. Let it rest for 5 minutes before serving — this allows the sauce to set up a bit so it doesn’t run all over the plate.
Pro tip for hosting: If you’re making this ahead, complete all steps up to step 6. Cover the assembled casserole with foil and refrigerate for up to 24 hours. When you’re ready to bake, add the topping and bake for 30 minutes (the extra time accounts for the cold casserole).
Cooking Tips & Techniques
After those 11 failed attempts, I learned a few things the hard way. Let me save you the trouble.
The biggest mistake people make is skipping the blanching step. I did it on my third try, thinking “how bad could it be?” Pretty bad, actually. The beans released so much water during baking that the casserole turned into a grayish soup. Blanching sets the color, partially cooks the beans, and removes that raw vegetable moisture. Don’t skip it.
Watch your heat when making the roux. Medium heat is perfect. Too high, and the flour will burn before it thickens. You’ll end up with a sauce that tastes bitter and never gets properly thick. If you see the mixture turning brown too quickly, pull the pan off the heat for a minute.
Freshly grated cheese really does matter. I know, I know — it’s an extra step. But pre-shredded cheese is coated in potato starch or cellulose to prevent clumping, and that coating prevents smooth melting. Your sauce will be slightly grainy instead of silky. I learned this lesson on attempt number six, and I’ve never gone back.
For hosting, timing is everything. Make the casserole up to the baking point the day before. Then, while guests are arriving and you’re pouring wine, just add the topping and pop it in the oven. It gives you 30 minutes to set out appetizers and relax before dinner.
One more thing about the nutmeg — I know it sounds weird in a savory dish, but it adds this warm, almost sweet undertone that makes the sauce taste richer. Just a quarter teaspoon. Too much and it’ll taste like pumpkin pie. Just enough, and people will ask “what’s that flavor?” without being able to place it.
Variations & Adaptations
This recipe is forgiving, and I’ve played around with it quite a bit. Here are some variations worth trying:
Dietary Adaptations
- Gluten-Free: Use a gluten-free all-purpose flour blend for the roux, and substitute the panko with crushed gluten-free crackers or more crispy onions.
- Dairy-Free: Replace the butter with vegan butter or olive oil, use unsweetened oat milk or cashew cream instead of whole milk, and swap the cheese for a dairy-free shred that melts well. The sour cream can be replaced with a dairy-free version or blended silken tofu.
- Vegetarian: It already is! Just use vegetable broth instead of chicken broth.
Flavor Twists
- Bacon Lover’s Version: Cook 6 slices of bacon until crispy, crumble them, and stir half into the sauce before baking. Sprinkle the rest on top with the crispy onions.
- Herb-Infused: Add 1 tablespoon of fresh thyme leaves and 1 teaspoon of fresh rosemary, finely chopped, to the mushroom mixture. It gives the casserole a more sophisticated, almost Thanksgiving-y flavor.
- Spicy Kick: Add a pinch of cayenne pepper or red pepper flakes to the sauce. It doesn’t make it spicy — just adds a warmth that plays nicely with the creamy sauce.
Seasonal Swaps
In the summer, I’ve used fresh yellow wax beans instead of green beans — they’re a little milder and look beautiful on the plate. In the fall, try adding a handful of roasted butternut squash cubes to the mix. It’s unexpected and absolutely delicious.
Serving & Storage Suggestions
This casserole is at its absolute best served hot, straight from the oven. Let it rest for those 5 minutes (I know it’s hard to wait), then scoop it onto plates. The topping should still be crunchy, and the sauce should be thick enough to coat the beans without running.
What to serve alongside: This pairs beautifully with roast chicken, turkey, or ham. For holiday gatherings, it’s perfect next to mashed potatoes and cranberry sauce. At potlucks, I’ve seen it disappear alongside everything from pulled pork to baked salmon. It’s a versatile side that plays well with others.
For presentation: If you’re bringing this to a gathering, sprinkle a few extra crispy onions on top right before serving — it makes it look freshly made even if it’s been sitting for a while. A sprinkle of fresh parsley or chives adds a nice pop of green.
Storage: Leftovers keep in the refrigerator for up to 4 days in an airtight container. The topping will soften over time, but the flavor actually gets better as it sits. To reheat, pop individual portions in the microwave or reheat the whole dish in a 350°F oven for 15 minutes.
Freezing: You can freeze the assembled, unbaked casserole for up to 3 months. Thaw it overnight in the refrigerator, add the topping, and bake as directed. I’ve done this for Christmas dinner prep, and it worked beautifully.
Nutritional Information & Benefits
Let’s be honest — this is comfort food, not health food. But it does have some redeeming qualities. Green beans are packed with vitamin C, vitamin K, and fiber. Mushrooms provide B vitamins and selenium. And that creamy sauce? Well, it makes you happy, and that counts for something.
Per serving (based on 8 servings):
- Calories: 285
- Fat: 18g
- Carbohydrates: 22g
- Fiber: 4g
- Protein: 10g
- Sodium: 520mg
Dietary considerations: This recipe contains dairy and gluten. For a lighter version, you can use reduced-fat cheese and sour cream, but honestly? The full-fat version tastes better, and you’re probably not eating this every day. It’s a special occasion dish, so enjoy it.
If you’re watching sodium, use low-sodium broth and reduce the added salt to ½ teaspoon. The crispy onions add some saltiness on their own, so you might not miss it.
Conclusion
This green bean casserole is the one that finally made me stop missing The Copper Kettle. It’s creamy without being heavy, crunchy without being dry, and flavorful without being complicated. Every time I bring it to a gathering, someone asks for the recipe. And I always smile, because I remember how long it took me to get it just right.
I hope this becomes your go-to recipe too. Whether you’re hosting Thanksgiving for twenty people or just bringing a side dish to a friend’s potluck, this casserole delivers. Feel free to play with the variations — make it your own. That’s what cooking is all about.
If you make this, I’d love to hear about it. Leave a comment below and let me know how it turned out. Did you add bacon? Try the herb version? Forget the nutmeg and regret it? Tell me everything. And if you’re looking for other crowd-pleasing sides, check out my creamy mashed potatoes or honey glazed carrots — they complete the perfect holiday spread.
Happy cooking, friends. And remember — the secret is in the nutmeg.
Frequently Asked Questions
Can I use canned green beans instead of fresh?
You can, but I don’t recommend it. Canned green beans are already fully cooked and much softer, so they’ll turn mushy during baking. If you’re in a pinch, frozen green beans are a much better alternative — just thaw and pat them dry first.
Why is my green bean casserole watery?
This usually happens for one of three reasons: you skipped the blanching step, you didn’t cook the mushroom mixture long enough to evaporate their moisture, or you used frozen beans without thawing and drying them first. Any of these add extra water to the dish. Follow the steps as written, and you’ll get a perfectly thick casserole every time.
Can I make this casserole ahead of time?
Absolutely. Assemble the casserole completely (minus the topping) up to 24 hours in advance. Cover and refrigerate. When you’re ready to bake, add the crispy onion topping and bake for 30 minutes instead of 20-25, since you’re starting from cold.
How do I reheat leftovers without ruining the texture?
The best way is in the oven at 350°F for about 15 minutes. This helps re-crisp the topping slightly. The microwave works in a pinch, but the topping will be soft. I actually don’t mind soft topping on leftovers — the flavors meld together beautifully overnight.
Can I double this recipe for a crowd?
Yes! Double all the ingredients and use a larger baking dish (or two 9×13 dishes). The baking time may increase by 5-10 minutes since you have more volume. Just keep an eye on it — you want it bubbly and golden on top.
Pin This Recipe!
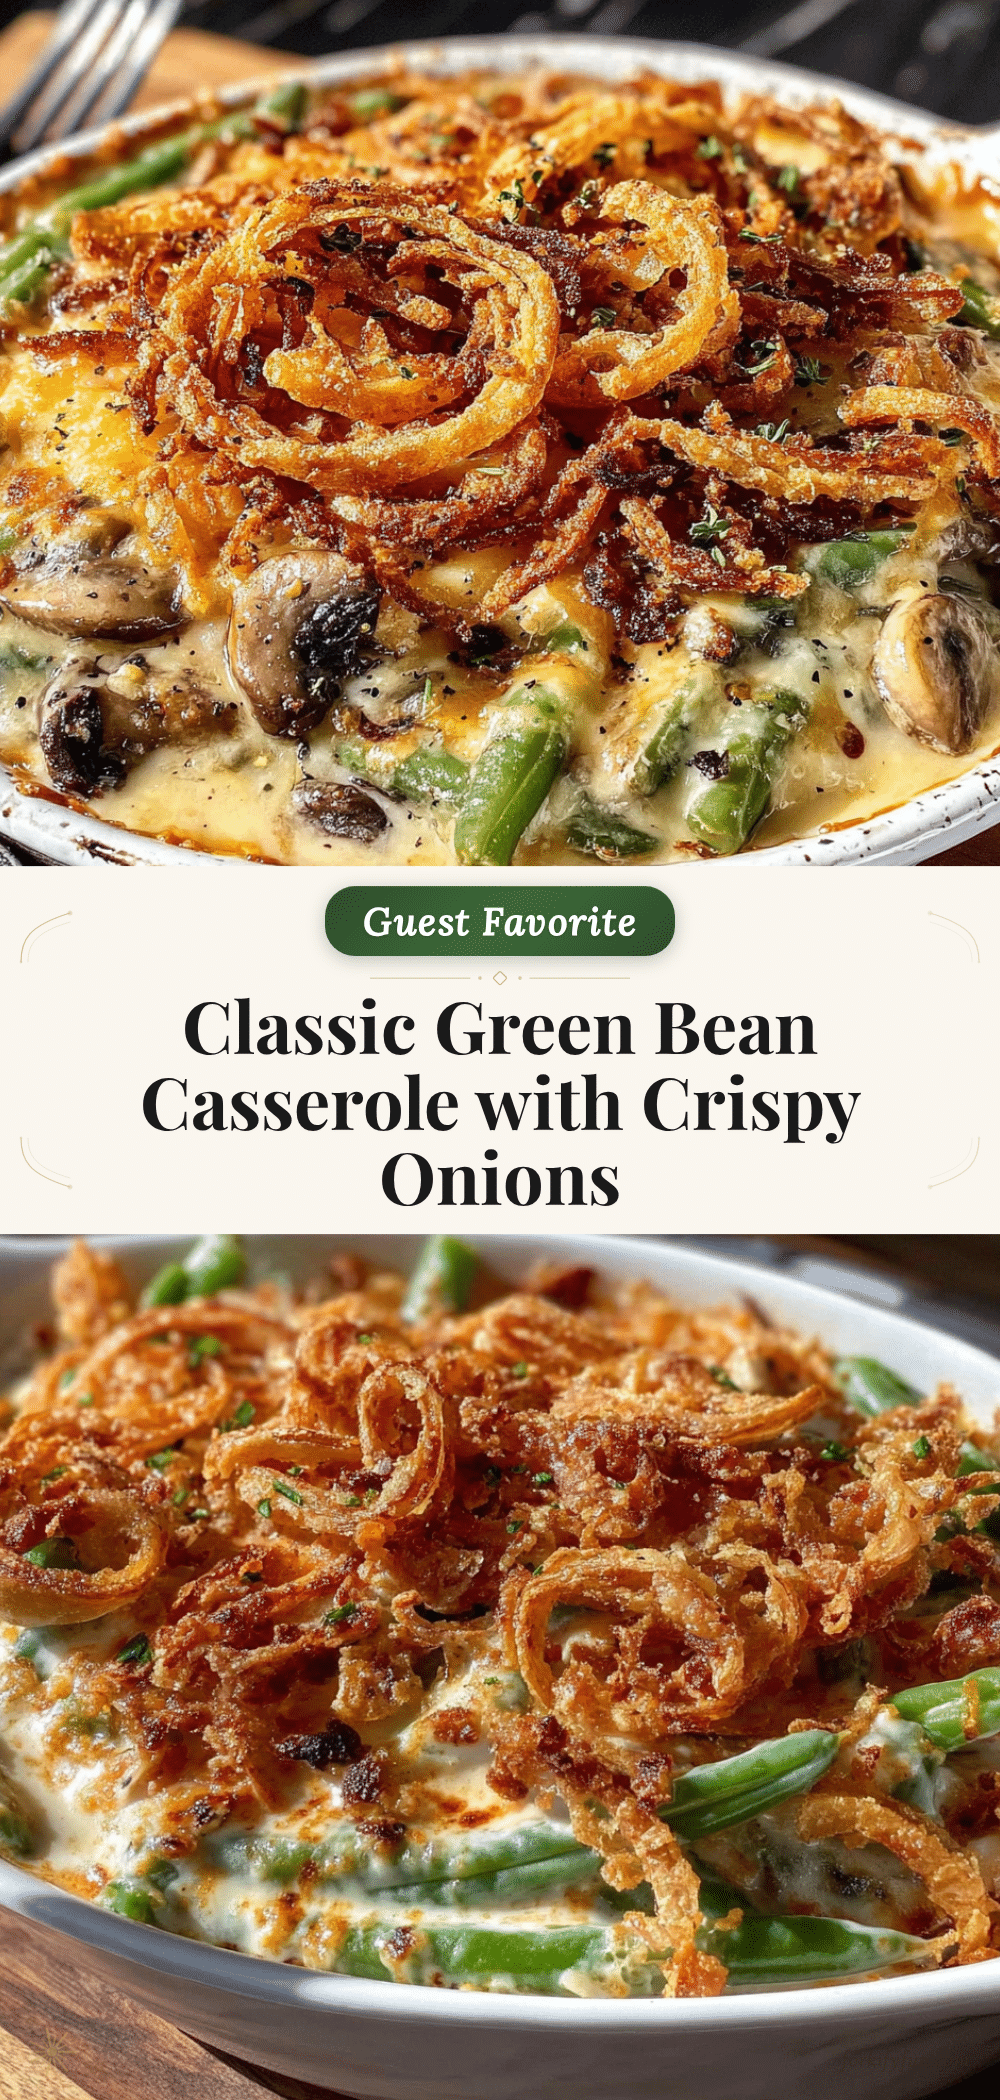
Best Classic Green Bean Casserole with Crispy Onions

This creamy, crunchy green bean casserole is the ultimate comfort food side dish. With tender green beans, a rich mushroom sauce, and a crispy onion topping, it’s the perfect addition to any holiday meal or potluck.
- Prep Time: 20 minutes
- Cook Time: 30 minutes
- Total Time: 50 minutes
- Yield: 8 servings 1x
- Category: Side Dish
- Cuisine: American
Ingredients
- 1 ½ pounds fresh green beans, trimmed and cut into 2-inch pieces
- 2 tablespoons unsalted butter
- 8 ounces cremini mushrooms, sliced
- 1 medium yellow onion, finely diced
- 3 cloves garlic, minced
- ¼ cup all-purpose flour
- 1 ½ cups whole milk
- 1 cup low-sodium chicken or vegetable broth
- 1 teaspoon kosher salt
- ½ teaspoon black pepper
- ¼ teaspoon ground nutmeg
- 1 cup sour cream
- 1 ½ cups shredded sharp cheddar cheese, divided
- 1 ½ cups crispy fried onions
- ½ cup panko breadcrumbs
- 2 tablespoons melted butter
Instructions
- Preheat your oven to 375°F (190°C). Position the rack in the middle of the oven. While it’s heating, fill a large pot with water and bring it to a boil over high heat.
- Blanch the green beans. Once the water is boiling, add a generous pinch of salt, then drop in the green beans. Cook them for exactly 3 minutes — you want them bright green and tender-crisp. Drain immediately in a colander and run cold water over them to stop the cooking. Shake the colander well to remove excess water.
- Sauté the aromatics. In your large skillet, melt the 2 tablespoons of butter over medium heat. Add the diced onion and cook for 4 minutes until translucent. Add the sliced mushrooms and cook for another 5-6 minutes until they’ve released their liquid and started to brown. Add the minced garlic and cook for 30 seconds until fragrant.
- Make the roux. Sprinkle the flour over the mushroom mixture. Stir constantly for 1 minute — this cooks out the raw flour taste. The mixture will look thick and pasty.
- Build the sauce. Slowly pour in the milk while whisking continuously. Then add the broth, salt, pepper, and nutmeg. Keep whisking until the sauce thickens, about 3-4 minutes. It should coat the back of a spoon. Remove from heat and stir in the sour cream and 1 cup of the shredded cheddar. Taste and adjust salt and pepper if needed.
- Combine everything. In a large bowl, toss the blanched green beans with the sauce until every bean is coated. Transfer the mixture to your baking dish and spread it evenly.
- Add the toppings. In a small bowl, mix the crispy fried onions, panko breadcrumbs, and melted butter. Sprinkle this mixture evenly over the top of the casserole. Then scatter the remaining ½ cup of shredded cheddar over everything.
- Bake and rest. Bake for 20-25 minutes until the casserole is bubbly around the edges and the topping is golden brown. Let it rest for 5 minutes before serving.
Notes
For best results, use fresh green beans and blanch them. Freshly grated cheddar melts better than pre-shredded. The nutmeg is the secret ingredient that adds depth. To make ahead, assemble without topping, cover, and refrigerate up to 24 hours; add topping and bake 30 minutes when ready.
Nutrition
- Serving Size: 1 serving
- Calories: 285
- Sugar: 6
- Sodium: 520
- Fat: 18
- Saturated Fat: 10
- Carbohydrates: 22
- Fiber: 4
- Protein: 10
Keywords: green bean casserole, classic green bean casserole, holiday side dish, Thanksgiving side dish, creamy green bean casserole, crispy onion topping


