Maggie wasn’t trying to impress anyone. I’d stopped by her place on a random Tuesday afternoon to drop off a book I’d borrowed, and the smell hit me before I even got through the door. It was deep and smoky, with this warmth that seemed to fill every corner of her small kitchen. She was stirring a big pot on the stove, wearing an old flannel shirt, and she barely looked up when I walked in. “You’re staying for dinner,” she said. It wasn’t a question.
Now, I’ve had my share of chili over the years. But this one was different. It had this richness to it, a depth that regular beef chili just doesn’t have. I asked her what she put in it, and she just shrugged and said, “Venison. From my brother’s freezer.” That was it. No big speech, no fancy technique. She just let the meat do the talking. Honestly, I stood there for a good minute just watching her stir that pot, trying to figure out what made it smell so incredible. Maybe you’ve been there—that moment when you realize something simple is actually something special.
I begged her for the recipe, and she eventually scribbled it on a napkin. It was messy, with measurements like “a handful of this” and “enough of that.” It took me a few tries to get it right, but let me tell you, once I did, it became a staple in my house. This cozy Dutch oven venison chili with beans is the kind of meal that makes a cold day feel manageable. It’s the recipe that stayed with me, the one I keep coming back to when I need something hearty and honest. And now I’m sharing it with you, exactly the way Maggie made it that Tuesday afternoon.
Why You’ll Love This Recipe
I’ve tested this recipe more times than I can count, tweaking the spice blend and the cooking time until it was just right. It’s been approved by hunters, picky kids, and even a vegetarian friend who “made an exception.” Here’s why this version stands out from the crowd:
- Quick & Easy: Don’t let the Dutch oven fool you. This comes together in about an hour and a half, with most of that time being hands-off simmering. Perfect for a lazy Sunday or a busy weeknight when you want something that feels like a project but isn’t.
- Simple Ingredients: You won’t need to hunt down exotic spices or specialty items. Everything here is a pantry staple, except maybe the venison itself. And if you don’t have venison, I’ve got you covered with substitutions.
- Perfect for Game Day or Cozy Nights: This chili is built for the season. Whether you’re hosting a football party, hunkering down during a snowstorm, or just craving something warm after a chilly walk, this fits the bill.
- Crowd-Pleaser: I’ve brought this to potlucks and family dinners, and the pot always comes back empty. It’s got that universal appeal—hearty, flavorful, and satisfying without being too spicy for sensitive palates.
- Unbelievably Delicious: The venison gives it this earthy, gamey depth that beef just can’t replicate. Combined with the smoky chipotle and the rich tomato base, every spoonful is a little piece of comfort.
What makes my version different is the technique. I brown the meat in batches to get a serious crust, and I let the chili simmer low and slow to let the flavors meld. It’s not just another chili recipe—it’s the one that will make you close your eyes after the first bite. This is comfort food reimagined: heartier, richer, and perfect for the season.
What Ingredients You Will Need
This recipe uses simple, wholesome ingredients to build layers of flavor. Most of these are pantry staples, and the venison is the star. Here’s what you’ll need, broken down by function.
For the Chili Base
- 2 tablespoons olive oil (or avocado oil; use something with a high smoke point for browning)
- 2 pounds ground venison (if you’re using a lean cut, consider adding a tablespoon of butter for moisture)
- 1 large yellow onion, diced (about 1.5 cups; sweet onion works too)
- 4 cloves garlic, minced (fresh is best, but jarred minced garlic works in a pinch)
- 1 red bell pepper, diced (adds sweetness and color; green bell pepper works too)
- 2 jalapeños, seeded and minced (leave the seeds in if you want more heat)
For the Spice Blend
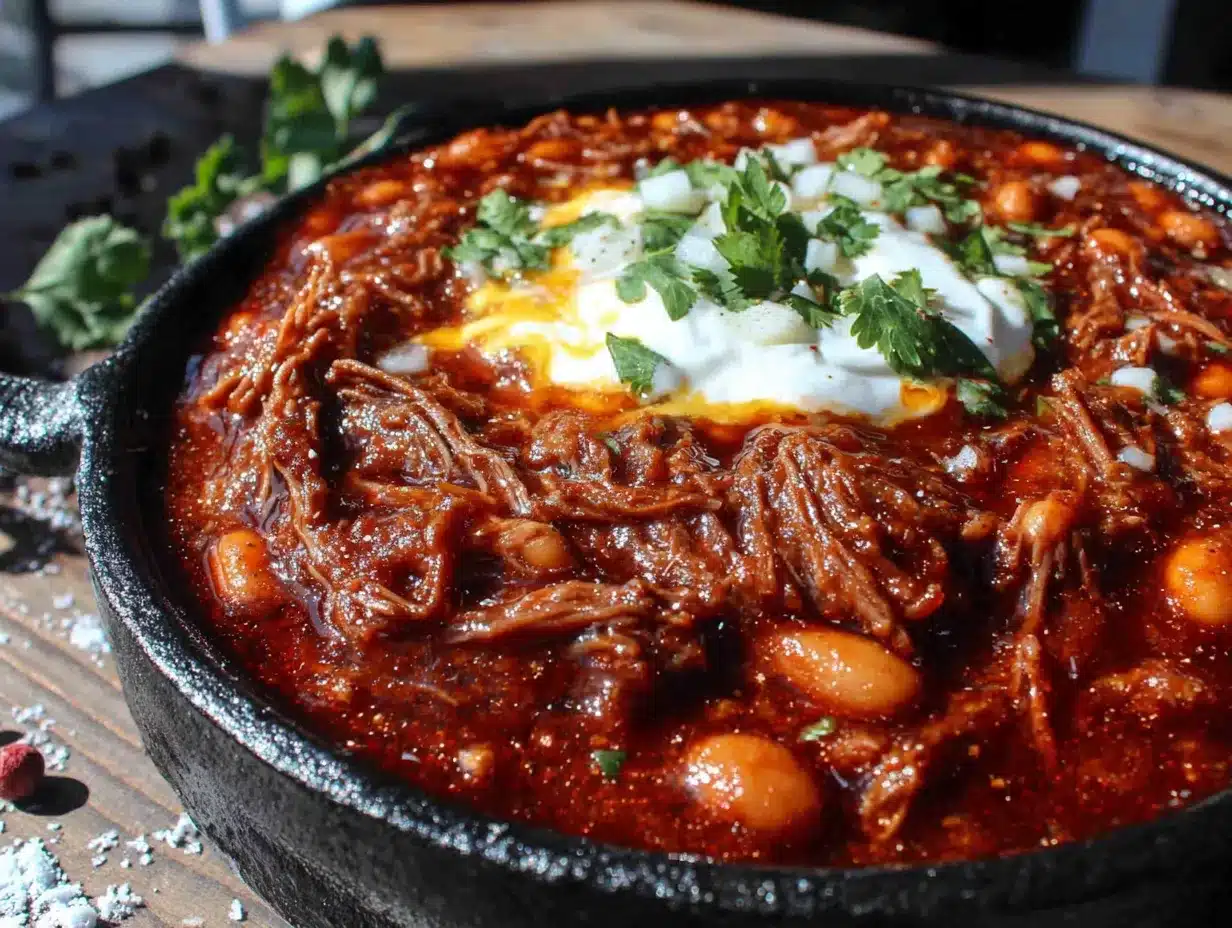
- 3 tablespoons chili powder (I prefer McCormick for its balanced heat; adjust to taste)
- 1 tablespoon ground cumin (toasty and earthy; don’t skip this)
- 1 teaspoon smoked paprika (adds that campfire depth)
- 1 teaspoon dried oregano (Mexican oregano if you have it)
- 1/2 teaspoon cayenne pepper (optional; for extra heat)
- 1 teaspoon salt (plus more to taste)
- 1/2 teaspoon black pepper
For the Liquid & Beans
- 1 can (14.5 ounces) fire-roasted diced tomatoes (I recommend Muir Glen for the best smoky flavor)
- 1 can (8 ounces) tomato sauce (no-salt-added is fine)
- 2 cups beef broth (or venison broth if you have it; low-sodium works best)
- 1 can (15 ounces) kidney beans, drained and rinsed (dark red kidney beans hold their shape well)
- 1 can (15 ounces) pinto beans, drained and rinsed (or black beans if you prefer)
- 1 tablespoon chipotle peppers in adobo sauce, minced (this is the secret weapon—adds smoky heat; freeze the rest for later)
Optional Toppings
- Shredded cheddar cheese
- Sour cream or Greek yogurt
- Fresh cilantro, chopped
- Diced avocado
- Crushed tortilla chips
- Lime wedges
Ingredient Tip: If you’re using frozen venison, thaw it completely in the fridge overnight and pat it dry with paper towels before browning. Excess moisture will steam the meat instead of searing it, and you want that deep, caramelized crust.
Equipment Needed
- Dutch oven (5-6 quart): This is non-negotiable for the best results. The heavy bottom distributes heat evenly, and the tight lid traps steam for tender meat. I use my Lodge enameled cast iron, and it’s worth every penny. If you don’t have one, a heavy-bottomed stockpot will work, but you’ll need to stir more often to prevent sticking.
- Wooden spoon or spatula: For scraping up those browned bits from the bottom of the pot—that’s where the flavor lives.
- Sharp chef’s knife and cutting board: For dicing the veggies. A dull knife makes this job miserable.
- Measuring spoons and cups: For the spice blend and liquids. I like to pre-measure everything before I start cooking.
- Can opener: Obvious, but easy to forget when you’re in the zone.
- Tongs: For turning the meat if you’re browning it in chunks. I use OXO tongs—they’re sturdy and comfortable.
Budget-Friendly Option: If you don’t own a Dutch oven, check thrift stores or garage sales. I found my first one for $15, and it lasted me years. Cast iron is built to last a lifetime.
Preparation Method
- Prep your ingredients (10 minutes): Dice the onion, bell pepper, and jalapeños. Mince the garlic. Drain and rinse the beans. Measure out your spices into a small bowl. This mise en place makes the cooking process smooth and stress-free.
- Brown the venison (15 minutes): Heat your Dutch oven over medium-high heat and add 1 tablespoon of olive oil. Once it shimmers, add half the venison in a single layer. Don’t crowd the pot—the meat needs room to sear, not steam. Let it cook undisturbed for 3-4 minutes until a deep brown crust forms, then break it apart with your spoon and cook for another 2 minutes. Transfer to a plate. Repeat with the remaining oil and venison. This two-batch method is the key to that rich, meaty flavor. I learned this the hard way after making soggy, gray chili for years.
- Sauté the aromatics (8 minutes): Reduce the heat to medium. Add the diced onion to the pot and cook for 4-5 minutes, scraping up the browned bits from the bottom. The onion should turn translucent and start to brown at the edges. Add the garlic, bell pepper, and jalapeños, and cook for another 2-3 minutes until fragrant. Your kitchen will smell incredible at this point.
- Toast the spices (1 minute): Add the chili powder, cumin, smoked paprika, oregano, cayenne, salt, and pepper to the pot. Stir constantly for 30-60 seconds until the spices are fragrant and slightly darkened. This step wakes up the flavors—don’t skip it. If the spices start to stick, add a splash of broth.
- Add the liquids and chipotle (5 minutes): Pour in the fire-roasted tomatoes, tomato sauce, and beef broth. Add the minced chipotle peppers. Stir everything together, scraping the bottom of the pot to release any stuck-on bits. Bring the mixture to a simmer.
- Return the meat and simmer (45-60 minutes): Add the browned venison back to the pot along with any accumulated juices. Stir to combine. Reduce the heat to low, cover the pot, and let it simmer gently for 45 minutes. Stir every 15 minutes to prevent sticking. The chili should be bubbling lazily, not boiling aggressively.
- Add the beans (5 minutes before serving): After 45 minutes, stir in the drained kidney beans and pinto beans. Let them simmer uncovered for 5-10 minutes to heat through. Adding them late prevents them from turning mushy. Taste and adjust seasoning—I usually add another pinch of salt and a squeeze of lime juice.
- Rest and serve (5 minutes): Remove the pot from the heat and let the chili rest for 5 minutes. This allows the flavors to settle and the chili to thicken slightly. Ladle into bowls and top with your favorite garnishes.
Sensory Cue: When the chili is ready, the liquid should be thick enough to coat the back of a spoon. The venison will be tender but not falling apart, and the aroma will be deeply smoky with a hint of spice. You should see a thin layer of oil on the surface—that’s flavor.
Cooking Tips & Techniques
I’ve made this chili more times than I can count, and I’ve messed it up plenty along the way. Here’s what I’ve learned.
Don’t rush the browning. This is the single most important step. If you crowd the pot, the meat releases steam and boils instead of searing. You end up with gray, flavorless meat. Trust me, I’ve been there. Take the extra 10 minutes to brown in batches.
Use the right chili powder. Not all chili powders are created equal. Some are mild, some are hot, and some are blends. I prefer a medium-heat chili powder from Penzey’s for its complex flavor. If you’re using a generic grocery store brand, you might need to add more to get the same depth.
Toast your spices. This is a game-changer. Thirty seconds in the hot oil transforms the spices from dusty to aromatic. It’s the difference between a flat chili and one that hits you with layers of flavor.
Let it rest. Chili always tastes better the next day. The flavors meld and deepen overnight. I often make this a day ahead and reheat it slowly. If you can’t wait, at least let it rest for 10 minutes before serving.
Watch the salt. Venison is lean and can become tough if oversalted. I add salt in stages—a little during browning, a little with the spices, and a final adjustment at the end. Taste as you go.
Common Mistake: Adding the beans too early. They release starch and can turn the chili into a thick, pasty mess. Always add them in the last 10 minutes.
Variations & Adaptations
This recipe is flexible, and I’ve tried several variations over the years. Here are a few of my favorites.
- Beef Substitute: If you don’t have venison, use ground beef (80/20 blend) or ground bison. Bison is leaner than beef but still has a rich flavor. For a lighter option, try ground turkey or chicken, but add an extra tablespoon of oil to compensate for the leanness.
- Vegetarian Version: Swap the venison for 2 cans of black beans and 1 cup of finely chopped mushrooms. Sauté the mushrooms until they release their liquid and brown, then proceed with the recipe. The mushrooms add umami and a meaty texture.
- Spice Level Adjustment: For a milder chili, skip the cayenne and use only one jalapeño (remove the seeds and membranes). For extra heat, add 1/2 teaspoon of crushed red pepper flakes or a diced habanero. I once added a whole habanero by accident—it was edible, but barely. Learn from my mistake.
- Slow Cooker Adaptation: Brown the meat and sauté the aromatics in a skillet, then transfer everything except the beans to a slow cooker. Cook on low for 6-8 hours or high for 3-4 hours. Add the beans in the last 30 minutes. The flavor won’t be as deep as the Dutch oven version, but it’s still solid.
- Seasonal Twist: In the fall, add 1 cup of cubed butternut squash along with the tomatoes. It adds sweetness and a velvety texture. In the summer, stir in a cup of fresh corn kernels at the end for a pop of sweetness.
Serving & Storage Suggestions
This chili is best served piping hot in deep bowls. I like to set up a toppings bar so everyone can customize their own. Classic toppings include shredded cheddar, sour cream, diced avocado, fresh cilantro, and a squeeze of lime. For texture, crushed tortilla chips or Fritos are essential. I also love a side of warm cornbread or crusty bread for sopping up the broth.
Storage: Let the chili cool completely, then transfer it to an airtight container. It will keep in the refrigerator for up to 5 days. The flavors actually improve after a day or two—the spices mellow and meld together beautifully.
Freezing: This chili freezes like a dream. Portion it into freezer-safe bags or containers, leaving an inch of headspace for expansion. It will keep for up to 3 months. Thaw overnight in the fridge and reheat gently on the stovetop or in the microwave.
Reheating: Reheat in a pot over medium-low heat, stirring occasionally. If the chili has thickened too much, add a splash of broth or water to loosen it. Avoid boiling, which can toughen the meat. For single servings, the microwave works fine—just cover the bowl and heat in 30-second bursts, stirring between each.
Flavor Development: If you’re planning to make this ahead, I recommend adding the beans just before serving, even when reheating. This keeps them firm and prevents them from absorbing too much liquid and turning mushy.
Nutritional Information & Benefits
Here’s an approximate nutritional breakdown per serving (based on 8 servings, with toppings not included):
| Nutrient | Amount |
|---|---|
| Calories | 320 |
| Protein | 28g |
| Fat | 12g |
| Carbohydrates | 28g |
| Fiber | 8g |
| Sugar | 6g |
| Sodium | 680mg |
Venison is a fantastic source of lean protein, rich in iron and B vitamins. It’s lower in fat than beef, making this a heartier but healthier option. The beans add fiber and plant-based protein, while the tomatoes provide lycopene, a powerful antioxidant. This chili is naturally gluten-free and dairy-free (without the toppings). If you’re watching your sodium, use low-sodium broth and no-salt-added canned tomatoes, and reduce the added salt.
From a wellness perspective, this is the kind of meal that fills you up without weighing you down. It’s satisfying enough for a post-hike dinner but balanced enough for a regular weeknight.
Conclusion
This cozy Dutch oven venison chili with beans is more than just a recipe—it’s a way to bring a little warmth into your kitchen when the world outside feels cold. It’s the kind of meal that makes you slow down, take a deep breath, and appreciate the simple things. Whether you’re making it for a crowd or just for yourself on a quiet evening, it delivers every time.
I’d love to hear how it turns out for you. Did you add your own twist? Did you serve it with something unexpected? Drop a comment below and let me know. And if you share it on social media, tag me—I want to see your beautiful bowls of chili. Until next time, happy cooking, and remember: the best meals are the ones made with a little patience and a lot of love.
Frequently Asked Questions
Can I use ground beef instead of venison?
Absolutely. Use an 80/20 blend for the best flavor and moisture. The cooking time and method stay the same.
How do I reduce the gamey taste of venison?
Soak the venison in milk or buttermilk for 2 hours before cooking. Rinse and pat dry before browning. The milk helps mellow the gamey flavor.
Can I make this in an Instant Pot?
Yes. Use the sauté function to brown the meat and cook the aromatics, then pressure cook on high for 15 minutes with a natural release. Add the beans after pressure cooking.
How spicy is this chili?
It’s medium-heat. The chipotle adds a smoky warmth, and the cayenne gives a mild kick. For a milder version, skip the cayenne and reduce the chipotle.
Can I leave out the beans?
Sure. This is a Texas-style chili without beans. The chili will be thicker and more meat-forward. You might want to add an extra can of diced tomatoes to make up the volume.
Pin This Recipe!
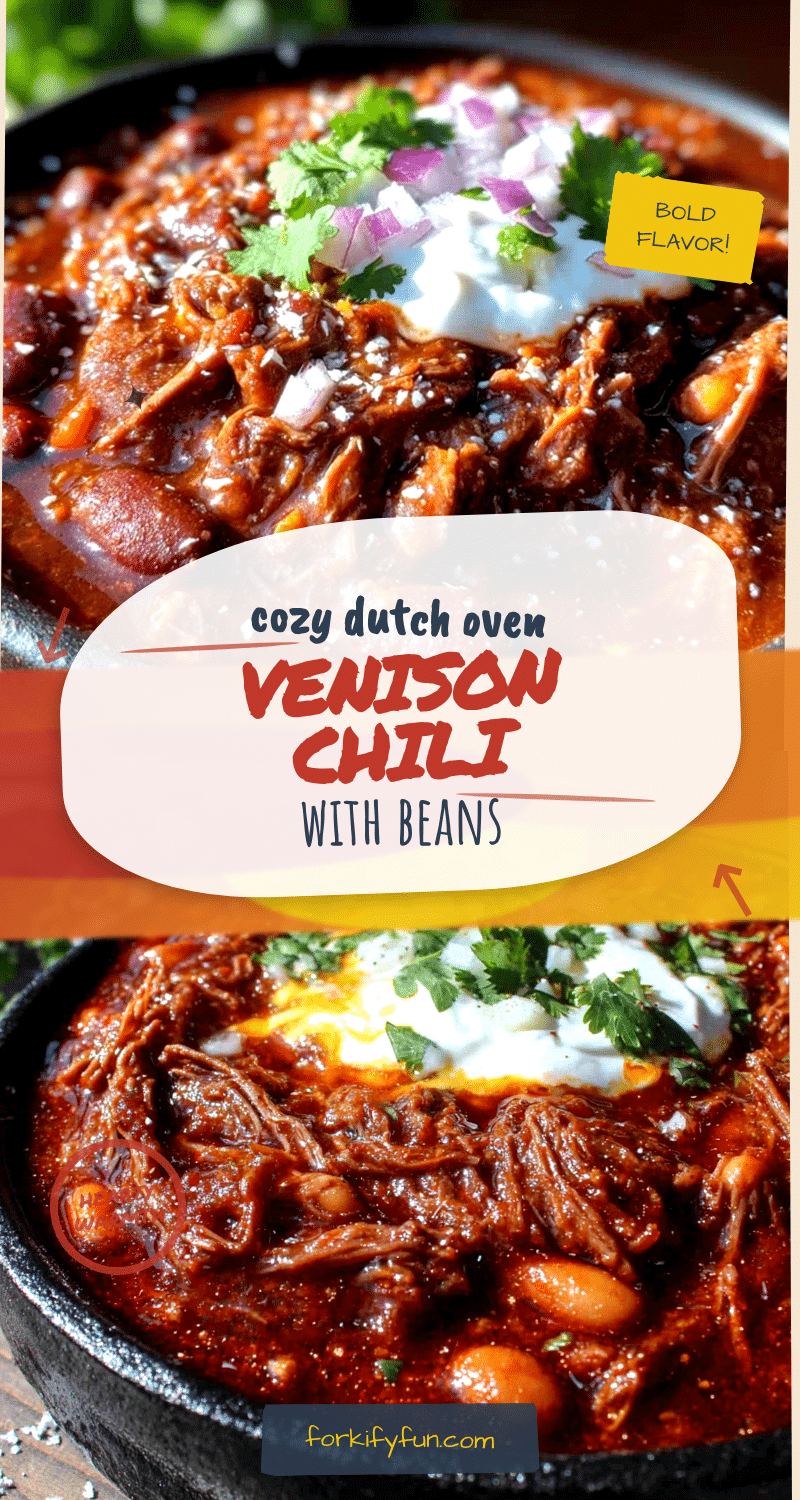
Cozy Dutch Oven Venison Chili with Beans – Best Easy One-Pot Recipe

A hearty and flavorful venison chili made in a Dutch oven, featuring a rich, smoky depth from chipotle peppers and a perfect blend of spices. This one-pot meal is ideal for cold days, game day gatherings, or cozy nights in.
- Prep Time: 10 minutes
- Cook Time: 1 hour 15 minutes
- Total Time: 1 hour 30 minutes
- Yield: 8 servings 1x
- Category: Main Course
- Cuisine: American
Ingredients
- 2 tablespoons olive oil (or avocado oil)
- 2 pounds ground venison
- 1 large yellow onion, diced (about 1.5 cups)
- 4 cloves garlic, minced
- 1 red bell pepper, diced
- 2 jalapeños, seeded and minced
- 3 tablespoons chili powder
- 1 tablespoon ground cumin
- 1 teaspoon smoked paprika
- 1 teaspoon dried oregano
- 1/2 teaspoon cayenne pepper (optional)
- 1 teaspoon salt (plus more to taste)
- 1/2 teaspoon black pepper
- 1 can (14.5 ounces) fire-roasted diced tomatoes
- 1 can (8 ounces) tomato sauce
- 2 cups beef broth (or venison broth)
- 1 can (15 ounces) kidney beans, drained and rinsed
- 1 can (15 ounces) pinto beans, drained and rinsed
- 1 tablespoon chipotle peppers in adobo sauce, minced
- Optional toppings: shredded cheddar cheese, sour cream or Greek yogurt, fresh cilantro, diced avocado, crushed tortilla chips, lime wedges
Instructions
- Prep your ingredients (10 minutes): Dice the onion, bell pepper, and jalapeños. Mince the garlic. Drain and rinse the beans. Measure out your spices into a small bowl.
- Brown the venison (15 minutes): Heat your Dutch oven over medium-high heat and add 1 tablespoon of olive oil. Once it shimmers, add half the venison in a single layer. Let it cook undisturbed for 3-4 minutes until a deep brown crust forms, then break it apart and cook for another 2 minutes. Transfer to a plate. Repeat with the remaining oil and venison.
- Sauté the aromatics (8 minutes): Reduce heat to medium. Add the diced onion and cook for 4-5 minutes, scraping up browned bits. Add the garlic, bell pepper, and jalapeños, and cook for another 2-3 minutes until fragrant.
- Toast the spices (1 minute): Add chili powder, cumin, smoked paprika, oregano, cayenne, salt, and pepper. Stir constantly for 30-60 seconds until fragrant.
- Add the liquids and chipotle (5 minutes): Pour in fire-roasted tomatoes, tomato sauce, and beef broth. Add minced chipotle peppers. Stir and scrape the bottom of the pot. Bring to a simmer.
- Return the meat and simmer (45-60 minutes): Add the browned venison back to the pot along with any juices. Stir, reduce heat to low, cover, and simmer gently for 45 minutes, stirring every 15 minutes.
- Add the beans (5 minutes before serving): Stir in the drained kidney beans and pinto beans. Simmer uncovered for 5-10 minutes to heat through. Taste and adjust seasoning.
- Rest and serve (5 minutes): Remove from heat and let rest for 5 minutes. Ladle into bowls and top with desired garnishes.
Notes
For best results, brown the venison in batches to develop a deep crust. Toast the spices in the hot oil to enhance their flavor. Add beans at the end to prevent them from becoming mushy. Chili tastes even better the next day. To reduce gamey taste, soak venison in milk or buttermilk for 2 hours before cooking.
Nutrition
- Serving Size: 1 bowl (about 1.5 cu
- Calories: 320
- Sugar: 6
- Sodium: 680
- Fat: 12
- Saturated Fat: 3
- Carbohydrates: 28
- Fiber: 8
- Protein: 28
Keywords: venison chili, Dutch oven chili, one-pot chili, game day chili, cozy chili, venison recipe, chili with beans