I made these no-bake peanut butter protein balls wrong for about six months before I got them right. Not slightly off—wrong. They were either dry enough to choke on or so sticky they glued themselves to the roof of my mouth. I kept making them anyway because I needed something to grab when the 3 PM slump hit and my hand started reaching for the granola bars I swore I’d stop buying. The problem was I was guessing measurements and skipping the chilling step because I was impatient. Once I actually followed my own logic and nailed the ratio, these became the only snack I keep in my fridge. And honestly? They taste better than anything wrapped in foil.
I remember the first time I made a batch that actually held together. I was standing in my kitchen in sweatpants, licking peanut butter off my finger, and I thought—this is it. No baking, no blender to wash, no weird protein powder aftertaste. Just five ingredients that somehow turn into little balls of energy that don’t taste like punishment. That was the moment I stopped buying store-bought protein snacks for good.
These aren’t fancy. They’re not going to win a beauty contest. But they’re the kind of snack you make on a Sunday afternoon and forget about until Tuesday when you’re starving and everything in your pantry looks sad. Then you remember the container in your fridge and suddenly your whole day gets better. That’s the kind of recipe worth keeping around.
Why You’ll Love These Protein Balls
I’ve tested this recipe more times than I care to admit. I’ve made them with crunchy peanut butter (don’t—the texture gets weird), with honey instead of maple syrup, and even with a random scoop of cocoa powder just to see what would happen. This version is the one I keep coming back to because it just works.
- Only 5 Ingredients: You probably have all of them right now. No special trips to the health food store.
- No Baking Required: No oven, no mixer, no complicated steps. Just a bowl and your hands.
- Ready in 15 Minutes: From start to fridge in the time it takes to watch one episode of something.
- Perfect for Meal Prep: Make a double batch on Sunday and grab them all week. They’re great for lunchboxes alongside some easy lunchbox sushi rolls kids love for a balanced meal.
- Actually Satisfying: The protein and healthy fats keep you full for hours. No sugar crash here.
- Kid-Approved: My niece calls them “cookie dough balls” and I don’t correct her.
What makes these different from every other protein ball recipe out there is the texture. Most recipes end up either too dry or too sticky. I spent weeks adjusting the ratios until the oats and peanut butter created this perfect, fudgy consistency that stays soft but doesn’t fall apart. It’s the kind of texture that makes you forget you’re eating something healthy.
These little balls have saved me from so many bad snack decisions. They’re what I grab when I’m running late, when I need something before a workout, or when I just want a little something sweet without the guilt. They’ve become my default, and I think they’ll become yours too.
What Ingredients You Will Need
This recipe uses simple, wholesome ingredients to create a snack that actually tastes good. No weird protein powders, no obscure superfoods—just real food that comes together into something delicious.
- 1 cup creamy peanut butter (use natural or regular—just make sure it’s well-stirred and not too oily. I prefer Skippy natural for the perfect consistency, but any brand works)
- 1/2 cup honey (or maple syrup for a vegan version. The honey adds a little floral sweetness that I love, but maple syrup works beautifully too)
- 1 1/2 cups old-fashioned rolled oats (not quick oats—they get too mushy. Old-fashioned oats give the best texture and hold up better in the fridge)
- 1/2 cup ground flaxseed (this is the secret ingredient that adds fiber and helps bind everything together without making the balls dry)
- 1/3 cup mini chocolate chips (optional but highly recommended. I use dark chocolate chips because they balance the sweetness, but milk chocolate works too)
A quick note about the peanut butter—don’t use the natural kind that separates into a pool of oil on top unless you stir it really well. I learned this the hard way when my first batch turned into a greasy mess that never set properly. If your peanut butter is too runny, the balls won’t hold their shape. Stick with a creamy, well-emulsified peanut butter for the best results.
The ground flaxseed is doing more work than you think. It’s not just there for fiber (though that’s a nice bonus). It absorbs moisture and helps the balls stay together without needing extra binders. If you don’t have flaxseed, you can substitute chia seeds or even finely chopped nuts, but the texture will be slightly different.
For the chocolate chips, I recommend mini ones because they distribute more evenly throughout the mixture. Regular-sized chips work fine, but you’ll end up with pockets of chocolate instead of little chocolate flecks in every bite. Both are delicious, so go with what you have.
Equipment Needed
You don’t need much for this recipe, which is part of the beauty. Here’s what you’ll need:
- Large mixing bowl (any size works, but bigger is better for mixing without making a mess)
- Measuring cups and spoons (I use standard measuring cups, but a kitchen scale works too. I’ve made these so many times I just eyeball it now)
- Rubber spatula or wooden spoon (for mixing. A spatula is easier for scraping the sides)
- Baking sheet or plate (to hold the balls while they chill. A baking sheet is easier to fit in the fridge)
- Parchment paper or wax paper (keeps the balls from sticking to the pan. Totally optional but helpful)
- Cookie scoop or tablespoon (for portioning. A cookie scoop makes perfectly uniform balls, but a tablespoon works fine)
I’ve made these with nothing but a bowl and my hands before, and they turned out great. The baking sheet and parchment paper are nice-to-haves, not must-haves. If you’re camping or traveling, you can literally mix everything in a zip-top bag and shape the balls by hand. No judgment here.
One tip—chill your bowl and spatula for about 10 minutes before mixing if your kitchen is warm. The peanut butter and honey can get sticky in hot weather, and a cold bowl helps everything come together more easily. I learned this after a particularly sticky summer batch that took forever to shape.
Preparation Method
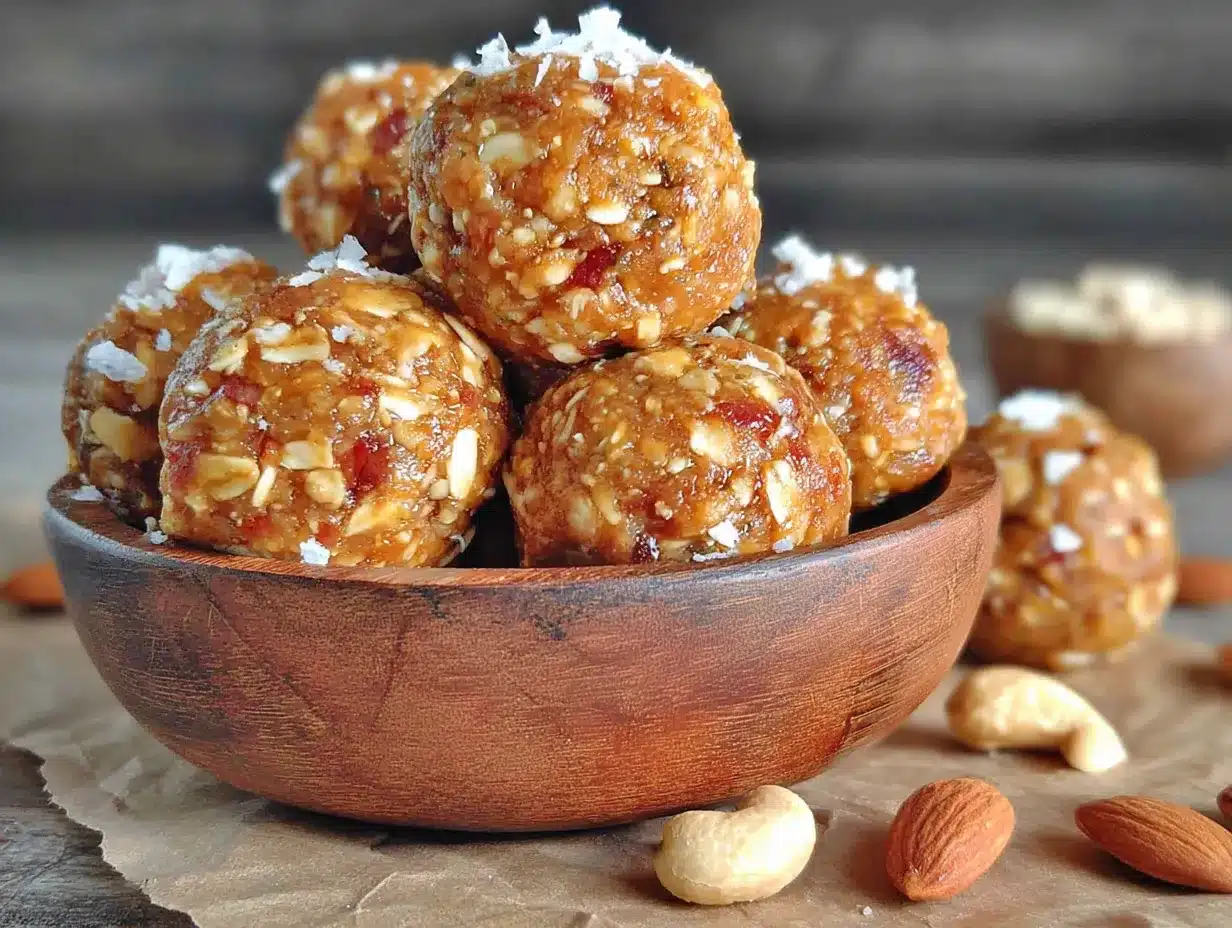
This recipe comes together in about 15 minutes of active time. The hardest part is waiting for them to chill.
- Combine the wet ingredients. In a large mixing bowl, add 1 cup of creamy peanut butter and 1/2 cup of honey. Stir them together until completely smooth. This should take about 30 seconds. The mixture will look glossy and smell amazing. If your peanut butter is cold from the fridge, microwave it for about 10 seconds to soften it first.
- Add the dry ingredients. Pour in 1 1/2 cups of rolled oats and 1/2 cup of ground flaxseed. Stir everything together until the oats and flax are fully incorporated. The mixture will start to look like a thick cookie dough. If it seems too dry, add another tablespoon of honey. If it seems too wet, add another tablespoon of oats.
- Fold in the chocolate chips. Add 1/3 cup of mini chocolate chips and fold them in gently. Make sure they’re evenly distributed throughout the mixture. You don’t want one ball to get all the chocolate while another gets none. This is where a rubber spatula really helps.
- Chill the mixture. Cover the bowl with plastic wrap or a clean kitchen towel and place it in the refrigerator for 20-30 minutes. This step is crucial—don’t skip it. Chilling makes the mixture firm enough to roll into balls without sticking to your hands. I know you want to skip ahead, but trust me on this one.
- Shape the balls. Once the mixture is chilled, remove it from the fridge. Line a baking sheet or plate with parchment paper. Using a cookie scoop or a tablespoon, portion out the mixture and roll it between your palms into smooth balls. You should get about 18-20 balls, depending on how big you make them. I like mine about 1 inch in diameter—big enough to be satisfying, small enough to grab two without feeling guilty.
- Chill again. Place the shaped balls on the lined baking sheet and return them to the refrigerator for at least 30 minutes. This helps them set completely. If you’re impatient like me, you can eat one right away—it just won’t be as firm. The texture really improves after a full hour in the fridge.
- Store and enjoy. Transfer the chilled balls to an airtight container and keep them in the refrigerator. They’ll stay fresh for up to two weeks, though they rarely last that long in my house. I usually keep a small container in the fridge for snacking and freeze the rest for later.
A few things to watch for as you go. If the mixture feels too sticky to roll, wet your hands slightly with cold water. This helps prevent sticking without adding extra moisture to the balls. If the mixture feels too dry and crumbly, you might have used a thicker peanut butter or measured your oats generously. Just add a little more honey, one teaspoon at a time, until it comes together.
The texture should feel like a firm cookie dough—not sticky, not crumbly, but just right. When you roll it between your palms, it should hold its shape without cracking. If it cracks, it’s too dry. If it sticks to your hands, it’s too wet. You’ll get a feel for it after the first batch.
Cooking Tips & Techniques
I’ve made more batches of these protein balls than I can count, and I’ve learned a few things along the way. Here are the tips that actually matter.
Don’t skip the chilling step. I know it’s tempting to skip straight to the eating part, but the first chill is what makes the mixture rollable. Without it, you’ll end up with sticky hands and lopsided balls that don’t hold their shape. The second chill is what gives them that perfect fudgy texture. Both steps are non-negotiable if you want the best results.
Use a cookie scoop for uniform balls. This isn’t just about looks—uniform balls chill at the same rate and have the same texture. If some are bigger than others, the big ones will be softer in the center while the small ones are rock hard. A cookie scoop costs about five dollars and makes the whole process faster and more consistent.
Wet your hands for easier rolling. This was the tip that changed everything for me. Keep a small bowl of cold water nearby and dip your fingers before rolling each ball. The water creates a barrier between the sticky mixture and your skin, making the process so much smoother. Just don’t use too much water—a light dip is all you need.
Adjust the sweetness to your taste. I like these on the less-sweet side so the peanut butter flavor shines through. If you have a bigger sweet tooth, add an extra tablespoon of honey or use chocolate chips with a higher sugar content. You can also add a pinch of salt to balance the sweetness and enhance the peanut butter flavor.
Let them warm up slightly before eating. Straight out of the fridge, these are firm and satisfying. But if you let them sit at room temperature for 5-10 minutes, they soften to this incredible, almost fudge-like consistency. I usually grab one from the fridge while I’m making my coffee, and by the time I sit down, it’s perfect.
One mistake I made early on was using old oats. Oats that have been sitting in your pantry for months lose some of their moisture and texture, which makes the protein balls drier and less cohesive. Fresh oats make a noticeable difference. If you’re not sure about your oats, give them a sniff—they should smell nutty and neutral, not stale.
Variations & Adaptations
This recipe is endlessly adaptable. Here are some of my favorite variations:
Chocolate Peanut Butter: Add 2 tablespoons of unsweetened cocoa powder to the dry ingredients. You’ll need an extra tablespoon of honey to balance the bitterness, but the result is basically edible cookie dough. I make this version when I want something that feels more like dessert. For an even richer chocolate fix, try my easy no-bake dark chocolate almond protein balls for a slightly different twist.
Vegan Version: Swap the honey for maple syrup or agave nectar. The texture will be slightly softer because maple syrup is thinner than honey, so you might need to add an extra tablespoon of oats to compensate. These are just as delicious and keep just as well in the fridge.
Nut-Free Option: Use sunflower seed butter instead of peanut butter. The flavor will be different—more earthy and less sweet—but the texture works perfectly. Sunflower seed butter can react with baking soda in some recipes, but since there’s no baking here, you’re safe. Just make sure to use a well-stirred brand.
Add-In Ideas: Try shredded coconut, chopped nuts, dried fruit, or a sprinkle of cinnamon. I once added a tablespoon of chia seeds and a handful of dried cranberries, and it was incredible. You can also swap the chocolate chips for white chocolate or butterscotch chips if you’re feeling adventurous.
Lower Sugar Version: Use sugar-free chocolate chips and reduce the honey to 1/3 cup. The balls will be less sweet but still satisfying. You can also add a few drops of stevia if you need extra sweetness without the sugar.
My personal favorite variation is the coconut almond version. I substitute half the oats with unsweetened shredded coconut and use almond butter instead of peanut butter. Then I roll the finished balls in more shredded coconut for a snowball effect. They’re perfect for spring and summer when you want something light and tropical.
Serving & Storage Suggestions
These protein balls are best served cold or at room temperature. I prefer them straight from the fridge because the texture is firmer and more satisfying, but they’re also great after sitting out for a few minutes. If you’re packing them for lunch, they’ll be at perfect room temperature by the time you eat them.
They pair beautifully with a cup of coffee or tea for a mid-morning snack. I also love them crumbled over Greek yogurt with a drizzle of honey for a quick breakfast parfait. For a post-workout snack, have two or three with a glass of milk or a protein shake. They’re also fantastic alongside a healthy after-school snack board for kids who need something filling.
For storage, keep them in an airtight container in the refrigerator. They’ll stay fresh for up to two weeks, though I’ve never had a batch last that long. If you want to freeze them, place the balls on a baking sheet in a single layer and freeze until solid, then transfer to a freezer-safe bag or container. They’ll keep in the freezer for up to three months.
To thaw frozen protein balls, just transfer them to the refrigerator overnight, or let them sit at room temperature for about 20 minutes. They thaw quickly, so you can grab one straight from the freezer and eat it within a few minutes—it’ll just be very firm. I actually like eating them slightly frozen in the summer.
The flavors actually develop over time. The first day, they taste good. By day three, the oats have softened and absorbed some of the moisture from the peanut butter and honey, and the texture becomes even more fudgy. By day five, they’re at their peak. So don’t eat them all on day one—save some for later and thank me then.
Nutritional Information & Benefits
Each protein ball (based on a batch of 20) contains approximately:
- Calories: 145
- Protein: 5g
- Fat: 8g
- Carbohydrates: 16g
- Fiber: 3g
- Sugar: 9g
These numbers will vary slightly depending on the exact ingredients you use, but they’re a good general guide. The protein comes primarily from the peanut butter and oats, while the healthy fats keep you full and satisfied. The flaxseed adds omega-3 fatty acids and extra fiber, which is great for digestion.
One of the things I love about these protein balls is that they’re naturally gluten-free if you use certified gluten-free oats. They’re also dairy-free and can be made vegan with a simple syrup swap. They’re perfect for anyone watching their sugar intake because the sweetness comes from honey rather than refined sugar.
These make an excellent pre- or post-workout snack because they provide a balance of carbohydrates for energy and protein for muscle recovery. They’re also great for kids who need a filling snack that won’t send them on a sugar rollercoaster. My niece eats them before soccer practice and has way more energy than the kids eating packaged snacks.
Conclusion
These no-bake peanut butter protein balls have become a staple in my kitchen for a reason. They’re simple, they’re satisfying, and they actually taste good. No weird ingredients, no complicated steps, no hours of prep. Just five ingredients and about 15 minutes of your time for a week’s worth of healthy snacks.
I love that I can customize them based on what I have in my pantry or what I’m craving. Some weeks I make them with dark chocolate chips and a pinch of sea salt. Other weeks I go full coconut and almond. The base recipe is so forgiving that you can experiment without fear of ruining a batch.
If you make these, I’d love to hear how they turn out. Leave a comment below and let me know what variations you tried, or tag me in your photos on social media. There’s something special about knowing someone else is making the same recipe in their own kitchen, adding their own twist, making it their own.
Go ahead and make a batch this weekend. Your future self—the one who’s hungry and tired and needs something good—will thank you.
Frequently Asked Questions
Can I use quick oats instead of rolled oats?
You can, but the texture will be different. Quick oats are more finely ground and absorb moisture faster, which can make the protein balls denser and almost mushy. Rolled oats give a better, more satisfying texture. If you only have quick oats, reduce the amount to 1 1/4 cups and expect a softer result.
How long do these protein balls last at room temperature?
They’re best kept in the refrigerator, but they can sit at room temperature for up to 2 hours without any issues. If you’re packing them for lunch, they’ll be fine in a lunchbox with an ice pack. For longer periods, always refrigerate them to maintain the best texture and freshness.
Can I use a different nut butter?
Absolutely. Almond butter, cashew butter, or sunflower seed butter all work well. Just keep in mind that different nut butters have different consistencies. Almond butter is usually thicker, so you might need to add an extra tablespoon of honey. Sunflower seed butter is thinner, so you might need more oats. Adjust as needed until the mixture feels like cookie dough.
Why are my protein balls falling apart?
This usually happens for one of three reasons: the mixture wasn’t chilled long enough before rolling, the peanut butter was too thin, or the measurements were off. Make sure you chill the mixture for at least 20 minutes before shaping, use a thick, well-stirred peanut butter, and measure your ingredients accurately. If they’re still falling apart, add another tablespoon of honey to help bind everything together.
Can I add protein powder to this recipe?
You can, but you’ll need to adjust the liquid ratios. Protein powder absorbs a lot of moisture, so if you add a scoop, you’ll need to add an extra 1-2 tablespoons of honey or a splash of milk to compensate. Start with 1/4 cup of protein powder and see how the texture feels. Vanilla or chocolate protein powder works best with the peanut butter flavor.
These protein balls have been a game-changer in my kitchen, and I hope they become one in yours too. They’re proof that healthy snacks don’t have to be complicated or boring. Sometimes the simplest recipes are the ones you come back to again and again.
Pin This Recipe!
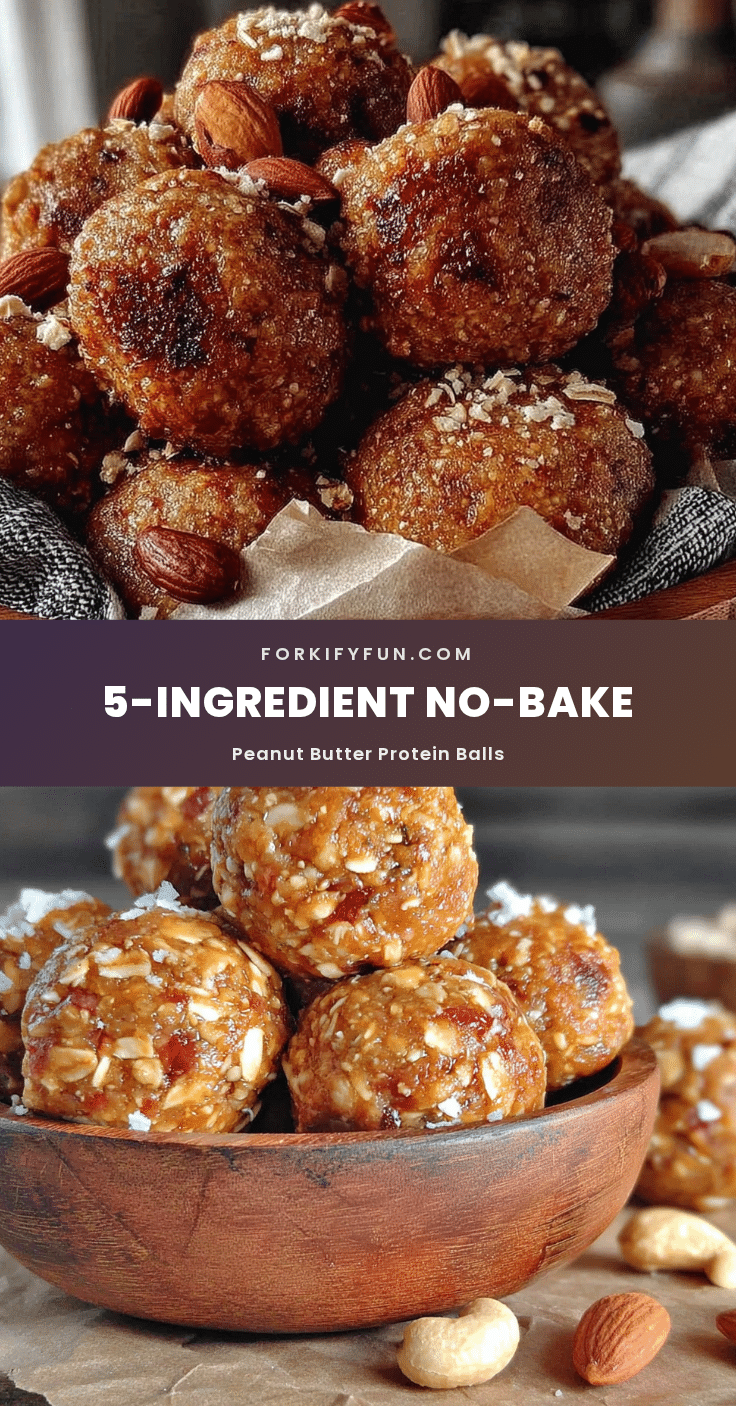
5-Ingredient Easy No-Bake Peanut Butter Protein Balls

These no-bake peanut butter protein balls are made with just five simple ingredients and come together in 15 minutes. They’re the perfect healthy snack for meal prep, with a fudgy texture that satisfies cravings without the guilt.
- Prep Time: 15 minutes
- Cook Time: 0 minutes
- Total Time: 1 hour 15 minutes (includes chilling time)
- Yield: 18-20 balls 1x
- Category: Snack
- Cuisine: American
Ingredients
- 1 cup creamy peanut butter (natural or regular, well-stirred)
- 1/2 cup honey (or maple syrup for vegan)
- 1 1/2 cups old-fashioned rolled oats (not quick oats)
- 1/2 cup ground flaxseed
- 1/3 cup mini chocolate chips (optional, but recommended)
Instructions
- Combine the wet ingredients. In a large mixing bowl, add 1 cup of creamy peanut butter and 1/2 cup of honey. Stir them together until completely smooth, about 30 seconds. If the peanut butter is cold, microwave for 10 seconds to soften.
- Add the dry ingredients. Pour in 1 1/2 cups of rolled oats and 1/2 cup of ground flaxseed. Stir until fully incorporated. The mixture should look like thick cookie dough. If too dry, add another tablespoon of honey; if too wet, add another tablespoon of oats.
- Fold in the chocolate chips. Add 1/3 cup of mini chocolate chips and fold gently until evenly distributed.
- Chill the mixture. Cover the bowl with plastic wrap or a towel and refrigerate for 20-30 minutes. This step is crucial for easy rolling.
- Shape the balls. Line a baking sheet or plate with parchment paper. Using a cookie scoop or tablespoon, portion the mixture and roll into smooth balls (about 1 inch in diameter). You should get 18-20 balls.
- Chill again. Place the shaped balls on the lined baking sheet and refrigerate for at least 30 minutes to set.
- Store and enjoy. Transfer to an airtight container and keep in the refrigerator for up to two weeks. For longer storage, freeze for up to three months.
Notes
Don’t skip the chilling steps—they ensure the mixture is easy to roll and the balls hold their shape. If the mixture is too sticky to roll, wet your hands slightly with cold water. For uniform balls, use a cookie scoop. Let the balls sit at room temperature for 5-10 minutes before eating for a softer, fudge-like texture. The flavors develop over time; they’re best after 3-5 days in the fridge.
Nutrition
- Serving Size: 1 ball
- Calories: 145
- Sugar: 9
- Sodium: 50
- Fat: 8
- Saturated Fat: 2
- Carbohydrates: 16
- Fiber: 3
- Protein: 5
Keywords: no-bake protein balls, peanut butter protein balls, healthy snacks, 5-ingredient recipe, meal prep snacks, gluten-free snacks, no-bake energy balls


