The first real chill of November hit the kitchen window hard that year, fogging the glass as steam rose from a heavy-bottomed pot on the stove. I remember standing there in my thickest wool socks, the only light coming from the range hood, stirring a deep purple liquid that smelled like winter itself—dark berries, cinnamon bark, and the sharp, earthy sting of fresh ginger. The house had gone quiet after a week of sniffles and half-empty tea cups, and I knew, deep down, that I needed more than just another cup of honey-lemon water. I needed something that felt like armor. That night, I made my first batch of homemade elderberry syrup, and honestly, the ritual of it—washing the tiny berries, watching them pop in the simmering water, breathing in that medicinal-sweet steam—became just as healing as the syrup itself.
This isn’t a recipe you make for a dinner party. It is not flashy or fancy. You make it in the quiet, practical hours of a Sunday afternoon, when you feel the season shifting in your bones and you want to be ready. This homemade elderberry syrup for cold season is the kind of kitchen project that makes you feel like you are doing something tangible to protect the people you love. And the best part? It is surprisingly simple to make, uses ingredients you can find at most grocery stores, and keeps for months in the fridge or freezer. If you have ever wanted to replace those questionable store-bought bottles with something you actually trust, this is your sign to start simmering.
Why You Will Love This Recipe
I have tested this homemade elderberry syrup recipe more times than I can count—through different batches, different honey varieties, and even a few overly-gingery disasters. This version is the one I keep coming back to, and here is why it works so well:
- Simple, Whole Ingredients: No strange additives, no high-fructose corn syrup, no preservatives. Just dried elderberries, water, a few spices, and raw honey.
- Ready in Under an Hour: The bulk of the time is hands-off simmering. You can prep the ingredients in five minutes and let the stove do the work while you fold laundry or read a book.
- Perfect for Cold Season: This is not just a tasty syrup—it is a traditional herbal remedy that many people turn to for immune support when the weather turns. A daily spoonful can help you feel a little more prepared.
- Kid-Friendly & Family Approved: My nieces actually ask for their “purple medicine” in the morning. It tastes like a spiced berry dessert, not a chore.
- Cost-Effective: A single batch costs a fraction of what you would pay for a bottle at a health food store, and you control exactly what goes into it.
What makes this recipe different from others? It is all in the balance. Many recipes are either too sweet or too weak in flavor. I have dialed in the ratio of elderberries to water to honey so you get a syrup that is potent enough to feel effective but delicious enough to take willingly. Plus, I add a touch of whole cloves and cinnamon stick for warmth—a small detail that makes a big difference in both taste and tradition.
Honestly, this is the kind of recipe that makes you feel like a kitchen witch in the best possible way. It is comfort, protection, and practicality all bottled up in one dark purple jar.
What Ingredients You Will Need
This recipe uses a short list of pantry-friendly ingredients, but a few of them deserve a little explanation. Here is everything you need to make a batch of homemade elderberry syrup for cold season.
- Dried Elderberries (1 cup / 140g): These are the star of the show. Do not use fresh elderberries—they must be cooked before eating, as raw elderberries can cause stomach upset. Dried elderberries are widely available online, at health food stores, or in the bulk spice section of some grocery stores. I personally prefer to buy from Mountain Rose Herbs for quality, but any reputable brand works. Look for deep purple-black berries that are plump, not shriveled or dusty.
- Filtered Water (4 cups / 950 ml): Using filtered water is important here. Tap water with chlorine or heavy minerals can affect the taste and shelf life of your syrup. If you have a basic pitcher filter, that works perfectly.
- Raw Honey (1 cup / 340g, or to taste): This is both the sweetener and the natural preservative. Raw, unfiltered honey has antimicrobial properties that help extend the syrup’s shelf life. Do not substitute with pasteurized honey or sugar—the texture and preservation will be off. If you are making this for a child under one year old, you must wait until after their first birthday due to the risk of botulism. For older kids and adults, raw honey is ideal.
- Fresh Ginger (1-inch piece, thinly sliced): Ginger adds warmth and a gentle kick. It also has its own immune-supporting properties, making it a natural partner for elderberry. You can peel it or leave the skin on—just wash it well and slice it into thin coins so the flavor infuses properly.
- Cinnamon Stick (1 whole): Cinnamon adds a cozy sweetness without extra sugar. It also acts as a natural preservative. If you only have ground cinnamon, use 1/2 teaspoon, though the syrup may be slightly cloudier.
- Whole Cloves (3 to 4): A little goes a long way. Cloves add a deep, almost medicinal note that rounds out the flavor. Do not skip them—they are traditional in many elderberry syrup recipes for a reason.
- Optional: Vitamin C Powder (1/4 teaspoon): This is not traditional, but I add it to boost the nutritional profile. It also helps preserve the syrup. You can find it in the supplement aisle or skip it entirely.
That is it. Seven ingredients, and most of them are probably already in your spice cabinet or pantry. The beauty of this recipe is how forgiving it is—you can adjust the ginger, skip the cloves if you are not a fan, or add a star anise pod for a different flavor profile. The base of elderberries and honey is what really matters.
Equipment Needed
You do not need fancy kitchen tools for this recipe. Here is what you will need:
- Medium-Sized Saucepan (3 to 4 quarts): A heavy-bottomed saucepan works best for even simmering. Stainless steel or enameled cast iron are both great choices. Avoid aluminum, which can react with the acidic berries.
- Fine-Mesh Strainer or Cheesecloth: You need something to strain out the berries and spices. A fine-mesh strainer works well, but if you want a perfectly clear syrup, line it with a double layer of cheesecloth or a nut milk bag.
- Glass Measuring Cup or Large Bowl: For collecting the strained liquid. A 4-cup liquid measuring cup is perfect because you can see exactly how much liquid you have before adding the honey.
- Glass Jar or Bottle (16 to 24 oz): A wide-mouth mason jar works perfectly. Make sure it is thoroughly washed in hot, soapy water and completely dry before filling. I prefer using a swing-top glass bottle for easy pouring.
- Wooden Spoon or Silicone Spatula: For stirring. Metal can sometimes react with acidic ingredients, so wood or silicone is safer.
- Funnel (Optional but Helpful): A small funnel makes pouring the finished syrup into the jar much less messy.
I have made this syrup in a cheap nonstick pot and a fancy Le Creuset, and honestly, both worked fine. Do not let equipment hold you back. If you have a pot and a strainer, you are good to go.
Preparation Method
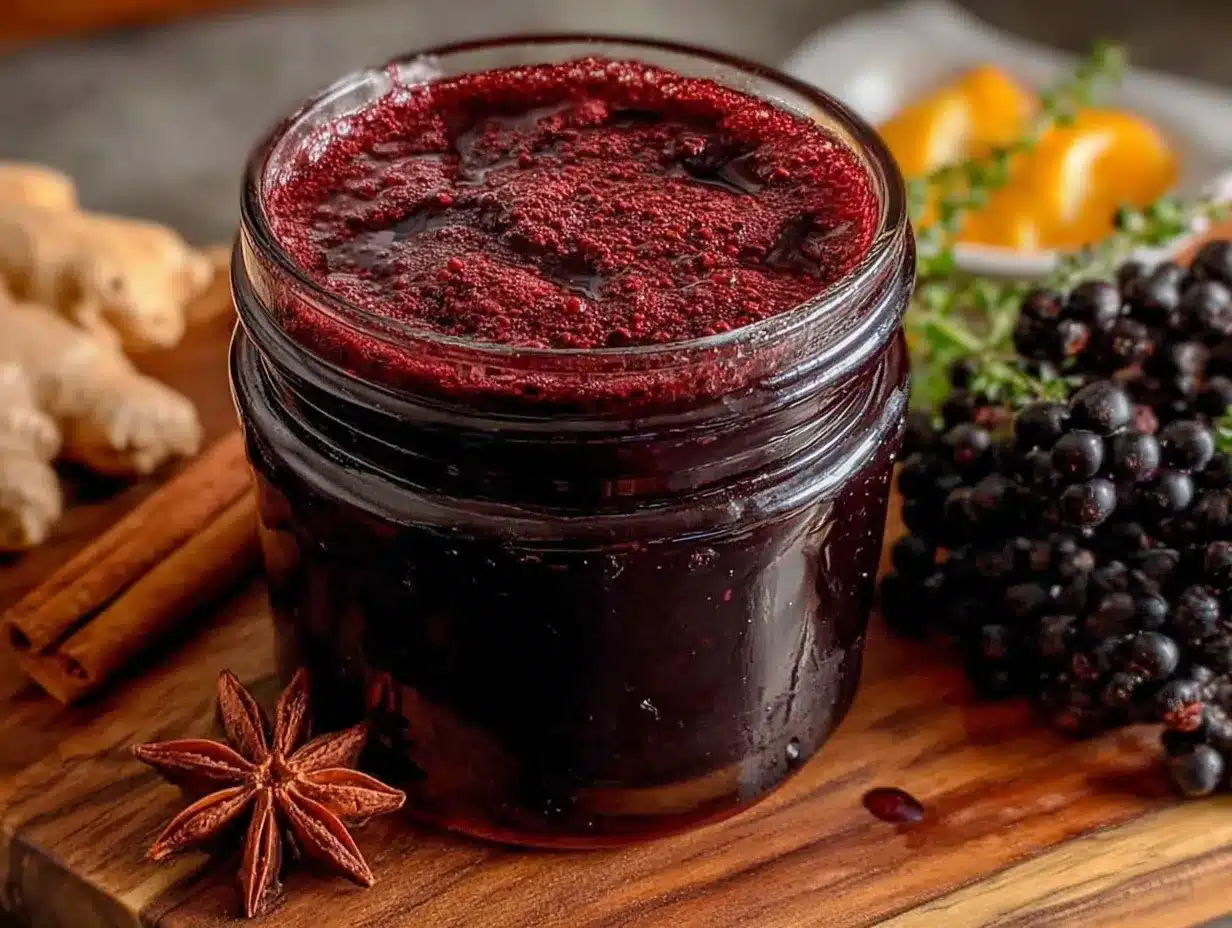
Making this homemade elderberry syrup for cold season is almost meditative. Here is the step-by-step process.
- Combine the berries, water, and spices. In your medium saucepan, add the dried elderberries, filtered water, sliced ginger, cinnamon stick, and whole cloves. Do not add the honey yet—that comes later, off the heat. Give everything a quick stir so the berries are mostly submerged.
- Bring to a boil, then simmer. Place the pot over medium-high heat and bring the mixture to a gentle boil. You will see the water turn a deep, inky purple almost immediately. Once it reaches a boil, reduce the heat to low and let it simmer, uncovered, for 30 to 40 minutes. You want the liquid to reduce by about half. The berries will soften and some may burst open—that is exactly what you want. The kitchen will smell incredible at this point, like a spiced winter forest.
- Mash the berries (optional but recommended). After 30 minutes, use the back of a wooden spoon or a potato masher to gently press the berries against the side of the pot. This releases more of their goodness into the liquid. Do not go overboard—you do not want a muddy texture—but a few good presses make a difference.
- Strain the liquid. Place your fine-mesh strainer over a glass measuring cup or bowl. Carefully pour the hot liquid through the strainer. Let it sit for a minute or two so all the liquid drips through. If you want an extra-clear syrup, pour it through a cheesecloth-lined strainer. Do not press on the berries too hard at this stage, or you will get cloudy sediment in your syrup. Let gravity do the work.
- Let the liquid cool slightly. Allow the strained liquid to cool for about 10 to 15 minutes. It should be warm but not hot—around 110°F to 120°F (43°C to 49°C). If it is too hot, it will destroy the beneficial enzymes and probiotics in the raw honey. If it is too cold, the honey will be difficult to stir in. This is the most important temperature step in the whole recipe.
- Stir in the honey. Pour the raw honey into the warm elderberry liquid. Stir gently but thoroughly with your wooden spoon until the honey is completely dissolved. The syrup will become glossy and smooth. If you are using vitamin C powder, stir it in now as well.
- Bottle and store. Carefully pour the finished syrup into your clean glass jar or bottle using a funnel. Seal it tightly. Let it cool completely to room temperature before refrigerating. The syrup will thicken slightly as it cools.
And that is it. You have just made a batch of homemade elderberry syrup that would cost you three times as much at a store. The whole process, from start to finish, takes about 45 minutes—and most of that is just letting the berries simmer.
Cooking Tips & Techniques
Over the years, I have made plenty of mistakes with this syrup. Here is what I have learned so you do not have to repeat my errors.
Do not boil the honey. This is the number one mistake people make. If you add raw honey to boiling liquid, you destroy the very things that make it beneficial. Always let the elderberry liquid cool to warm before stirring in the honey. I use an instant-read thermometer to be precise, but if you do not have one, the liquid should feel warm to the touch—like a comfortable bath—not hot.
Use dried elderberries, not fresh. Fresh elderberries contain a compound called lectin that can cause nausea and digestive upset if eaten raw. Cooking destroys this compound, but it is much safer and easier to use dried berries. Plus, dried berries are available year-round and store beautifully in your pantry.
Watch the simmer. A vigorous boil will break down the berries too quickly and make the syrup cloudy and bitter. You want a gentle simmer—just a few lazy bubbles breaking the surface. If you see the liquid reducing too fast, turn the heat down.
Strain while warm. The liquid strains much more easily when it is still warm. If you let it cool completely, it becomes thicker and stickier, and you will lose more liquid to the berry pulp. Strain it within 10 minutes of taking it off the heat.
Sterilize your jars. This syrup does not have the same preservatives as commercial products, so cleanliness matters. Wash your jars and lids in hot soapy water, rinse thoroughly, and let them air dry completely. For extra safety, you can run them through a dishwasher cycle or boil them for 5 minutes.
Double the batch if you can. This syrup freezes beautifully. I always make a double batch and pour half into a freezer-safe jar or silicone ice cube tray. Frozen cubes of elderberry syrup can be dropped directly into hot tea or thawed overnight in the fridge. It is a huge time-saver during peak cold season.
Variations & Adaptations
One of the best things about this recipe is how easy it is to customize. Here are a few variations I have tried and loved.
For a Spicier Version: Add an extra 1/2 teaspoon of grated fresh ginger and a pinch of cayenne pepper. This adds a warming kick that is wonderful for clearing sinuses. My husband swears by this version when he feels a cold coming on.
For a Mild, Kid-Friendly Version: Omit the cloves entirely and reduce the ginger to just a thin slice. Some kids find cloves too strong. You can also add a strip of orange peel during the simmering stage for a sweeter, fruitier flavor. My niece loves this version and calls it “purple juice.”
For a Sugar-Free or Keto Version: Replace the raw honey with a sugar-free alternative like monk fruit honey or allulose syrup. Keep in mind that this will change the preservation properties—sugar-free versions will not last as long in the fridge. Plan to use them within 2 to 3 weeks, or freeze the syrup in small portions.
For a Tea Version (Non-Syrup): If you do not want the sweetness of honey, you can skip it entirely and use the strained elderberry liquid as a concentrated tea. Just simmer the berries and spices, strain, and drink it warm with a squeeze of lemon. It is less shelf-stable but perfect for immediate use.
Add Rose Hips or Echinacea: For an extra immune boost, add 2 tablespoons of dried rose hips or 1 tablespoon of dried echinacea root to the pot along with the elderberries. These herbs complement elderberry beautifully and add their own nutritional benefits.
I personally love the version with orange peel and a touch of vanilla extract added after cooling. It tastes like a grown-up soda syrup and is wonderful drizzled over pancakes or stirred into sparkling water.
Serving & Storage Suggestions
This homemade elderberry syrup for cold season is incredibly versatile. Here is how to use and store it properly.
How to Take It: The standard dose for adults is 1 tablespoon (15 ml) per day during cold season for maintenance. If you feel a cold coming on, you can take 1 tablespoon every 3 to 4 hours. For children over 1 year old, give 1 teaspoon (5 ml) per day for maintenance, and up to 1 teaspoon every 4 hours if they are feeling under the weather. Always check with your pediatrician before giving herbal remedies to children.
Ways to Use It: You can take it straight off the spoon (my preferred method), stir it into a cup of hot tea, drizzle it over yogurt or oatmeal, or even use it as a syrup for pancakes or waffles. It also makes a lovely addition to salad dressings or marinades for pork or chicken. Honestly, it is one of those ingredients that works in both sweet and savory applications.
Storage Instructions: Store the syrup in a sealed glass jar in the refrigerator. It will keep for 2 to 3 months when made with raw honey and properly stored. If you see any mold, fizzing, or off smells, discard the batch immediately—this is rare with honey-based syrups but can happen if the jar was not clean or the syrup was not cooled before sealing.
Freezing Instructions: Pour the syrup into ice cube trays and freeze until solid. Pop the cubes out and store them in a freezer-safe bag or container. Frozen cubes will last for up to 6 months. To use, thaw a cube in the fridge overnight or drop it directly into a hot beverage.
Flavor Development: The syrup will taste its best after about 24 hours in the fridge. The flavors mellow and meld together beautifully. I always find that the second-day syrup tastes noticeably better than the first-day syrup, so do not judge it too quickly.
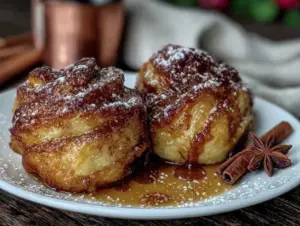
If you enjoy making your own kitchen staples and herbal remedies, you might also love this creamy roasted butternut squash soup for another cozy, immune-supporting recipe, or these baked spiced apple cider donuts for a sweet treat that pairs perfectly with a warm cup of elderberry tea.
Nutritional Information & Benefits
While I am not a doctor or nutritionist, here is a general idea of what is in a 1-tablespoon (15 ml) serving of this syrup, and why the ingredients are good for you.
Estimated Nutritional Values (per tablespoon): Approximately 45 calories, 12g carbohydrates (mostly from honey), 0g fat, 0g protein. The exact numbers will vary based on your honey and the concentration of your syrup.
Health Benefits of Key Ingredients:
- Elderberries: These dark purple berries are packed with antioxidants called anthocyanins, which help support the immune system. They have been used in traditional medicine for centuries to help shorten the duration of colds and flu symptoms.
- Raw Honey: Contains natural enzymes, antioxidants, and antimicrobial properties. It soothes sore throats and coughs naturally. Local raw honey may also help with seasonal allergies.
- Ginger: Known for its anti-inflammatory properties and ability to ease nausea and digestive discomfort. It also adds warmth and a pleasant zing.
- Cinnamon & Cloves: Both are rich in antioxidants and have antimicrobial properties. They also help stabilize blood sugar and add depth of flavor.
Dietary Considerations: This recipe is naturally gluten-free, dairy-free, and soy-free. It is not suitable for vegans due to the honey, though you can substitute with agave or maple syrup (note: this will reduce shelf life). It is not keto-friendly unless you use a sugar-free honey alternative.
Potential Allergens: Honey is the only common allergen in this recipe. If you have a known allergy to bees or honey, skip this recipe or use a plant-based syrup alternative.
I personally love knowing exactly what goes into my body, and this syrup gives me that peace of mind. It is not a cure-all, but it is a wonderful, whole-food tool to have in your wellness kit.
Conclusion
Making your own homemade elderberry syrup for cold season is one of those small, satisfying acts of care that pays off all winter long. It is simple enough for a beginner, forgiving enough for a busy parent, and delicious enough that you will actually look forward to taking your daily dose. Whether you are trying to ward off the seasonal sniffles or just want a cozy kitchen project on a chilly afternoon, this recipe delivers.
I love knowing that I have a jar of this deep purple syrup tucked away in my fridge, ready for the moment someone in my house starts to feel run down. It is a little bit of herbal tradition, a little bit of kitchen magic, and a whole lot of practical comfort. And honestly, that first spoonful of the season—warm, spicy, sweet, and earthy—always makes me feel like I have got this winter thing handled.
If you give this recipe a try, I would love to hear how it goes. Leave a comment below and let me know what variations you tried, or tag me in your photos if you share them online. Your kitchen stories are my favorite part of this whole thing. Until next time, stay cozy and keep that immune system strong!
Frequently Asked Questions
Can I use fresh elderberries instead of dried?
I do not recommend it. Fresh elderberries contain compounds that can cause stomach upset if not cooked properly. Dried elderberries are safer, more consistent, and available year-round. Stick with dried for this recipe.
How long does homemade elderberry syrup last in the fridge?
When made with raw honey and stored in a clean, sealed glass jar in the refrigerator, it will last for 2 to 3 months. If you see any mold, bubbles, or off smells, discard it immediately. Freezing extends the shelf life to about 6 months.
Can I give this syrup to my toddler?
Yes, but only if your child is over 1 year old due to the risk of botulism from raw honey. For children ages 1 and up, give 1 teaspoon per day for maintenance. Always check with your pediatrician before introducing herbal remedies to young children.
Do I need to add vitamin C powder to this recipe?
No, it is completely optional. The vitamin C powder helps boost the nutritional profile and acts as a mild preservative, but the syrup works perfectly well without it. If you choose to add it, stir it in after the honey has dissolved.
Can I make this syrup without honey for a sugar-free version?
Yes, you can substitute monk fruit honey or allulose syrup, but keep in mind that these alternatives do not have the same preservative properties as raw honey. Sugar-free versions should be used within 2 to 3 weeks or frozen in small portions. The texture will also be slightly thinner.
Pin This Recipe!
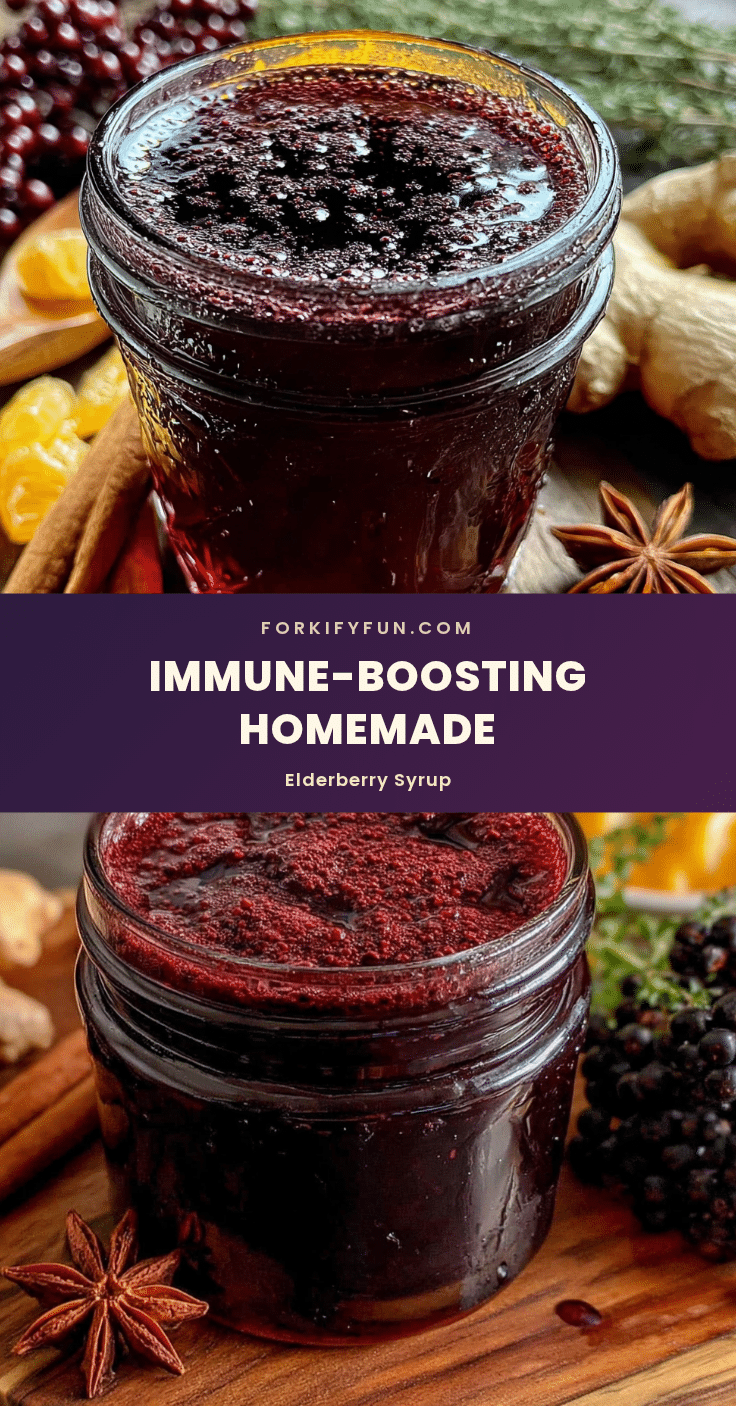
Homemade Elderberry Syrup: Easy Recipe for Cold Season
This homemade elderberry syrup is a simple, whole-ingredient remedy for cold season, made with dried elderberries, raw honey, and warming spices. It’s a comforting, immune-supporting syrup that’s ready in under an hour and perfect for daily use.
- Prep Time: 5 minutes
- Cook Time: 40 minutes
- Total Time: 45 minutes
- Yield: 16 servings 1x
- Category: Remedy
- Cuisine: American
Ingredients
- 1 cup (140g) dried elderberries
- 4 cups (950 ml) filtered water
- 1 cup (340g) raw honey (or to taste)
- 1-inch piece fresh ginger, thinly sliced
- 1 whole cinnamon stick
- 3 to 4 whole cloves
- 1/4 teaspoon vitamin C powder (optional)
Instructions
- Combine the dried elderberries, filtered water, sliced ginger, cinnamon stick, and whole cloves in a medium saucepan. Do not add honey yet.
- Bring the mixture to a gentle boil over medium-high heat, then reduce heat to low and simmer uncovered for 30 to 40 minutes, until the liquid is reduced by about half.
- Optional: After 30 minutes, gently mash the berries with the back of a wooden spoon or a potato masher to release more flavor.
- Strain the hot liquid through a fine-mesh strainer or cheesecloth-lined strainer into a glass measuring cup or bowl. Let it drip without pressing on the berries.
- Allow the strained liquid to cool for 10 to 15 minutes until warm (about 110°F to 120°F / 43°C to 49°C).
- Stir in the raw honey until completely dissolved. If using, stir in the vitamin C powder.
- Pour the syrup into a clean glass jar or bottle using a funnel. Seal tightly and let cool to room temperature before refrigerating.
Notes
Do not add honey to boiling liquid; let the elderberry liquid cool to warm first to preserve beneficial enzymes. Use dried elderberries, not fresh, as fresh can cause stomach upset. Sterilize jars for longer shelf life. The syrup can be frozen in ice cube trays for up to 6 months.
Nutrition
- Serving Size: 1 tablespoon (15 ml)
- Calories: 45
- Sugar: 11
- Sodium: 2
- Carbohydrates: 12
Keywords: elderberry syrup, homemade elderberry syrup, cold season remedy, immune support, elderberry recipe, natural cold remedy