I need a Halloween appetizer that looks fun but doesn’t make me spend the whole party in the kitchen. That’s the thought that hit me last October while staring at a package of crescent rolls and some hot dogs in my fridge. Not exactly gourmet ingredients but honest ones. And honestly? That’s exactly the kind of thinking that leads to the best party food. These Easy Mummy Hot Dog Bites for Halloween came from that very real moment of wanting to be a good host without being a stressed one.
I wanted something that would make the kids gasp and the adults grab seconds. Something that looked like I’d tried without actually requiring much effort. These mummy bites are the perfect Halloween appetizer because they’re cute without being complicated, and they disappear faster than anything else on the table. They’re basically pigs in a blanket dressed up for a costume party, and who doesn’t love that?
The first time I made these, I didn’t even tell anyone they were mummy hot dogs. I just set them out with a bowl of mustard and watched people’s faces light up. That’s the thing about good party food. It doesn’t need a big announcement. It just needs to taste great and look the part. These little guys do both.
Why You’ll Love This Recipe
I’ve tested this recipe through three Halloween parties, two school events, and one very enthusiastic game night. Here’s why it keeps earning a spot on my menu:
- Quick & Easy: From fridge to table in under 25 minutes. That’s faster than most people can decide what costume to wear.
- Simple Ingredients: Crescent rolls, hot dogs, and a little cream cheese. You probably already have everything except maybe the hot dogs.
- Perfect for Parties: These are made for Halloween gatherings, trunk-or-treat events, or any spooky celebration where you need something that travels well.
- Crowd-Pleaser: Kids love the mummy look, and adults love the buttery, savory bite. I’ve watched full platters vanish in minutes.
- Unbelievably Delicious: The combination of flaky crescent dough wrapped around juicy hot dogs is pure comfort food. Add those little mustard eyes, and it’s next-level fun.
What makes this recipe different from the standard version you might find online is the little details. I use a thin strip of cream cheese under the wrapping to add richness and help the dough stick. I also cut the crescent dough into narrower strips so the mummy wrapping looks more realistic. It’s not just another pig in a blanket. It’s my best version, tested and tweaked until every bite felt right.
This recipe isn’t just good. It’s the kind that makes you smile after the first bite. It’s Halloween comfort food turned into something memorable, and it’s perfect for impressing guests without any stress.
What Ingredients You Will Need
This recipe uses simple, everyday ingredients to create something that feels special. No fancy shopping trips required. Just basic pantry staples that come together in a fun way.
For the Mummy Bites
- 1 can (8 oz) refrigerated crescent roll dough (I prefer Pillsbury for consistent results, but any brand works)
- 8 hot dogs (standard size; I like beef hot dogs for richer flavor)
- 2 tablespoons cream cheese, softened (adds moisture and helps the dough stick)
- Mustard (yellow or Dijon, for the mummy eyes)
For Serving
- Ketchup (optional, for dipping)
- Additional mustard (optional, for dipping)
- Ranch dressing (optional, for dipping)
Let me talk about the hot dogs for a second. I’ve tried this with turkey dogs, and they work okay, but they tend to be a little drier. Beef hot dogs give you that satisfying snap when you bite into them. If you’re feeding a crowd with different preferences, feel free to mix and match. Just make sure they’re standard size, not the jumbo ones, because the crescent dough strips need to wrap around them neatly.
The cream cheese is my secret weapon here. I spread a tiny bit on the hot dog before wrapping the dough. It melts during baking and adds a subtle tangy richness that balances the salty hot dog and buttery dough. You can skip it if you want, but honestly, it makes a noticeable difference.
For the mustard eyes, I use regular yellow mustard because it’s what most people have and it gives that classic mummy look. But if you want a more sophisticated flavor, Dijon works great too. Just make sure it’s thick enough to stay put after baking.
Equipment Needed
You don’t need anything fancy for this recipe. Here’s what you’ll need:
- Baking sheet (standard half-sheet size works perfectly)
- Parchment paper (or silicone baking mat, optional but recommended for easy cleanup)
- Sharp knife or pizza cutter (for cutting the crescent dough into strips)
- Small bowl (for softening the cream cheese)
- Pastry brush (optional, for brushing with butter or egg wash)
- Toothpicks (for applying the mustard eyes)
If you don’t have a pizza cutter, a sharp knife works just fine. I actually prefer a knife because it gives me more control over the strip width. And if you don’t have parchment paper, you can grease the baking sheet lightly with cooking spray. Just keep an eye on the bottoms so they don’t burn.
I’ve made these in both a conventional oven and a toaster oven, and both work great. The toaster oven actually heats up faster, so it’s a good option if you’re making a smaller batch.
Preparation Method
Let me walk you through this step by step. I’ve made these enough times to know exactly where things can go wrong, so I’ll share those tips along the way.
- Preheat your oven to 375°F (190°C). Line a baking sheet with parchment paper. This is one of those steps where the parchment really matters because the cream cheese can cause sticking.
- Prepare the hot dogs. Pat each hot dog dry with a paper towel. This helps the cream cheese and dough stick better. If your hot dogs are wet, the dough gets slippery and won’t wrap properly. Trust me, I learned this the hard way.
- Spread a thin layer of cream cheese on each hot dog. Use about 1/4 teaspoon per hot dog. Just a thin smear along the length of the hot dog. Don’t overdo it, or the cream cheese will ooze out during baking.
- Open the crescent roll can. Unroll the dough and separate it into the 8 pre-cut triangles. Press the perforations together gently to seal them. You should have 8 rectangular pieces of dough.
- Cut each rectangle into thin strips. Using a sharp knife or pizza cutter, cut each piece lengthwise into 3 or 4 thin strips. The strips should be about 1/4 to 1/2 inch wide. Thinner strips give a more realistic mummy look, but don’t make them so thin they tear.
- Wrap the hot dogs. Take the dough strips and wrap them around each hot dog at an angle, leaving a small gap near the top for the mummy’s face. Overlap the strips slightly as you go. Press the ends gently to seal. The cream cheese helps keep everything in place.
- Place the wrapped hot dogs on the baking sheet. Space them about 2 inches apart. They won’t spread much, but they need a little room for air circulation.
- Bake for 12-15 minutes, or until the dough is golden brown and puffed. The exact time depends on your oven. Start checking at 12 minutes. You want the dough fully cooked but not dark brown. The mummies should look pale and wrapped, not sunburned.
- Let them cool for 2-3 minutes on the baking sheet. This is important because the filling is hot and the dough needs to set slightly. If you try to move them too soon, the strips might slide off.
- Add the eyes. Dip a toothpick into mustard and dot two small eyes on each mummy’s face. You can also use a small piping bag if you have one, but a toothpick works perfectly and requires zero cleanup.
A few things to watch for during this process. First, if your dough strips are sticking to your work surface, dust it lightly with flour. Second, don’t overwork the dough. It gets tough if you handle it too much. And third, if the cream cheese is too cold, it won’t spread smoothly. Let it sit at room temperature for about 10 minutes before using.
The smell while these are baking is incredible. Buttery, savory, with that slight toasty note that makes everyone wander into the kitchen asking what’s for dinner. It’s the smell of a party about to happen.
Cooking Tips & Techniques
I’ve made enough mistakes with these little mummies to fill a cookbook. Let me save you some trouble.
Don’t skip the cream cheese. I know it seems like an extra step, but it does two things. It adds moisture so the hot dog doesn’t dry out, and it acts like glue for the dough strips. Without it, the strips tend to slide off during baking, especially if you’re using thinner strips.
Cut the dough into even strips. This is one of those details that makes a bigger difference than you’d think. If some strips are wide and others are thin, they’ll cook unevenly. The thin ones might burn while the thick ones are still doughy. Take an extra 30 seconds to make them uniform.
Leave a gap for the face. I know it’s tempting to wrap the whole hot dog, but then it’s just a wrapped hot dog. The mummy face is what makes these fun. Leave about 1/2 inch at the top uncovered. That’s where the eyes go.
Don’t overcrowd the baking sheet. I made this mistake the first time. I crammed all 8 mummies onto one small sheet, and they came out pale and soggy on the bottoms. They need space for the hot air to circulate. Use two baking sheets if you have to.
Watch the timing. These go from perfectly golden to overdone really fast. Set a timer for 12 minutes and check them. If they need more time, add it in 1-minute increments. Every oven runs a little differently.
Let them rest before serving. I know you’ll want to serve them right away, and I get it. But letting them rest for 2-3 minutes allows the dough to set and the filling to cool slightly. Nobody wants to bite into a lava-hot hot dog at a party.
One more thing. If you’re making these for a party, you can prep them a few hours ahead. Wrap the hot dogs, place them on the baking sheet, and refrigerate. Then bake them just before serving. The cold dough might need an extra minute or two in the oven.
Variations & Adaptations
One of the best things about this recipe is how easy it is to customize. Here are some variations I’ve tried and loved.
Cheesy Mummy Bites: Before wrapping the hot dog, place a thin strip of cheddar or mozzarella cheese along the length. The cheese melts into the hot dog and adds a gooey, delicious layer. Just be careful not to use too much, or it will leak out during baking.
Spicy Mummy Bites: Swap the regular hot dogs for spicy ones, or brush the hot dogs with a little sriracha before wrapping. You can also add a pinch of red pepper flakes to the cream cheese for a subtle heat that builds as you eat.
Veggie Mummy Bites: Use plant-based hot dogs or sausages instead of traditional ones. They work exactly the same way, and most people won’t notice the difference. Just check the cooking time because some plant-based options cook faster.
Breakfast Mummy Bites: Replace the hot dogs with breakfast sausages. These are perfect for a Halloween morning breakfast or brunch. Serve them with maple syrup for dipping, and watch them disappear.
Pizza Mummy Bites: Spread a thin layer of pizza sauce on the hot dog before wrapping, and sprinkle some Italian seasoning on the dough. Serve with marinara sauce for dipping. These are always a hit with kids.
I’ve also tried these with different doughs. Puff pastry works beautifully if you want something extra flaky. Just roll it out a little thinner than usual and cut it into strips. The bake time might be slightly longer, so keep an eye on them.
If you’re feeling creative, you can add other decorations. A tiny piece of black olive for a mouth. A small strip of red bell pepper for a scary grin. The possibilities are endless, and that’s part of the fun.
Serving & Storage Suggestions
These Easy Mummy Hot Dog Bites for Halloween are best served warm, right out of the oven. The dough is at its flakiest, and the hot dog is juicy and satisfying. But they’re also perfectly good at room temperature, which makes them ideal for parties where people graze over time.
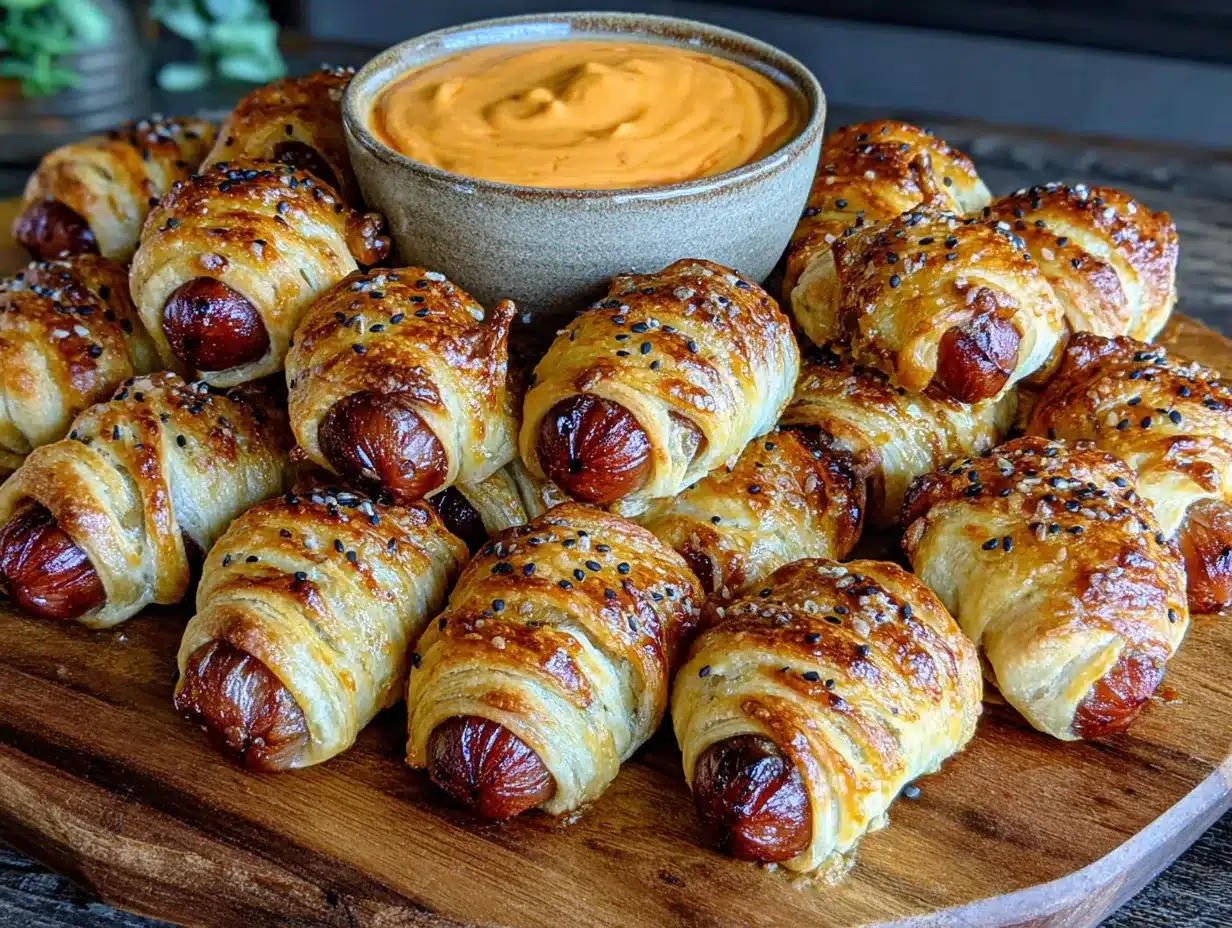
Presentation ideas: Arrange the mummies on a platter in a circle, like they’re having a little mummy party. Place a small bowl of mustard in the center for dipping. You can also arrange them on a wooden board with some pretzel sticks (for bones) and orange cheese cubes. The visual effect is really fun.
Dipping sauces: Mustard is the classic choice, and it looks great next to the mummies. But ketchup, ranch dressing, barbecue sauce, and even honey mustard all work well. I like to offer at least two options so people can choose.
Storage: If you have leftovers (which is rare, but it happens), store them in an airtight container in the refrigerator for up to 3 days. The dough will soften slightly, but they’re still tasty.
Reheating: The best way to reheat these is in the oven or toaster oven at 350°F (175°C) for 5-7 minutes. The microwave works in a pinch, but the dough gets chewy instead of flaky. If you’re reheating a large batch, spread them on a baking sheet and warm them in the oven.
Freezing: You can freeze these either before or after baking. To freeze before baking, wrap the mummies, place them on a baking sheet, and freeze until solid. Then transfer to a freezer bag. Bake from frozen, adding 3-5 minutes to the cooking time. To freeze after baking, let them cool completely, then freeze in a single layer on a baking sheet. Transfer to a freezer bag and reheat in the oven when ready.
The flavors actually develop a little over time. The cream cheese and hot dog meld together, and the dough absorbs some of the savory goodness. So if you make them a day ahead and reheat them, they’re still delicious. Not quite as good as fresh, but close enough for a busy host.
Nutritional Information & Benefits
Let’s be real. These are party appetizers, not health food. But here’s what you should know.
Estimated nutrition per serving (2 mummy bites):
- Calories: 280
- Total Fat: 18g
- Saturated Fat: 7g
- Cholesterol: 35mg
- Sodium: 720mg
- Total Carbohydrates: 22g
- Dietary Fiber: 0g
- Sugars: 4g
- Protein: 8g
Dietary considerations: This recipe contains wheat (crescent rolls), dairy (cream cheese), and potentially processed meats. For a gluten-free version, use gluten-free crescent dough or puff pastry. For a dairy-free version, skip the cream cheese or use a plant-based alternative.
Health benefits: Okay, so these aren’t a superfood. But hot dogs do provide protein, and the crescent dough gives you energy from carbohydrates. The cream cheese adds a small amount of calcium. Honestly, the real benefit here is the joy they bring to a party. Sometimes food is about celebration, and that’s valuable too.
If you’re serving these as part of a larger Halloween spread, balance them out with some veggie platters or a creamy dill cucumber salad. That way, everyone can enjoy the mummies without feeling like they’re overdoing it.
I personally believe that food should be enjoyed without guilt. These are a treat for a special occasion, and there’s nothing wrong with that. Make them, love them, and move on.
Conclusion
These Easy Mummy Hot Dog Bites for Halloween are the kind of recipe that makes you look like a hero without any of the work. They’re fun, delicious, and come together in under 25 minutes. What more could you ask for from a party appetizer?
I love this recipe because it brings people together. Kids light up when they see the mummy faces. Adults grab them by the handful. And everyone asks for the recipe. That’s the kind of food I want to share. The kind that makes a party feel special without making the host feel stressed.
I encourage you to make these your own. Add cheese, spice them up, or try different dipping sauces. The base recipe is forgiving and flexible, so don’t be afraid to experiment. And when you do, I’d love to hear about it. Leave a comment below and tell me how your mummies turned out. What variations did you try? What dipping sauce was the favorite? Your ideas might inspire someone else.
If you’re looking for more easy appetizer ideas, check out my recipe for Texas cowboy caviar with charred corn and avocado cream. It’s another crowd-pleaser that comes together quickly and disappears even faster. Or try my crispy garlic herb smashed potatoes for a side dish that pairs perfectly with any party spread.
Happy Halloween, friends. Go make some mummies. And save one for me.
Frequently Asked Questions
Can I make these mummy hot dog bites ahead of time?
Yes! You can assemble them up to 4 hours ahead and keep them in the refrigerator. Just bake them right before serving. If you need to make them further in advance, freeze them on a baking sheet, then transfer to a freezer bag. Bake from frozen, adding a few extra minutes to the cooking time.
What can I use instead of crescent roll dough?
Puff pastry works beautifully and gives a flakier texture. Just roll it out slightly thinner and cut into strips. You can also use pizza dough, though it will be denser. For a gluten-free option, look for gluten-free crescent dough or puff pastry at your local grocery store.
How do I keep the dough strips from unraveling during baking?
The cream cheese is your best friend here. Spread a thin layer on the hot dog before wrapping, and press the dough ends gently to seal. Also, make sure you’re overlapping the strips slightly as you wrap. If you’re still having trouble, you can use a toothpick to secure the ends, but remove them before serving.
Can I use turkey or chicken hot dogs?
Absolutely. Turkey and chicken hot dogs work well, though they tend to be a little drier than beef. To compensate, use a slightly thicker layer of cream cheese. You can also brush them with a little butter or oil before wrapping to add moisture.
What’s the best way to add the mustard eyes?
Dip a toothpick into mustard and dot it onto the mummy’s face. You can also use a small piping bag with a tiny tip if you want more control. For a different look, try using black sesame seeds or tiny dots of ketchup. The important thing is to add the eyes after baking so they stay bright and don’t get lost in the dough.
Pin This Recipe!
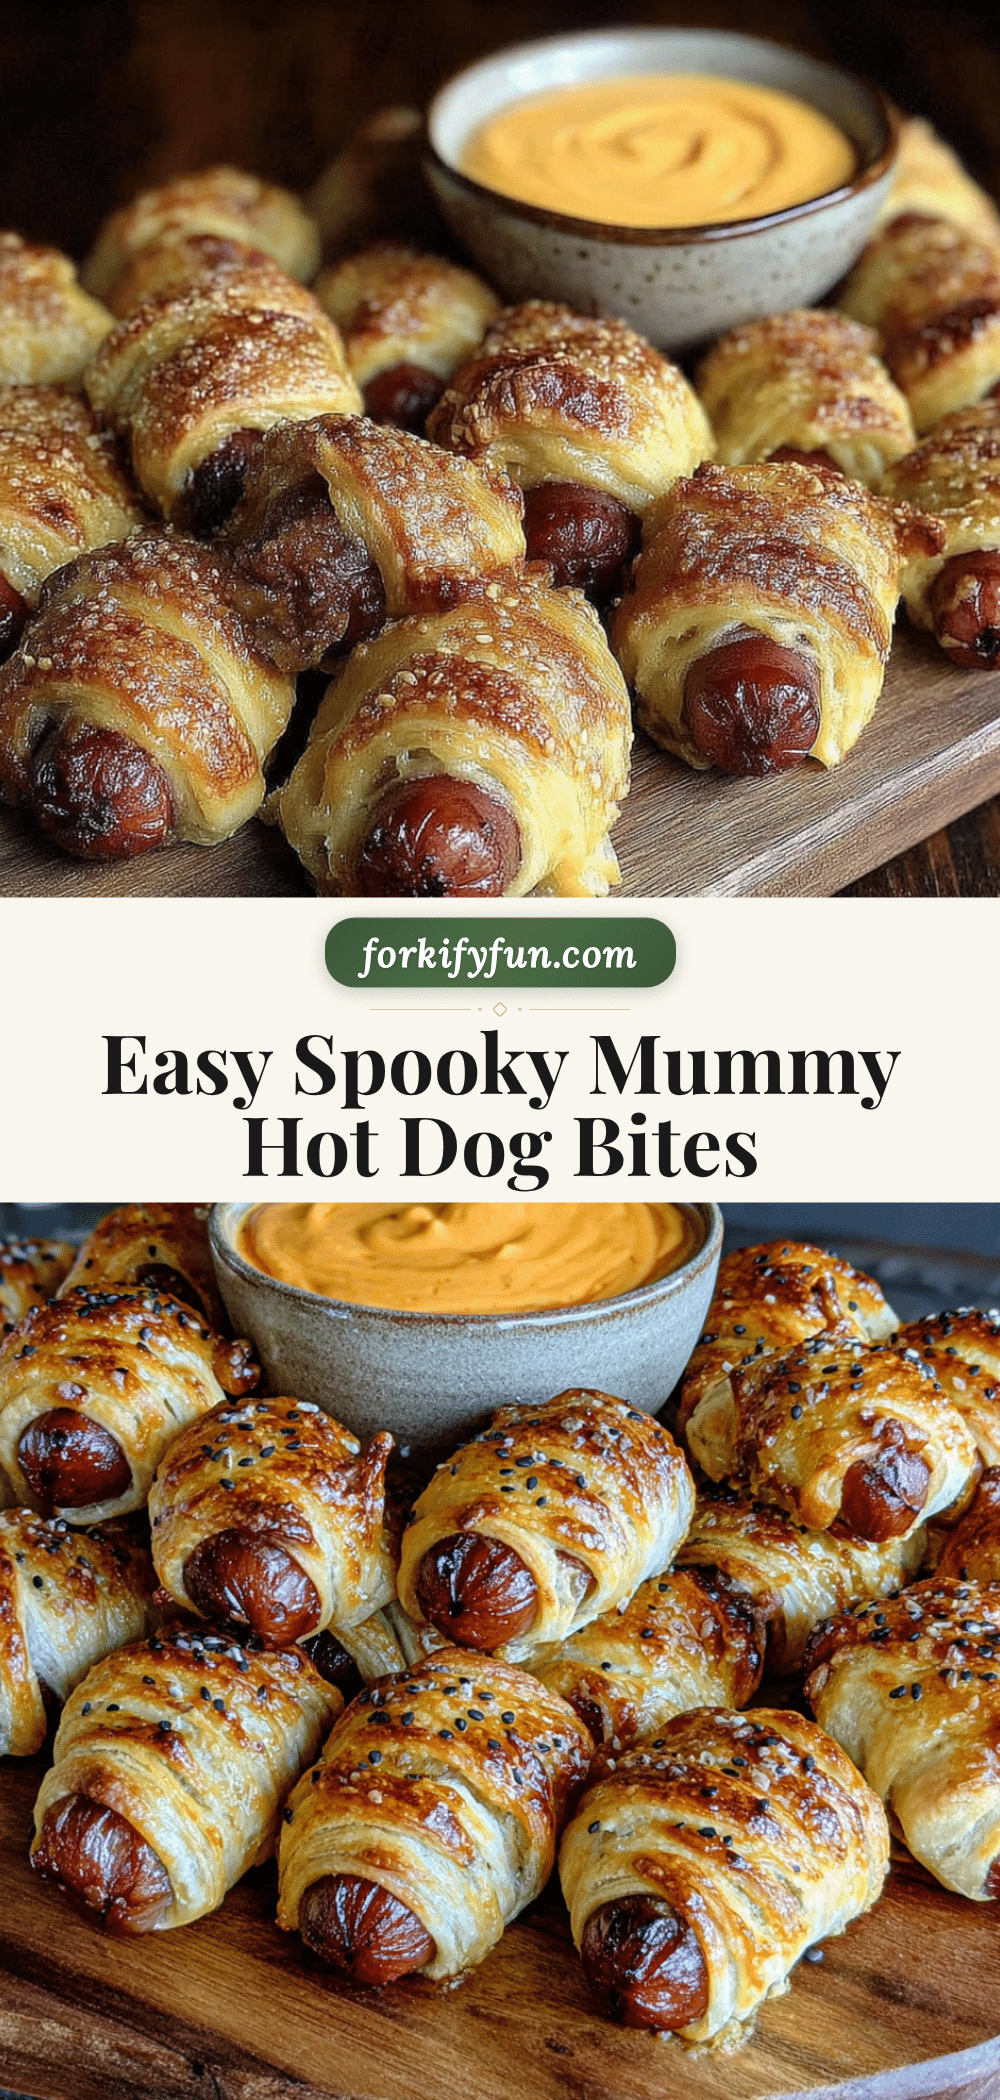
Easy Mummy Hot Dog Bites: Best Halloween Appetizer

These Easy Mummy Hot Dog Bites are the perfect Halloween appetizer—cute, fun, and ready in under 25 minutes. Made with crescent roll dough, hot dogs, and a secret touch of cream cheese, they’re a crowd-pleaser that looks like you tried without the stress.
- Prep Time: 10 minutes
- Cook Time: 15 minutes
- Total Time: 25 minutes
- Yield: 8 servings (2 mummy bites per serving) 1x
- Category: Appetizer
- Cuisine: American
Ingredients
- 1 can (8 oz) refrigerated crescent roll dough (e.g., Pillsbury)
- 8 hot dogs (standard size, preferably beef)
- 2 tablespoons cream cheese, softened
- Mustard (yellow or Dijon, for the mummy eyes)
- Ketchup (optional, for dipping)
- Additional mustard (optional, for dipping)
- Ranch dressing (optional, for dipping)
Instructions
- Preheat your oven to 375°F (190°C). Line a baking sheet with parchment paper.
- Pat each hot dog dry with a paper towel to help the cream cheese and dough stick.
- Spread a thin layer of cream cheese (about 1/4 teaspoon per hot dog) along the length of each hot dog.
- Open the crescent roll can, unroll the dough, and separate into 8 pre-cut triangles. Press the perforations together gently to seal, forming 8 rectangular pieces.
- Using a sharp knife or pizza cutter, cut each rectangle lengthwise into 3 or 4 thin strips (about 1/4 to 1/2 inch wide).
- Wrap the dough strips around each hot dog at an angle, overlapping slightly, leaving a small gap near the top for the mummy’s face. Press the ends gently to seal.
- Place the wrapped hot dogs on the prepared baking sheet, spacing them about 2 inches apart.
- Bake for 12-15 minutes, or until the dough is golden brown and puffed. Start checking at 12 minutes.
- Let them cool on the baking sheet for 2-3 minutes before moving.
- Dip a toothpick into mustard and dot two small eyes on each mummy’s face. Serve warm with optional dipping sauces.
Notes
Don’t skip the cream cheese—it adds moisture and helps the dough stick. Cut dough into even strips for uniform baking. Leave a gap at the top for the mummy face. Let rest 2-3 minutes before serving to set the dough. Can be assembled up to 4 hours ahead and refrigerated, then bake just before serving. For freezing, assemble and freeze unbaked on a sheet, then transfer to a bag; bake from frozen, adding 3-5 minutes.
Nutrition
- Serving Size: 2 mummy bites
- Calories: 280
- Sugar: 4
- Sodium: 720
- Fat: 18
- Saturated Fat: 7
- Carbohydrates: 22
- Protein: 8
Keywords: Halloween appetizer, mummy hot dog bites, easy party food, crescent roll hot dogs, spooky snacks, kids Halloween food, quick appetizer