I need to get snacks on the table in under ten minutes, and I’m staring at a fridge full of things that won’t combine into an actual meal. A single apple feels sad. A handful of crackers feels incomplete. But a whole board of little bites? That feels like an event, even on a random Tuesday at 3:47 PM when the kids are already hangry from the bus ride home.
This isn’t about making something fancy. It’s about giving hungry kids (and honestly, hungry parents) a spread of options that feel fun without requiring me to actually cook anything. The healthy after-school snack board for kids solves the problem of everyone wanting something different—because suddenly, everything is on one board, and nobody is fighting over the last granola bar.
I started doing this last fall when my youngest kept asking for a snack, then rejecting every single thing I offered. The board approach changed everything. When food is arranged like a little buffet, kids suddenly want to try things they normally ignore. It’s weird. It works. And it makes me feel like I’ve got my act together, even on days when I definitely don’t.
Why You’ll Love This Recipe
Let me tell you why this snack board became a staple in our house. I’ve tested about thirty different combinations over the past year, and I’ve narrowed it down to the five that actually disappear without complaint.
- Comes Together in Under 10 Minutes : No cooking, no baking, no waiting. Just wash, slice, arrange, and serve. Perfect for that frantic window between school pickup and homework time.
- Simple Ingredients : Everything comes from a regular grocery store. I’m not asking you to track down specialty items or make anything from scratch—unless you want to, and then I’ve got suggestions for that too.
- Perfect for After-School Chaos : Kids arrive hungry, tired, and often picky. A board lets them graze at their own pace, taking exactly what they want without pressure.
- Crowd-Pleaser : I’ve served these boards for playdates, birthday parties, and quiet afternoons. Every single time, the kids eat more fruits and vegetables than they would from a plate.
- Unbelievably Satisfying : The combination of crunchy, creamy, sweet, and salty keeps kids coming back for more. It’s snack time that actually fills them up until dinner.
What makes this different from just throwing food on a plate? It’s the arrangement, honestly. When you take an extra minute to group things by color and texture, kids engage with the food differently. They pick and choose and discover. I’ve watched my nephew, who “hates” cucumbers, eat three cucumber slices off a board because they were next to the ranch dip and he got curious.
This is snack time without the battle. It’s the kind of thing that makes you feel like a good parent without actually working that hard. And honestly? That’s the best kind of win.
What Ingredients You Will Need
Each of the five snack board ideas uses simple, wholesome ingredients that work together to keep kids full and happy until dinner. Here’s what you’ll need for each variation.
Board 1: The Classic Crunch Board
- Whole grain crackers (I prefer Annie’s or Simple Mills)
- Cheddar cheese cubes (sharp cheddar stands up well at room temperature)
- Apple slices (tossed in a little lemon juice to prevent browning)
- Baby carrots (peeled if your kids prefer them that way)
- Hummus (store-bought or try this cowboy caviar for a fun twist on dip)
- Roasted chickpeas (the crunchy kind from the snack aisle)
Board 2: The Sweet & Salty Board
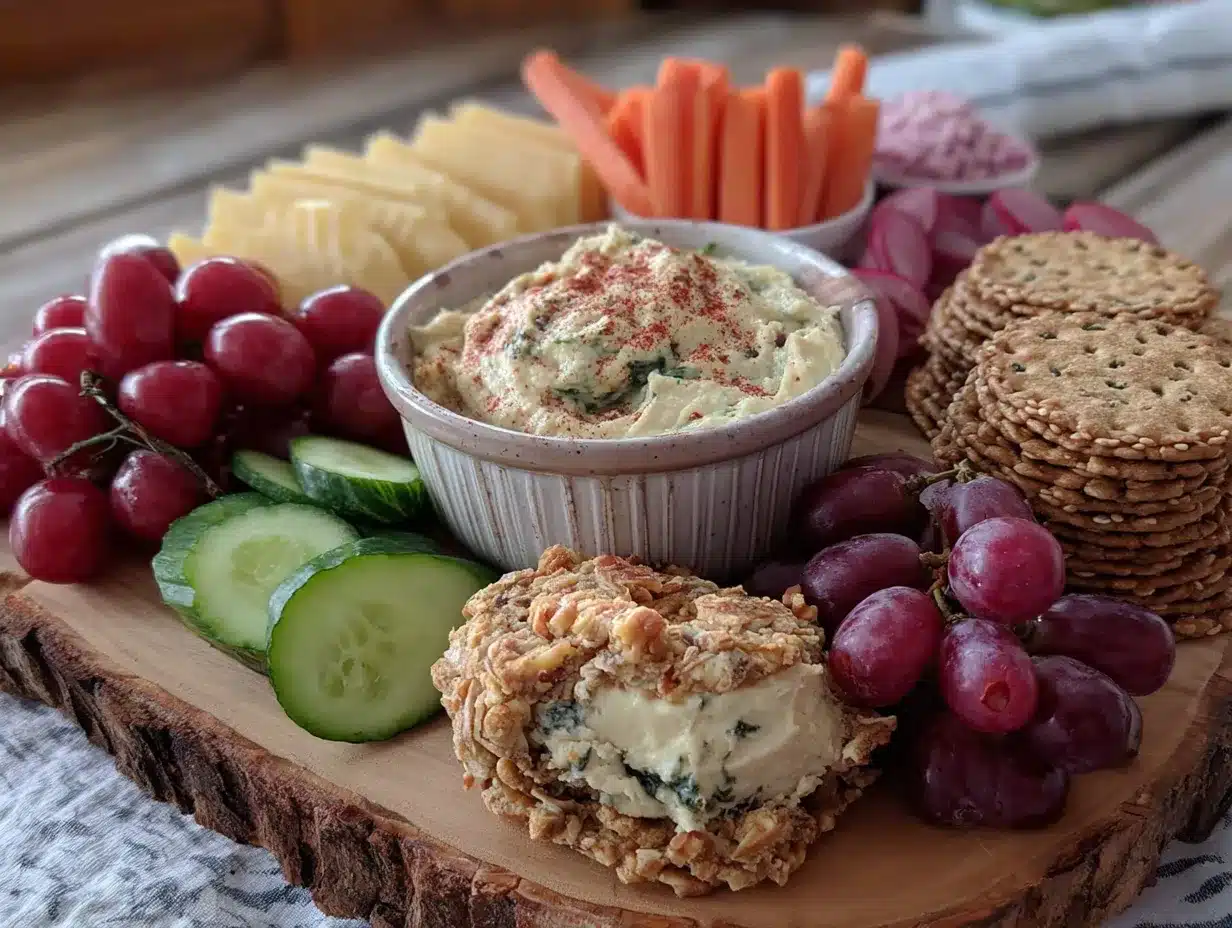
- Pretzel sticks (mini size works best for little hands)
- Greek yogurt tubes (frozen ones work great, or use regular)
- Grapes (red or green, halved lengthwise for younger kids)
- String cheese (peeled into strips for fun)
- Dried mango strips (the chewy kind, not the hard ones)
- Sunflower seeds (shelled, in a small bowl)
Board 3: The Protein-Packed Board
- Hard-boiled eggs (halved, with a tiny sprinkle of salt)
- Turkey roll-ups (sliced turkey around cream cheese and cucumber)
- Edamame (shelled, lightly salted)
- Cherry tomatoes (halved)
- Almond butter (for dipping apple slices or pretzels)
- Rice cakes (mini size, plain or lightly salted)
Board 4: The Veggie Lover’s Board
- Bell pepper strips (red and yellow are sweeter than green)
- Cucumber rounds (not sticks—rounds feel more like coins and kids love that)
- Sugar snap peas (the crunch is incredibly satisfying)
- Ranch dip (Greek yogurt-based for extra protein)
- Whole wheat pita chips (or homemade apple chips for a sweet-crunchy option)
- Cheese cubes (Colby Jack or mozzarella)
Board 5: The Mini Meal Board
- Quesadilla wedges (pre-made or leftover, cut into triangles)
- Black beans (rinsed, in a small bowl)
- Salsa (mild, obviously)
- Avocado slices (squeeze lime on them to keep green)
- Corn kernels (canned or leftover, drained)
- Tortilla chips (baked, not fried)
For the fruit and vegetable dips, I recommend buying plain Greek yogurt and mixing in your own seasoning. It’s cheaper, you control the salt, and it tastes fresher. For the ranch, just stir in a packet of ranch seasoning mix. For a sweet dip, add a little honey and cinnamon.
If you’re looking for a seasonal swap, try grilled peach caprese salad ingredients in the summer—fresh mozzarella balls and peach slices make an incredible addition to any snack board.
Equipment Needed
You don’t need much for this, which is honestly the whole point. Here’s what I use.
- A large cutting board or serving platter : I use a wooden board about 12 by 16 inches. A baking sheet works perfectly if you don’t have a board. Even a large dinner plate will do for smaller portions.
- Small bowls or ramekins : For dips, sauces, and loose items like seeds or beans. I use four to six per board. Mismatched is fine—it adds character.
- A sharp knife : A good chef’s knife makes quick work of apples, cheese, and vegetables. A dull knife is dangerous and frustrating. Trust me on this one.
- Cutting board for prep : You’ll want a separate board for slicing so you don’t crowd your serving board before it’s ready.
- Cookie cutters : Optional, but kids go crazy for cheese cut into star or heart shapes. I found a set of four mini cutters for five dollars at the grocery store.
For the hard-boiled eggs, I use an Instant Pot because it steams them perfectly every time, but a regular pot with boiling water works just fine. If you’re making quesadillas for the mini meal board, a nonstick skillet is your best friend.
I’ve tried those divided snack plates with the built-in compartments, and honestly, they’re harder to clean than a regular board. Stick with a flat surface and separate bowls. It looks better and washes up faster.
Preparation Method
The beauty of a snack board is that there’s no real cooking involved. But there is a method to the madness. Here’s how I build each board so it looks impressive without taking forever.
Step 1: Wash and Prep Produce (5 minutes)
Rinse all fruits and vegetables under cold water. Pat them dry with a clean towel—wet produce makes crackers soggy and dips watery. Slice apples and toss them with a splash of lemon juice to keep them from turning brown. Halve grapes lengthwise for kids under five. Cut bell peppers into strips, not rings, because strips are easier to pick up. Slice cucumbers into rounds about a quarter-inch thick.
Step 2: Arrange the Bowls First (2 minutes)
Place your small bowls on the board first. This is the trick that makes everything look intentional. Put the dips, sauces, and loose items like seeds or edamame in bowls. Space them out so there’s room for everything else around them. I usually put one bowl in each quadrant of the board, then adjust as needed.
Step 3: Add the Cheese and Protein (2 minutes)
Cube the cheese into bite-sized pieces—about half-inch squares. Arrange them in small clusters around the board, not in one solid pile. If you’re using string cheese, peel it into strips and fan them out. Place hard-boiled eggs halved with the cut side up so the yellow yolk shows. Roll up turkey slices with a thin spread of cream cheese inside, then slice them into pinwheels.
Step 4: Add the Crackers and Crunchy Items (2 minutes)
Scatter crackers, pretzels, pita chips, or rice cakes in the empty spaces. Don’t stack them neatly—let them overlap a little for a casual, abundant look. Group similar textures together. If you’ve got roasted chickpeas, put them near the crackers, not next to the grapes.
Step 5: Fill in with Fruits and Vegetables (2 minutes)
This is the final layer. Arrange apple slices in a fan pattern. Place grape clusters in small bunches. Tuck cucumber rounds and bell pepper strips into the remaining gaps. The goal is to cover the board so you can barely see the surface underneath. Kids eat with their eyes first, and a full board looks exciting.
Step 6: Add Finishing Touches (1 minute)
Sprinkle a little flaky salt on the hard-boiled eggs. Drizzle a tiny bit of honey over the almond butter. Add a few fresh mint leaves if you have them—they make the whole board look fancy without any extra effort. Step back, admire your work, and call the kids.
For the mini meal board, warm the quesadilla wedges in a dry skillet for about a minute per side before cutting them. Warm tortillas taste better and the cheese stays melty. If you’re using leftover quesadillas, pop them in the toaster oven for a few minutes to re-crisp.
Pro Tip for Timing
If you want to prep ahead, wash and slice everything the night before. Store each ingredient in a separate container in the fridge. In the morning, all you have to do is arrange. I do this on Sunday nights for the whole week, and snack time becomes a two-minute assembly job instead of a ten-minute scramble.
Cooking Tips & Techniques
I’ve made a lot of snack boards, and I’ve learned a few things the hard way. Here’s what I wish someone had told me.
Don’t overcrowd the board. I know I said to fill it up, but there’s a fine line between abundant and overwhelming. Leave a little breathing room around each item. Kids get overwhelmed when there’s too much choice. A board that’s 80 percent full looks better and feels more manageable than one that’s packed to the edges.
Cut things small. Bite-sized pieces are key. If a kid has to bite into a whole apple, they’ll put it back. If it’s already sliced into wedges, they’ll eat three. Same with cheese, vegetables, and fruit. Smaller pieces also make the board look more generous because there are more pieces to see.
Use color as a guide. I try to include at least three different colors on every board. Red grapes, orange cheese, green cucumber, yellow bell pepper. The visual variety makes the board more appealing and ensures a range of nutrients. If everything is beige, kids get bored before they start eating.
Keep wet and dry separate. This is the biggest rookie mistake. Wet ingredients like cut fruit and cucumber release moisture that turns crackers and pretzels soggy. Use those small bowls as barriers, or place wet items on one side of the board and dry items on the other. Your crackers will stay crunchy, and your kids won’t complain about limp snacks.
Let picky kids build their own. Sometimes I set out the ingredients in little bowls and let each kid assemble their own mini board on a small plate. It takes an extra minute, but the sense of ownership makes them more likely to try new things. My daughter always adds something she normally refuses when I serve it family-style.
I once made the mistake of putting sliced apples directly on the board without lemon juice. Within fifteen minutes, they were brown and unappealing. The kids refused to eat them. Now I always toss them with a little citrus, and the apples stay fresh-looking for hours.
Variations & Adaptations
One of the best things about a snack board is how flexible it is. Here are some ways to change it up based on what you have, what your kids like, and what season it is.
Dairy-Free Option
Skip the cheese and use dairy-free alternatives. Nutritional yeast sprinkled on popcorn or roasted chickpeas adds a cheesy flavor without the dairy. Use hummus or guacamole as the dip instead of ranch. Coconut yogurt works well for sweet dips. I’ve served this version to my dairy-sensitive nephew, and he didn’t miss the cheese at all.
Gluten-Free Option
Replace crackers and pretzels with gluten-free versions. Rice cakes, corn chips, and veggie sticks are naturally gluten-free. Check labels on things like roasted chickpeas and dried fruit—some brands add wheat flour as a processing aid. Most are fine, but it’s worth a quick look.
Seasonal Swaps
In the fall, swap grapes for apple slices and add a small bowl of pumpkin seeds. In the summer, use fresh berries and melon balls instead of citrus. Winter calls for clementine segments and pomegranate seeds. Spring is perfect for sugar snap peas and the first strawberries of the season. The peach cream cheese danish ingredients also make great additions when peaches are in season—fresh peach slices are a huge hit.
Protein Boost
For growing athletes or kids who skipped lunch, add extra protein. Sliced chicken breast, tuna salad in a small bowl, or chickpea salad all work well. I’ve even added leftover meatballs from dinner, cut in half. Kids love the novelty of eating “dinner food” as a snack.
Sweet Tooth Version
If your kids are craving something sweeter, swap the savory dips for yogurt dip, add dark chocolate chips to the board, and include fresh fruit with a drizzle of honey. Keep the cheese and crackers for balance, but let the sweet elements take center stage. This version works great for afternoon birthday parties or holiday breaks.
Serving & Storage Suggestions
Serve the board at room temperature. Cold ingredients like cheese and yogurt taste better after sitting out for about ten minutes. If you’re using frozen yogurt tubes, let them thaw slightly before serving—they’re easier for little hands to squeeze.
For presentation, arrange the board on a flat surface at kid height. A coffee table or low kitchen island works perfectly. Let kids graze while they do homework or watch a show. The casual setup makes snack time feel less structured and more fun.
Leftovers are rare in my house, but if you have them, here’s what to do. Separate wet and dry ingredients into different containers. Crackers and pretzels go in an airtight bag or container at room temperature. Cheese, fruit, and vegetables go in the fridge. Hard-boiled eggs keep for up to three days in the fridge, but they’re best within 24 hours.
Don’t try to save cut avocado or apples that have already been served. Once they’ve been exposed to air and handled, they won’t keep well. Slice fresh the next day if you’re making another board.
For reheating, only the quesadilla wedges and turkey roll-ups need any attention. Pop them in a toaster oven at 350 degrees for about three minutes. Everything else is served cold or at room temperature, so no reheating needed.
Flavors actually develop nicely over time for some items. The hummus tastes better after sitting at room temperature for a while. The cheese loses that cold, hard edge and becomes creamier. If you’re serving the board over an extended period, refresh it halfway through by adding a few fresh items and rearranging what’s left.
Nutritional Information & Benefits
Each board provides a balanced mix of carbohydrates, protein, and healthy fats to keep kids energized through the afternoon. Here’s a rough estimate for a typical serving from the Classic Crunch Board.
| Nutrient | Amount Per Serving |
|---|---|
| Calories | 280-350 |
| Protein | 12-15g |
| Carbohydrates | 30-35g |
| Fiber | 6-8g |
| Fat | 14-18g |
| Sugar | 10-14g (natural) |
The fiber from fruits, vegetables, and whole grain crackers helps stabilize blood sugar, preventing that energy crash that hits an hour after snack time. Protein from cheese, eggs, and yogurt keeps kids full until dinner. Healthy fats from avocado and nuts support brain development and concentration during homework time.
If you’re watching sodium, make your own dips and choose unsalted nuts and seeds. Most store-bought crackers and pretzels are high in sodium, so check labels and opt for low-sodium versions when possible.
This snack board is naturally vegetarian and can be made vegan with simple swaps. It’s also nut-free if you skip the almond butter and sunflower seeds. Always check labels for cross-contamination if allergies are a concern.
FAQs
Can I make this snack board the night before?
You can prep all the ingredients the night before, but I recommend assembling the board fresh. Cut fruit and vegetables start to dry out and discolor after a few hours. Store everything in separate containers in the fridge, then arrange it in the morning or right before serving. It only takes about ten minutes to put together.
How long can the snack board sit out?
Most items are fine at room temperature for up to two hours. If you’re serving dairy-based dips or hard-boiled eggs, keep an eye on the clock. In hot weather, reduce that to one hour. If the board is going to be out longer, put the dips and dairy items on ice packs or serve them in small bowls that you can swap out halfway through.
What if my kid is a really picky eater?
Start with just three or four items they already like. Add one new thing each time you make a board. The visual format helps picky eaters feel in control because they can choose what to put on their plate. I’ve seen the most reluctant eaters try broccoli off a snack board because it was next to the ranch dip and they got curious.
Can I use this for school lunch boxes?
Absolutely. Use a bento box or divided lunch container to recreate the board in lunchbox form. Pack wet and dry items in separate compartments. Add an ice pack for dairy items. The mini meal board works especially well for lunch because it’s already portioned into individual servings.
How do I keep the board from getting messy?
Use small bowls for anything that’s wet, sticky, or loose. Place the bowls first, then arrange everything else around them. If you’re serving dips, put them in bowls that are heavy enough not to tip over. Ramekins work better than lightweight plastic cups. A little mess is normal, but bowls keep it contained.
Conclusion
This healthy after-school snack board for kids has genuinely changed how snack time works in our house. Instead of negotiating over individual items, I put out a board and let everyone pick what they want. The arguments stopped. The complaints disappeared. And somehow, my kids started eating more vegetables than ever before.
The best part is how adaptable it is. You can use whatever you have in the fridge, swap ingredients based on what’s in season, and customize it for every single kid at the table. It’s not a recipe you have to follow exactly—it’s a framework that makes feeding kids easier.
I’d love to hear what combinations your family comes up with. Drop a comment below and tell me what your kids loved most. Did they go for the sweet board or the savory one? Did anyone try something new? Share your snack board wins with me, and don’t forget to pin this post for the next time you need a quick after-school solution.
Here’s to happy kids, full bellies, and snack time that actually feels peaceful.
Pin This Recipe!
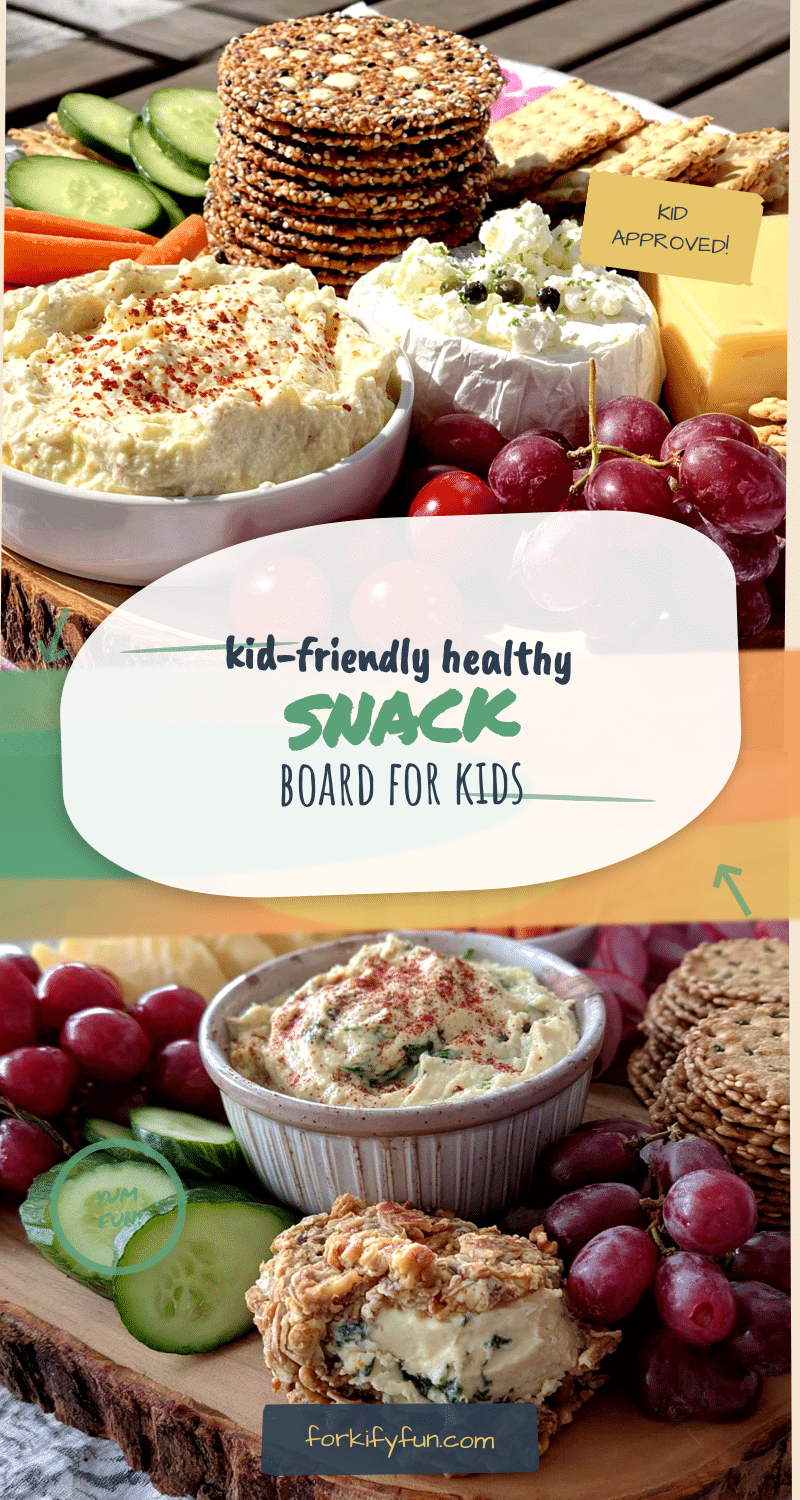
Healthy After-School Snack Board: 5 Easy Ideas for Kids
A collection of five easy, no-cook snack board ideas that come together in under 10 minutes, perfect for hungry kids after school. Each board offers a balanced mix of fruits, vegetables, proteins, and crunchy snacks to keep kids full and happy until dinner.
- Prep Time: 10 minutes
- Cook Time: 0 minutes
- Total Time: 10 minutes
- Yield: 4 servings
- Category: Snack
- Cuisine: American
Ingredients
- Whole grain crackers
- Cheddar cheese cubes
- Apple slices (tossed in lemon juice)
- Baby carrots
- Hummus
- Roasted chickpeas
- Pretzel sticks
- Greek yogurt tubes
- Grapes (red or green, halved)
- String cheese
- Dried mango strips
- Sunflower seeds (shelled)
- Hard-boiled eggs (halved)
- Turkey roll-ups (sliced turkey with cream cheese and cucumber)
- Edamame (shelled, lightly salted)
- Cherry tomatoes (halved)
- Almond butter
- Rice cakes (mini size)
- Bell pepper strips (red and yellow)
- Cucumber rounds
- Sugar snap peas
- Ranch dip (Greek yogurt-based)
- Whole wheat pita chips
- Colby Jack or mozzarella cheese cubes
- Quesadilla wedges
- Black beans (rinsed)
- Salsa (mild)
- Avocado slices (with lime juice)
- Corn kernels (canned or leftover, drained)
- Tortilla chips (baked)
Instructions
- Wash and prep produce: Rinse all fruits and vegetables under cold water. Pat dry. Slice apples and toss with lemon juice to prevent browning. Halve grapes lengthwise for younger kids. Cut bell peppers into strips. Slice cucumbers into rounds about 1/4-inch thick.
- Arrange the bowls first: Place small bowls for dips, sauces, and loose items on the board. Space them out evenly, one in each quadrant.
- Add cheese and protein: Cube cheese into bite-sized pieces and arrange in small clusters. Peel string cheese into strips and fan out. Halve hard-boiled eggs with cut side up. Roll up turkey slices with cream cheese and slice into pinwheels.
- Add crackers and crunchy items: Scatter crackers, pretzels, pita chips, or rice cakes in empty spaces. Let them overlap for a casual look. Group similar textures together.
- Fill in with fruits and vegetables: Arrange apple slices in a fan pattern. Place grape clusters in small bunches. Tuck cucumber rounds and bell pepper strips into remaining gaps. Cover the board so the surface is barely visible.
- Add finishing touches: Sprinkle flaky salt on hard-boiled eggs. Drizzle honey over almond butter. Add fresh mint leaves if available. For the mini meal board, warm quesadilla wedges in a dry skillet for 1 minute per side before cutting.
Notes
Prep ingredients the night before to save time. Store each ingredient separately in the fridge. Assemble fresh for best results. Use color as a guide for visual appeal. Keep wet and dry ingredients separate to prevent sogginess. Let picky kids build their own mini boards for more engagement. Leftovers: store wet and dry ingredients separately; crackers at room temperature, cheese and fruit in fridge. Hard-boiled eggs keep up to 3 days. Don’t save cut avocado or apples that have been served.
Nutrition
- Serving Size: 1 serving (about 1/4
- Calories: 280350
- Sugar: 1014
- Sodium: 300400
- Fat: 1418
- Saturated Fat: 57
- Carbohydrates: 3035
- Fiber: 68
- Protein: 1215
Keywords: after-school snack, snack board, kids snack, healthy snack, easy snack, no-cook snack, kid-friendly, lunchbox ideas, vegetarian snack, gluten-free option


