I want creamy no-churn salted caramel ice cream right now and somehow I have everything except the patience to churn. Honestly, I’m standing in my kitchen, spoon in hand, eyeing the bowl of golden caramel I made earlier this week, wondering how to skip the fancy ice cream machine and still get that luscious, velvety texture that feels like a hug on a hot day. The caramel scent is thick in the air, sweet but salty enough to tease your taste buds, and I swear a little drizzle just escaped onto my fingers. You know that feeling when you crave something indulgent but fussing with complicated equipment or recipes sounds like a chore? Yeah, this recipe is born out of that exact mental tug-of-war.
It’s funny how the best recipes come from moments like these — when you’re a bit lazy but still want something impressive. No fancy gadgets, no standing by the freezer shaking the container every half hour, just a handful of simple ingredients and a bit of stirring. What’s really stuck with me about this creamy no-churn salted caramel ice cream recipe is how it balances sweet and salty in a way that makes you close your eyes after the first bite and say, “Yep, that’s the good stuff.” It’s that kind of dessert that feels homemade and comforting but without the usual stress. And honestly? That’s why I keep coming back to it, especially when the summer heat hits and I want something cool, smooth, and with a little caramel kick that’s just right.
Why You’ll Love This Recipe
After testing this creamy no-churn salted caramel ice cream recipe multiple times (including a few “oops” moments where the caramel nearly burned), I can confidently say it’s a total game-changer for homemade dessert lovers. Here’s why it’s become my go-to:
- Quick & Easy: Comes together in under 20 minutes — perfect for those last-minute cravings or casual weekend treats.
- Simple Ingredients: No hunting down weird ice cream stabilizers or specialty supplies. Just pantry staples and a little love.
- Perfect for Any Occasion: Whether you’re hosting a summer BBQ, enjoying a quiet night in, or need a crowd-pleaser for dessert, this recipe fits the bill.
- Crowd-Pleaser: Kids, adults, caramel lovers, and even those who usually shy away from ice cream rave about this version.
- Unbelievably Delicious: The creamy texture combined with that rich salted caramel swirl is honestly next-level comfort food.
What sets this recipe apart is the little trick I use to get that ultra-smooth texture without any ice cream maker — whipping the cream to just the right stiffness and folding in the sweetened condensed milk. Plus, the homemade salted caramel adds a deep, buttery flavor that feels way more sophisticated than store-bought syrup. It’s that balance of sweet, salty, and creamy that really makes this recipe linger in your mind (and on your spoon). I love how straightforward it is but still manages to impress every time.
At the end of the day, this isn’t just another ice cream recipe — it’s my lazy, delicious answer to “I want something sweet but don’t want to work too hard.” And honestly, that’s a vibe I think a lot of us can get behind.
What Ingredients You Will Need
This creamy no-churn salted caramel ice cream recipe uses simple, wholesome ingredients to deliver bold flavor and a satisfying texture without the fuss. Most of these are pantry staples, and I’ve included a few notes on substitutions and tips to get the best results.
- Heavy whipping cream (1 1/2 cups / 360 ml) – Whipping this to soft peaks gives the ice cream its rich, creamy body. I recommend using a brand like Organic Valley for consistent results.
- Sweetened condensed milk (1 can, 14 oz / 396 g) – This adds sweetness and creaminess without needing extra sugar.
- Homemade salted caramel sauce (3/4 cup / 180 ml) – Made from granulated sugar, butter, heavy cream, and flaky sea salt. You can also use a good-quality store-bought caramel, but homemade is worth the extra minute or two.
- Pure vanilla extract (1 teaspoon) – Adds depth and warmth to the flavor.
- Flaky sea salt (1/2 teaspoon) – Sprinkled on top and swirled in for that perfect salted caramel punch.
For the salted caramel sauce:
- Granulated sugar (1 cup / 200 g)
- Unsalted butter (6 tablespoons / 85 g), softened
- Heavy cream (1/2 cup / 120 ml), warmed
- Flaky sea salt (1 teaspoon)
If you want a dairy-free option, you can swap the heavy cream with coconut cream and use full-fat coconut milk condensed milk alternatives, but the texture will be slightly different. For a lower-sugar version, try a sugar substitute in the caramel, but I haven’t tested that extensively.
Pro tip: When making your salted caramel, watch the sugar carefully. It can go from golden to burnt in seconds, so stay close! I usually use a heavy-bottomed pan to prevent hot spots and stir gently once it starts melting.
Equipment Needed
- Mixing bowl: A large, chilled bowl helps when whipping the cream to stiff peaks.
- Electric hand mixer or stand mixer: This makes whipping the cream much easier and faster. I’ve tried a whisk before, but trust me, it takes forever.
- Medium saucepan: For making the salted caramel sauce. A heavy-bottomed pan is best to avoid burning.
- Rubber spatula: Essential for folding the whipped cream and caramel together without deflating.
- 8×4-inch loaf pan or similar container: For freezing the ice cream. If you don’t have a loaf pan, any freezer-safe container with a lid works fine.
- Measuring cups and spoons: Accuracy is key for this recipe.
If you don’t have an electric mixer, you can absolutely whip cream by hand with a balloon whisk, but it’s a workout. Also, for easier cleanup, using a silicone spatula is my personal favorite since the caramel doesn’t cling as much compared to wooden spoons.
Preparation Method
- Make the salted caramel sauce: In a medium heavy-bottomed saucepan over medium heat, add 1 cup (200 g) of granulated sugar. Stir constantly with a wooden spoon or heatproof spatula as the sugar melts and turns amber, about 5–7 minutes. Be vigilant — sugar can burn quickly.
- Add the butter: Once melted and golden, carefully add 6 tablespoons (85 g) of softened unsalted butter. The mixture will bubble vigorously—stir until the butter is fully melted and combined, about 2 minutes.
- Incorporate the cream: Slowly pour in 1/2 cup (120 ml) of warmed heavy cream while stirring constantly. The caramel will foam up—keep stirring until it’s smooth and glossy, roughly 2–3 minutes.
- Remove from heat and add salt: Stir in 1 teaspoon flaky sea salt. Set aside to cool for at least 15 minutes; the caramel will thicken as it cools.
- Whip the heavy cream: In a large chilled mixing bowl, whip 1 1/2 cups (360 ml) heavy cream with an electric mixer on medium-high speed until soft peaks form. This usually takes about 3–4 minutes. Don’t overwhip—stop as soon as peaks hold but are still soft and billowy.
- Combine sweetened condensed milk, vanilla, and caramel: In a separate bowl, mix the entire can (14 oz / 396 g) of sweetened condensed milk with 1 teaspoon pure vanilla extract and about 1/2 cup (120 ml) of the cooled salted caramel sauce. Mix gently but thoroughly.
- Fold whipped cream into condensed milk mixture: Gently fold the whipped cream into the condensed milk mixture in two or three portions. Use a rubber spatula and fold carefully to retain the airy texture.
- Swirl in remaining caramel: Transfer half the ice cream mixture to your loaf pan or container. Dollop half of the remaining caramel on top, then use a knife or skewer to swirl it through. Repeat with the remaining mixture and caramel for a marbled effect.
- Freeze: Cover the container tightly with plastic wrap or a lid. Freeze for at least 6 hours, preferably overnight, until firm.
- Serve: Before serving, let the ice cream sit at room temperature for 5 minutes to soften slightly for perfect scooping.
Tip: If your caramel is too thick to swirl easily, warm it slightly before adding. This no-churn salted caramel ice cream is best eaten within 5 days for optimal flavor and texture.
Cooking Tips & Techniques
Getting the perfect creamy no-churn salted caramel ice cream texture is all about gentle folding and timing. Here’s what I’ve learned through trial and error:
- Whip the cream just right: If you overwhip, it becomes grainy and can separate when folded. Underwhip, and the ice cream won’t have that light, airy feel.
- Be patient with the caramel: Let it cool fully before mixing it in, or it can melt the whipped cream and ruin the texture.
- Use a wide container: A shallow, broad pan helps the ice cream freeze evenly and makes scooping easier.
- Swirling is key: Don’t overmix the caramel into the ice cream base. Those pockets of sweet, salty caramel are the best part.
- Try chilling your mixing bowl: I keep my bowl in the fridge or freezer for 10–15 minutes before whipping cream. It whips up faster and fluffier that way.
- Cover tightly during freezing: This prevents ice crystals from forming on the surface, keeping your ice cream silky smooth.
One thing I messed up early on was rushing the caramel step — burnt caramel is a one-way ticket to bitter ice cream. Take it slow and steady, and if you want a shortcut, a good-quality store-bought salted caramel works, but homemade will always have that extra depth.
Variations & Adaptations
This creamy no-churn salted caramel ice cream recipe is wonderfully flexible. Here are a few ideas I’ve tried or thought about:
- Chocolate Swirl: Add a swirl of melted dark chocolate or chocolate ganache instead of caramel for a salted caramel chocolate combo. Perfect if you want a richer dessert.
- Nutty Crunch: Fold in toasted pecans or chopped walnuts for texture contrast. The nuts add a lovely crunch and complement the caramel flavor beautifully.
- Vegan Version: Use coconut cream instead of heavy cream and a dairy-free sweetened condensed milk alternative. Swap butter in the caramel for coconut oil. The texture changes a bit but it’s still delicious.
- Fruit Twist: Swirl in a raspberry or blackberry coulis for a tart contrast to the sweet caramel. I often experiment with berry compotes like the one in my fluffy red, white & blue pancakes recipe.
- Salt Alternative: Use smoked sea salt for a subtle smoky note that adds complexity.
For baking enthusiasts, this no-churn ice cream pairs wonderfully with warm desserts like the moist huckleberry lemon pound cake. A scoop over a slice? Unreal.
Serving & Storage Suggestions
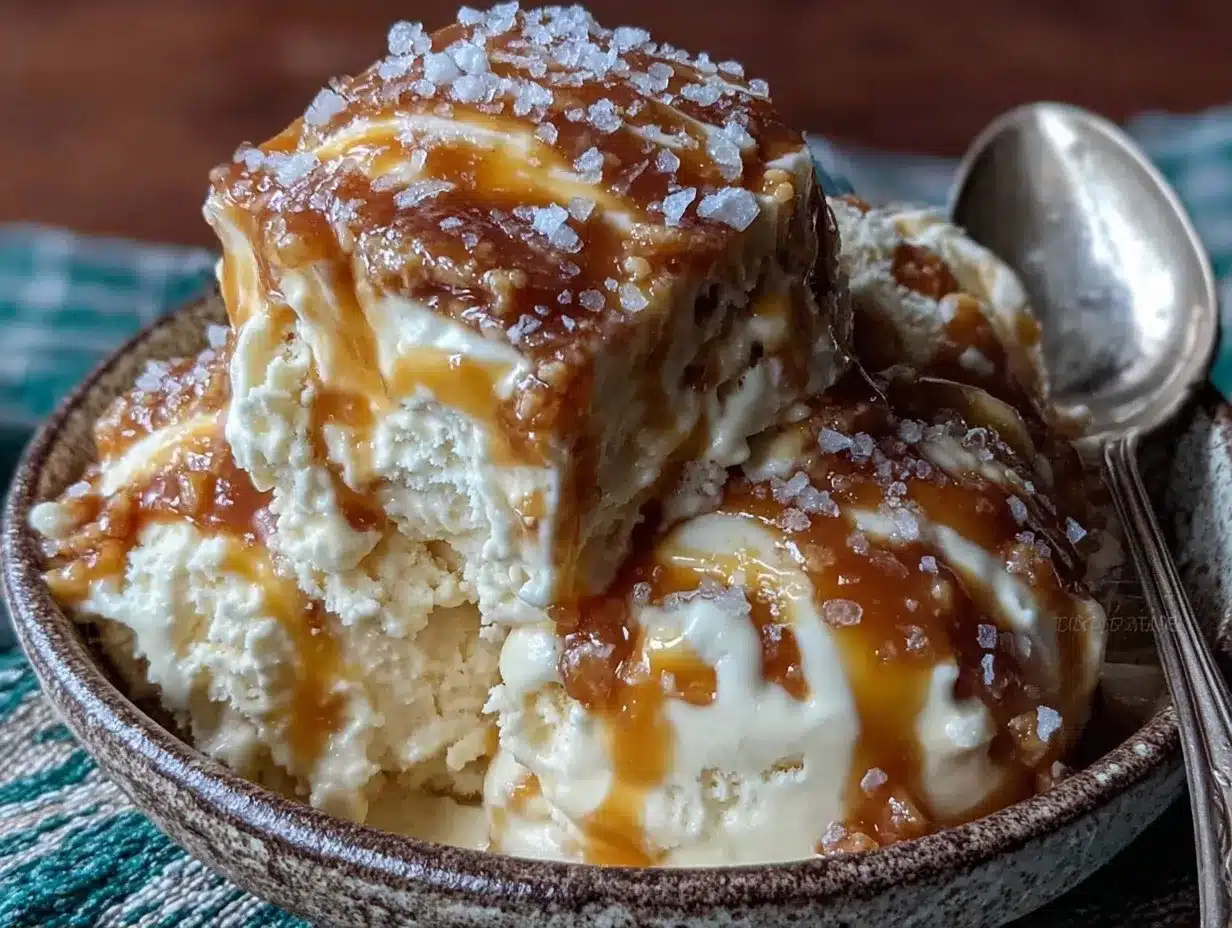
Serve this creamy no-churn salted caramel ice cream straight from the freezer with a few extra flakes of sea salt sprinkled on top for a finishing touch. It’s perfect on its own or as an indulgent side to warm desserts — think apple crisps, brownies, or even drizzled over my favorite creamy deviled eggs with everything bagel seasoning (a wild pairing, but hey, I like variety!).
Store leftovers in an airtight container in the freezer. The ice cream keeps well for up to 5 days but tastes best within 2–3 days when the texture is at its creamiest. When reheating or scooping, let it sit at room temperature for 5 minutes to soften slightly.
One trick I swear by is layering parchment paper over the surface before sealing the container to avoid ice crystals and freezer burn. It really helps maintain that freshly made texture.
Nutritional Information & Benefits
This creamy no-churn salted caramel ice cream recipe is indulgent but made with simple ingredients you can trust. A typical serving (about 1/2 cup or 120 ml) contains roughly:
| Calories | 320 |
|---|---|
| Fat | 20g |
| Saturated Fat | 12g |
| Sugar | 30g |
| Protein | 3g |
While it’s a dessert, the heavy cream provides fat-soluble vitamins like A and D, and the caramel’s sea salt adds trace minerals. Using real, simple ingredients means you avoid artificial additives common in commercial ice creams.
If you’re watching carbs or sugar, this recipe isn’t low-sugar, but you can tweak it by using sugar substitutes in the caramel and condensed milk. Just keep in mind the texture might shift.
Conclusion
This creamy no-churn salted caramel ice cream recipe is proof that you don’t need fancy equipment or complicated steps to make a dessert that feels special and indulgent. It’s simple, approachable, and packs a flavor punch that stays with you long after the last scoop. I love how it’s flexible enough for variations but reliable enough to become a kitchen staple — especially when the craving for something sweet and salty hits hard.
Feel free to make it your own, whether that means adding nuts, throwing in chocolate, or pairing it with a warm slice of cake. There’s a reason I keep coming back to this recipe, and I trust you’ll find your own little reasons too. When you do, I’d love to hear about your twists or moments enjoying it with friends and family.
After all, homemade ice cream like this isn’t just dessert — it’s a memory in the making, spoonful by spoonful.
FAQs
- Can I make this recipe without heavy cream?
Heavy cream is key to the creamy texture here, but you can try using full-fat coconut cream for a dairy-free version. The texture will be a bit different but still tasty. - How long can I store the no-churn salted caramel ice cream?
Store it in an airtight container in the freezer for up to 5 days. For best flavor and texture, consume within 2–3 days. - Can I use store-bought caramel sauce?
Yes, but homemade salted caramel adds a richer, deeper flavor. If using store-bought, choose a high-quality sauce with real ingredients. - Why is my ice cream icy instead of creamy?
Usually, this happens if the whipped cream is overmixed or the caramel is too warm when folded in. Make sure to whip cream to soft peaks and let caramel cool before mixing. - Can I add mix-ins like nuts or chocolate chips?
Absolutely! Fold in toasted nuts or mini chocolate chips gently after combining the base for extra texture and flavor.
Pin This Recipe!
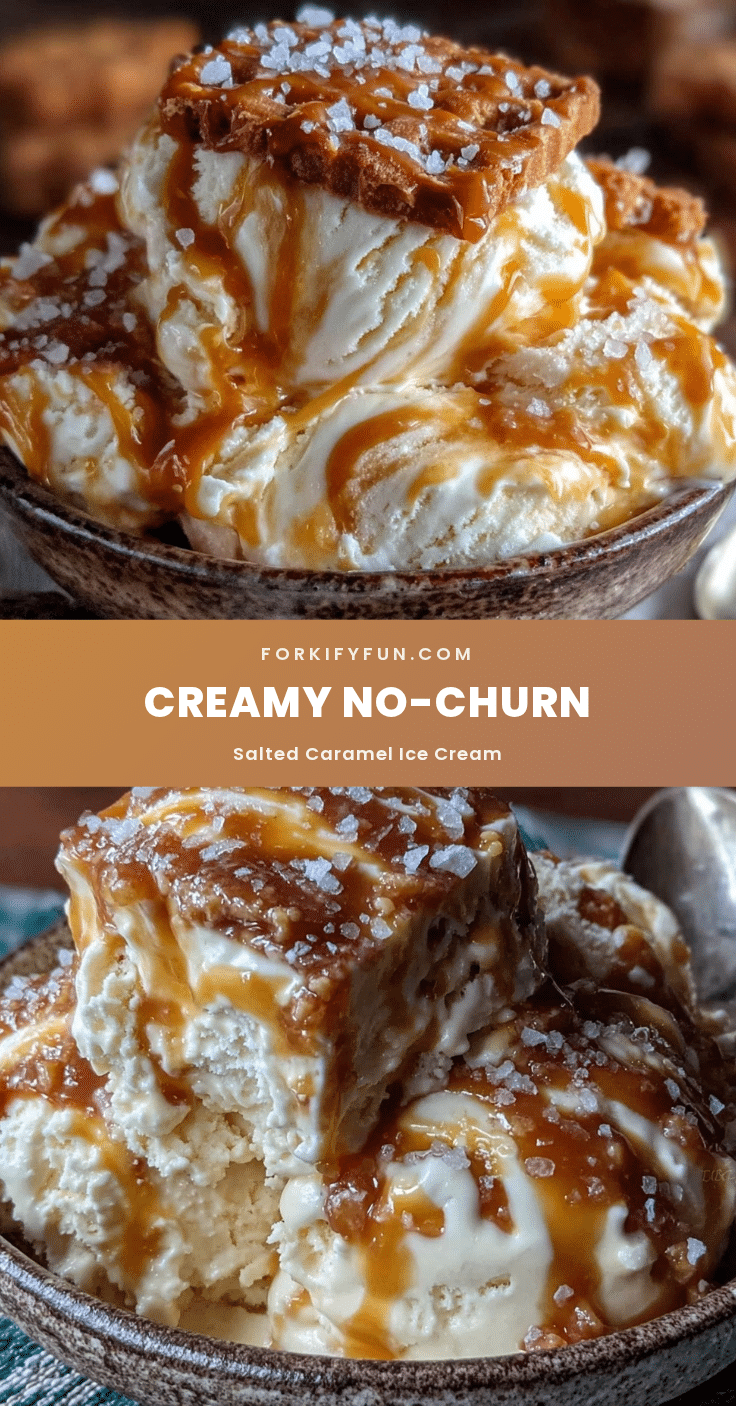
Creamy No-Churn Salted Caramel Ice Cream

A quick and easy homemade no-churn ice cream recipe featuring a luscious salted caramel swirl that balances sweet and salty flavors with a creamy, velvety texture.
- Prep Time: 15 minutes
- Cook Time: 10 minutes
- Total Time: 6 hours 25 minutes
- Yield: 8 servings 1x
- Category: Dessert
- Cuisine: American
Ingredients
- 1 1/2 cups (360 ml) heavy whipping cream
- 1 can (14 oz / 396 g) sweetened condensed milk
- 3/4 cup (180 ml) homemade salted caramel sauce
- 1 teaspoon pure vanilla extract
- 1/2 teaspoon flaky sea salt
- For the salted caramel sauce:
- 1 cup (200 g) granulated sugar
- 6 tablespoons (85 g) unsalted butter, softened
- 1/2 cup (120 ml) heavy cream, warmed
- 1 teaspoon flaky sea salt
Instructions
- Make the salted caramel sauce: In a medium heavy-bottomed saucepan over medium heat, add 1 cup (200 g) of granulated sugar. Stir constantly as the sugar melts and turns amber, about 5–7 minutes. Be vigilant to avoid burning.
- Add the butter: Once melted and golden, carefully add 6 tablespoons (85 g) of softened unsalted butter. Stir until fully melted and combined, about 2 minutes.
- Incorporate the cream: Slowly pour in 1/2 cup (120 ml) of warmed heavy cream while stirring constantly. Continue stirring until smooth and glossy, about 2–3 minutes.
- Remove from heat and add salt: Stir in 1 teaspoon flaky sea salt. Set aside to cool for at least 15 minutes; the caramel will thicken as it cools.
- Whip the heavy cream: In a large chilled mixing bowl, whip 1 1/2 cups (360 ml) heavy cream with an electric mixer on medium-high speed until soft peaks form, about 3–4 minutes. Do not overwhip.
- Combine sweetened condensed milk, vanilla, and caramel: In a separate bowl, mix the entire can (14 oz / 396 g) of sweetened condensed milk with 1 teaspoon pure vanilla extract and about 1/2 cup (120 ml) of the cooled salted caramel sauce. Mix gently but thoroughly.
- Fold whipped cream into condensed milk mixture: Gently fold the whipped cream into the condensed milk mixture in two or three portions using a rubber spatula to retain airy texture.
- Swirl in remaining caramel: Transfer half the ice cream mixture to your loaf pan or container. Dollop half of the remaining caramel on top, then swirl with a knife or skewer. Repeat with remaining mixture and caramel for a marbled effect.
- Freeze: Cover the container tightly with plastic wrap or a lid. Freeze for at least 6 hours or overnight until firm.
- Serve: Let the ice cream sit at room temperature for 5 minutes before scooping for best texture.
Notes
Whip cream to soft peaks to avoid grainy texture. Let caramel cool fully before mixing to prevent melting whipped cream. Use a wide, shallow container for even freezing and easier scooping. Cover tightly during freezing to prevent ice crystals. Warm caramel slightly if too thick to swirl. Best eaten within 5 days for optimal flavor and texture.
Nutrition
- Serving Size: 1/2 cup (120 ml)
- Calories: 320
- Sugar: 30
- Fat: 20
- Saturated Fat: 12
- Protein: 3
Keywords: no-churn ice cream, salted caramel, homemade ice cream, easy dessert, no ice cream maker, creamy ice cream, summer dessert